24 mini chocolate peanut butter cups or small chocolate caramels
Assorted food coloring gels (red, green, and blue)
Edible glitter and festive sprinkles
12 mini pretzel loops (optional for hangers)
Instructions
Step 1: Process the Cookies: Place the chocolate sandwich cookies into a food processor and pulse until they are transformed into fine crumbs. You want to make sure there are no large chunks remaining so the ornament centers are smooth and easy to roll.
Step 2: Create the Truffle Mixture: In a large mixing bowl, combine the cookie crumbs with the softened cream cheese and the alcohol-free vanilla extract. Use a spatula or a hand mixer to blend the ingredients until a thick, uniform dough forms that holds its shape when pressed.
Step 3: Roll the Ornaments: Scoop out about one tablespoon of the mixture at a time and roll it between your palms to form a smooth ball, roughly one inch in diameter. Repeat this process until all the dough is used, placing each ball on a baking sheet lined with parchment paper.
Step 4: Chill to Firm: Place the baking sheet in the refrigerator for at least thirty minutes. This step is crucial because it ensures the balls are firm enough to be dipped in warm chocolate without falling apart or losing their shape.
Step 5: Prepare the Coating: Melt the white chocolate wafers in a microwave safe bowl in thirty second intervals, stirring well between each session until the chocolate is completely smooth. If you want colored ornaments, divide the melted chocolate into separate bowls and stir in your favorite food coloring gels.
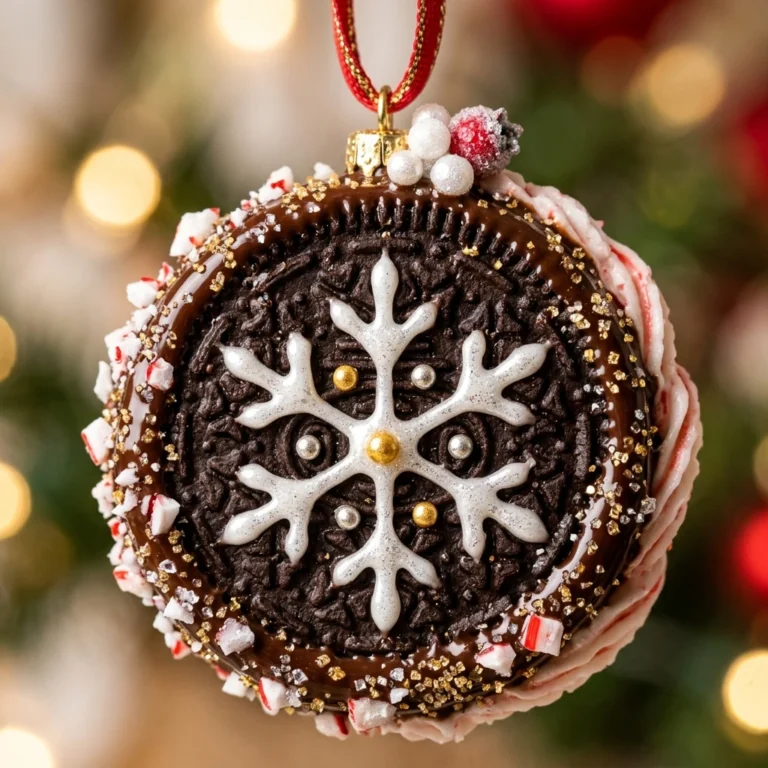
Step 6: Dip and Cap: Using a fork or a dipping tool, submerge each chilled ball into the melted chocolate. Lift it out, let the excess drip off, and return it to the parchment paper. Immediately press a mini peanut butter cup or a chocolate caramel onto the top of the ball to act as the ornament cap before the coating sets.
Step 7: Final Decorations: Once the base coat has hardened slightly, use any remaining melted chocolate in a piping bag to drizzle patterns, dots, or stripes over the ornaments. Add edible glitter or sprinkles while the chocolate is still tacky to give them that festive Christmas sparkle.