
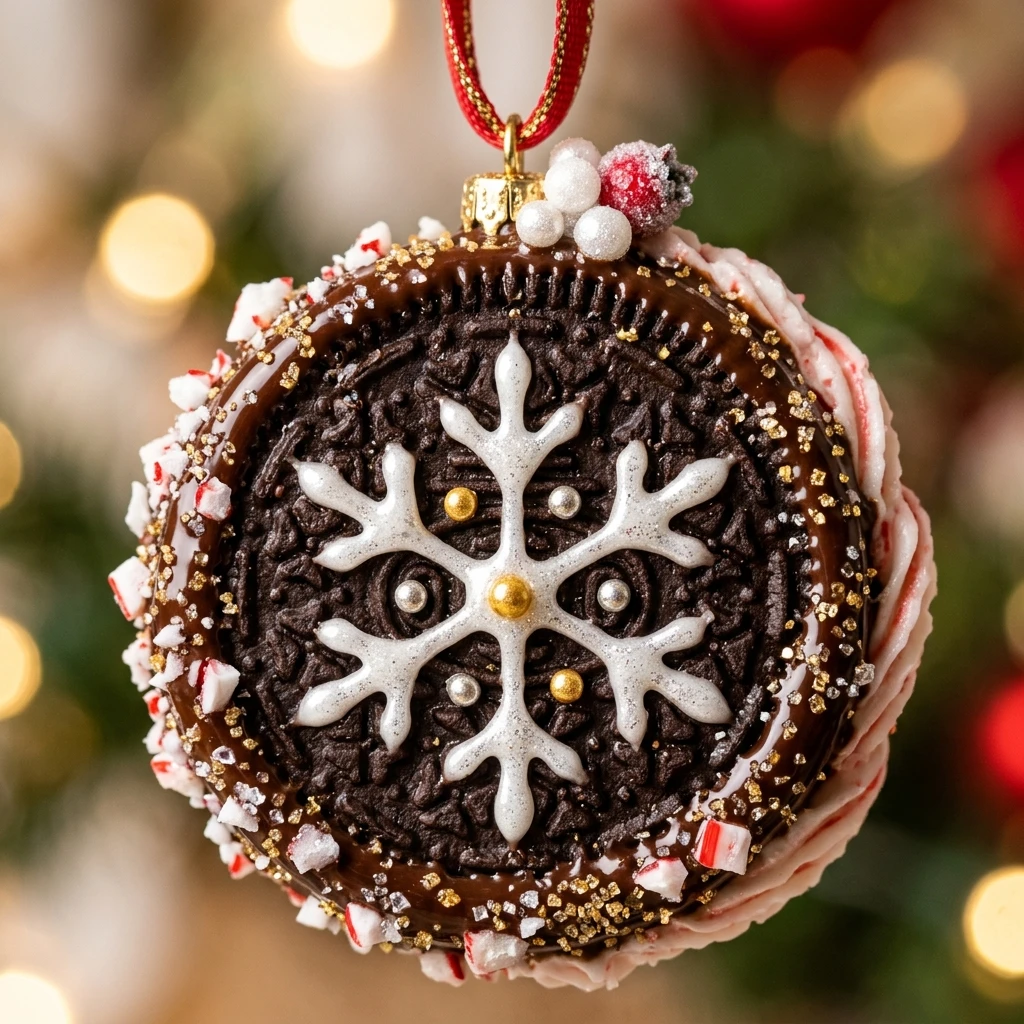
Every year when the holiday season begins, I find myself looking for treats that bring a touch of magic to our home without requiring hours in the kitchen. I first made these Oreo Cookie Christmas Ornaments for a neighborhood party, and I was amazed at how something so simple could look so elegant and festive. They have quickly become a staple in my Christmas dessert repertoire because they are as fun to decorate as they are to eat.
Recipe Details
Recipe Information
- Prep Time: 40 minutes
- Cook Time: 0 minutes
- Total Time: 40 minutes
- Servings: 24
- Difficulty: Easy
Nutrition Information (Per Serving)
- Calories: 190
- Protein: 2g
- Carbs: 24g
- Fat: 10g
Why You’ll Love This Oreo Cookie Christmas Ornaments
You will absolutely adore this recipe because it combines the nostalgia of classic chocolate cookies with a beautiful, festive presentation. These ornaments are no bake, which means you can save your oven space for the Christmas turkey or other holiday roasts. They are also incredibly versatile, allowing you to get creative with colors and patterns to match your holiday decor. Best of all, they are a fantastic project for children to help with, making them a perfect addition to your family holiday traditions.
Oreo Cookie Christmas Ornaments Ingredients & Substitutions
- 36 chocolate sandwich cookies (standard size)
- 8 ounces softened cream cheese
- 1 teaspoon alcohol-free vanilla extract
- 16 ounces white chocolate melting wafers
- 24 mini chocolate peanut butter cups or small chocolate caramels
- Assorted food coloring gels (red, green, and blue)
- Edible glitter and festive sprinkles
- 12 mini pretzel loops (optional for hangers)
For those who prefer a different flavor profile, you can use golden sandwich cookies or peppermint flavored ones to suit the season. If you do not have melting wafers, high quality white chocolate chips mixed with a teaspoon of coconut oil will work as a substitute. For the ornament caps, any small, bell shaped chocolate candy can be used, and if you are looking for a dairy alternative, plant based cream cheese and dairy free chocolate work beautifully in this ratio.
Step-by-Step Instructions to Make Oreo Cookie Christmas Ornaments
Step 1: Process the Cookies
Place the chocolate sandwich cookies into a food processor and pulse until they are transformed into fine crumbs. You want to make sure there are no large chunks remaining so the ornament centers are smooth and easy to roll.
Step 2: Create the Truffle Mixture
In a large mixing bowl, combine the cookie crumbs with the softened cream cheese and the alcohol-free vanilla extract. Use a spatula or a hand mixer to blend the ingredients until a thick, uniform dough forms that holds its shape when pressed.
Step 3: Roll the Ornaments
Scoop out about one tablespoon of the mixture at a time and roll it between your palms to form a smooth ball, roughly one inch in diameter. Repeat this process until all the dough is used, placing each ball on a baking sheet lined with parchment paper.
Step 4: Chill to Firm
Place the baking sheet in the refrigerator for at least thirty minutes. This step is crucial because it ensures the balls are firm enough to be dipped in warm chocolate without falling apart or losing their shape.
Step 5: Prepare the Coating
Melt the white chocolate wafers in a microwave safe bowl in thirty second intervals, stirring well between each session until the chocolate is completely smooth. If you want colored ornaments, divide the melted chocolate into separate bowls and stir in your favorite food coloring gels.
Step 6: Dip and Cap
Using a fork or a dipping tool, submerge each chilled ball into the melted chocolate. Lift it out, let the excess drip off, and return it to the parchment paper. Immediately press a mini peanut butter cup or a chocolate caramel onto the top of the ball to act as the ornament cap before the coating sets.
Step 7: Final Decorations
Once the base coat has hardened slightly, use any remaining melted chocolate in a piping bag to drizzle patterns, dots, or stripes over the ornaments. Add edible glitter or sprinkles while the chocolate is still tacky to give them that festive Christmas sparkle.
Tips for Success
To get the smoothest finish on your Oreo Cookie Christmas Ornaments, make sure your cream cheese is truly at room temperature before mixing. If the chocolate starts to thicken while you are dipping, simply pop it back in the microwave for ten seconds to loosen it up. For a professional look, use a toothpick to pop any small air bubbles that appear in the chocolate coating right after dipping. Always ensure the cookie balls are cold before they hit the warm chocolate, as this helps the shell set quickly and prevents the center from softening too much.
Variations of Oreo Cookie Christmas Ornaments
There are so many ways to customize these treats for your holiday table. You can use dark chocolate or milk chocolate for the coating if you prefer a less sweet ornament. For a minty twist, add a drop of peppermint extract to the cookie mixture and use crushed candy canes as a topping. You can even create metallic ornaments by using edible gold or silver spray once the chocolate has fully set, giving them a sophisticated and modern look that stands out on any dessert platter.
Serving Suggestions: What to Pair with Oreo Cookie Christmas Ornaments
These festive treats are a wonderful companion to a steaming mug of hot cocoa topped with marshmallows. They also look beautiful when served alongside a selection of gingerbread men and shortbread cookies on a large wooden serving board. For a more formal Christmas gathering, try serving them with a side of fresh berries or a light whipped cream dip to balance the richness of the chocolate and cream cheese.
Storage & Reheating Instructions
Since these ornaments contain cream cheese, they must be stored in the refrigerator in an airtight container. They will stay fresh and delicious for up to one week when chilled. If you are stacking them, place a sheet of parchment paper between the layers to prevent the decorations from smudging. These treats do not require reheating and are best enjoyed cold or at a cool room temperature. You can also freeze them for up to two months, just be sure to thaw them in the refrigerator overnight before serving.
Memories Made Around the Table
I remember one particular Christmas Eve where the kitchen was covered in edible glitter and chocolate smudges as my nieces and nephews helped me decorate these ornaments. We laughed so hard as we tried to make the most colorful designs, and those messy, joyful moments are exactly what the holidays are about for me. These treats are more than just a dessert, they are a way to bring everyone together around the table to share a bit of holiday cheer. Seeing the pride on the children’s faces when they saw their creations on the dessert table made every chocolate splatter worth it.
FAQs
Can I make these Oreo Cookie Christmas Ornaments ahead of time?
Yes, you can definitely prepare these a few days in advance. In fact, they often taste better after the flavors have had time to meld in the refrigerator. Just keep them stored in an airtight container until you are ready to serve.
What can I use for the ornament hanger?
If you want to make them look even more realistic, you can use a small piece of a pretzel loop or a curved piece of black licorice string. Simply press it into the chocolate cap before it sets to create a little hook.
How do I prevent the chocolate from cracking?
Cracking usually happens when there is a large temperature difference between the cold center and the warm chocolate. Try letting the chilled balls sit on the counter for five minutes before dipping to narrow that temperature gap slightly.
Can I use a different type of cookie?
Absolutely. While chocolate sandwich cookies are traditional, any crunchy cookie will work. Peanut butter sandwich cookies or even ginger snaps make excellent alternatives for different holiday flavor profiles.
Do I need to add extra sugar to the filling?
No extra sugar is needed. The cream filling inside the cookies combined with the cookie wafers provides plenty of sweetness. The cream cheese adds a nice tang that balances the sugar perfectly.
Final Thoughts
Making Oreo Cookie Christmas Ornaments is a delightful way to celebrate the season with a treat that is as beautiful as it is tasty. Whether you are gifting them to friends or serving them at your own holiday feast, they are sure to bring a smile to everyone’s face. I hope this recipe brings as much joy to your kitchen as it has to mine. Happy holidays and happy decorating!

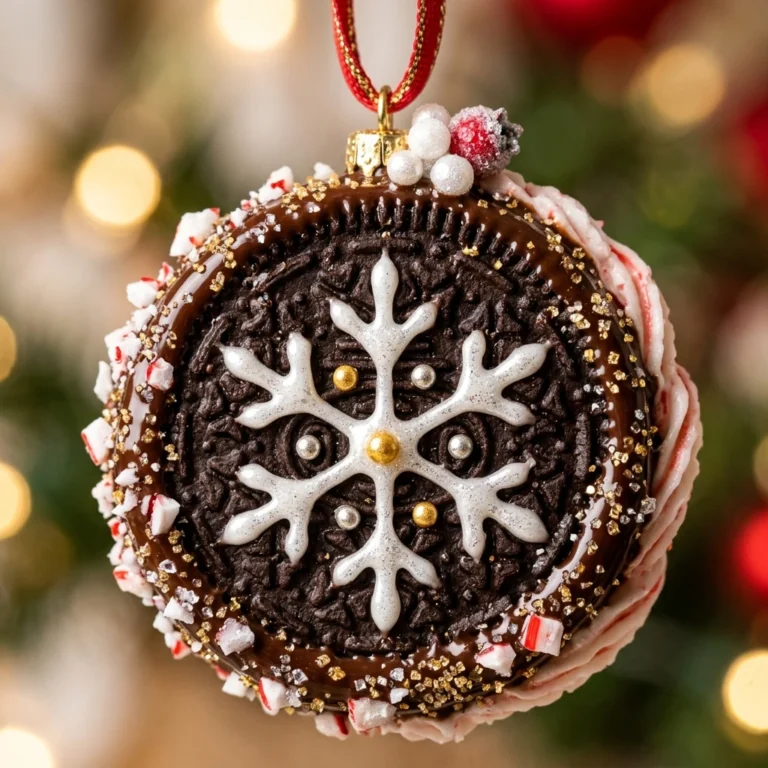
Oreo Cookie Christmas Ornaments
- Total Time: 40 minutes
Ingredients
- 36 chocolate sandwich cookies (standard size)
- 8 ounces softened cream cheese
- 1 teaspoon alcohol-free vanilla extract
- 16 ounces white chocolate melting wafers
- 24 mini chocolate peanut butter cups or small chocolate caramels
- Assorted food coloring gels (red, green, and blue)
- Edible glitter and festive sprinkles
- 12 mini pretzel loops (optional for hangers)
Instructions
- Step 1: Process the Cookies: Place the chocolate sandwich cookies into a food processor and pulse until they are transformed into fine crumbs. You want to make sure there are no large chunks remaining so the ornament centers are smooth and easy to roll.
- Step 2: Create the Truffle Mixture: In a large mixing bowl, combine the cookie crumbs with the softened cream cheese and the alcohol-free vanilla extract. Use a spatula or a hand mixer to blend the ingredients until a thick, uniform dough forms that holds its shape when pressed.
- Step 3: Roll the Ornaments: Scoop out about one tablespoon of the mixture at a time and roll it between your palms to form a smooth ball, roughly one inch in diameter. Repeat this process until all the dough is used, placing each ball on a baking sheet lined with parchment paper.
- Step 4: Chill to Firm: Place the baking sheet in the refrigerator for at least thirty minutes. This step is crucial because it ensures the balls are firm enough to be dipped in warm chocolate without falling apart or losing their shape.
- Step 5: Prepare the Coating: Melt the white chocolate wafers in a microwave safe bowl in thirty second intervals, stirring well between each session until the chocolate is completely smooth. If you want colored ornaments, divide the melted chocolate into separate bowls and stir in your favorite food coloring gels.
- Step 6: Dip and Cap: Using a fork or a dipping tool, submerge each chilled ball into the melted chocolate. Lift it out, let the excess drip off, and return it to the parchment paper. Immediately press a mini peanut butter cup or a chocolate caramel onto the top of the ball to act as the ornament cap before the coating sets.
- Step 7: Final Decorations: Once the base coat has hardened slightly, use any remaining melted chocolate in a piping bag to drizzle patterns, dots, or stripes over the ornaments. Add edible glitter or sprinkles while the chocolate is still tacky to give them that festive Christmas sparkle.
- Cook Time: 40 minutes
- Diet: Vegetarian