
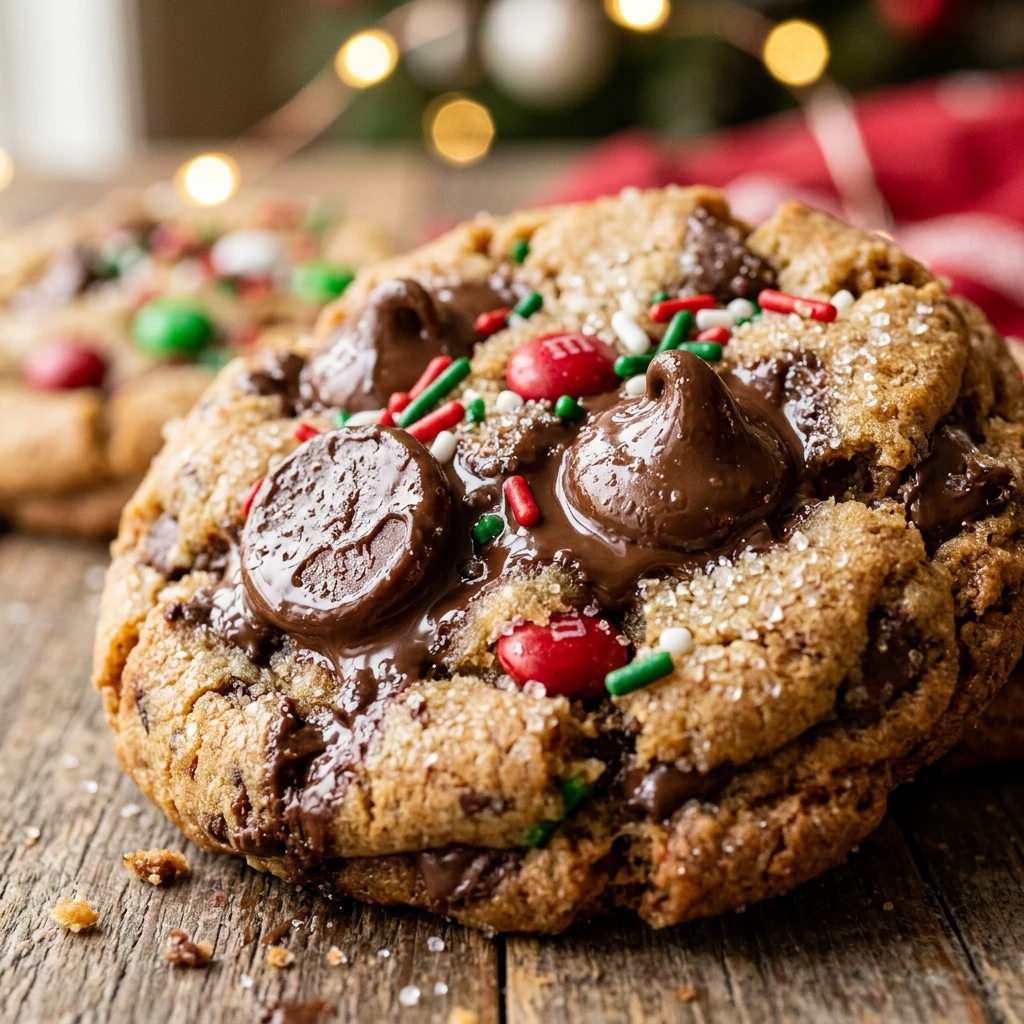
Every year as the holiday season rolls around, I find myself pulling out my favorite mixing bowl to whip up a batch of these festive treats. There is something truly magical about the aroma of warm butter and sugar filling the house while the Christmas tree lights twinkle in the corner. I have spent years perfecting this recipe to ensure every bite is soft, chewy, and loaded with festive colors that would make anyone smile, including the big man in red himself.
Recipe Details
Recipe Information
- Prep Time: 15 minutes
- Cook Time: 10 minutes
- Total Time: 25 minutes
- Servings: 24 cookies
- Difficulty: Easy
Nutrition Information (Per Serving)
- Calories: 185
- Protein: 2g
- Carbs: 24g
- Fat: 9g
Why You’ll Love Santa’s Favorite Christmas Cookies
These cookies are the ultimate holiday treat because they combine a classic buttery dough with a delightful crunch from festive candies. They have a perfectly soft texture in the center with slightly crisp edges, making them a hit at every cookie swap and gathering. Since they are so easy to prepare, you can involve the whole family in the process, making it a wonderful way to create holiday traditions together. Plus, the bright red and green colors look stunning on any dessert platter, capturing the spirit of the season in every single bite.
Santa’s Favorite Christmas Cookies Ingredients & Substitutions
- 1 cup unsalted butter, softened to room temperature
- 1 cup granulated white sugar
- 1/2 cup packed light brown sugar
- 1 large egg, room temperature
- 2 teaspoons alcohol-free vanilla extract
- 2 1/4 cups all-purpose flour
- 1 teaspoon baking soda
- 1/2 teaspoon salt
- 1 cup semi-sweet chocolate chips
- 1 cup red and green candy-coated chocolate pieces
If you prefer a deeper flavor, you can use dark brown sugar instead of light, or swap the chocolate chips for white chocolate chunks. For those who need an alternative to butter, a neutral-tasting oil or a plant-based butter substitute works well, though the texture may vary slightly. You can also add a pinch of cinnamon or nutmeg to the flour mixture if you want to enhance the warm, festive aroma of the cookies while they bake.
Step-by-Step Instructions to Make Santa’s Favorite Christmas Cookies
Step 1: Preparation
Start by preheating your oven to 350 degrees F. While the oven warms up, line two large baking sheets with parchment paper or silicone baking mats to prevent the cookies from sticking and to ensure even browning.
Step 2: Creaming the Butter and Sugars
In a large mixing bowl, beat the softened unsalted butter, granulated sugar, and brown sugar together. Use an electric mixer on medium speed for about two to three minutes until the mixture looks light, fluffy, and well combined.
Step 3: Adding Wet Ingredients
Add the large egg and the alcohol-free vanilla extract to the creamed butter mixture. Continue to beat on a lower speed until the egg is fully incorporated and the mixture is smooth.
Step 4: Mixing the Dry Ingredients
In a separate medium bowl, whisk together the all-purpose flour, baking soda, and salt. Gradually add these dry ingredients to the wet mixture, stirring by hand or on a very low mixer setting until just combined. Be careful not to overmix the dough, as this can make the cookies tough.
Step 5: Folding in the Festive Treats
Gently fold in the semi-sweet chocolate chips and the red and green candy pieces using a spatula. Make sure they are evenly distributed throughout the dough so every cookie gets a generous amount of chocolate and color.
Step 6: Shaping and Baking
Scoop rounded tablespoons of dough and place them onto the prepared baking sheets, leaving about two inches of space between each one. Bake for 9 to 11 minutes, or until the edges are just golden but the centers still look slightly soft. Let them cool on the baking sheet for five minutes before moving them to a wire rack.
Tips for Success
To get the best results, always ensure your butter is truly at room temperature, which means it should be soft to the touch but not melting. This helps create the proper air pockets when creaming the sugar. Another great tip is to set aside a few extra candy pieces to press into the tops of the dough balls right before baking, which gives them a professional and extra-festive look. Finally, do not overbake these treats. They will continue to firm up as they cool on the hot pan, so taking them out while the centers still look a little underdone is the secret to a soft and chewy cookie.
Variations of Santa’s Favorite Christmas Cookies
You can easily customize this recipe to suit your preferences or what you have in your pantry. Try adding half a cup of chopped walnuts or pecans for a nutty crunch that pairs beautifully with the chocolate. If you love a salty and sweet combination, a light sprinkle of sea salt on top of the cookies immediately after they come out of the oven is a game changer. For a double chocolate version, replace half a cup of the flour with unsweetened cocoa powder to create a rich, dark base for the festive candies.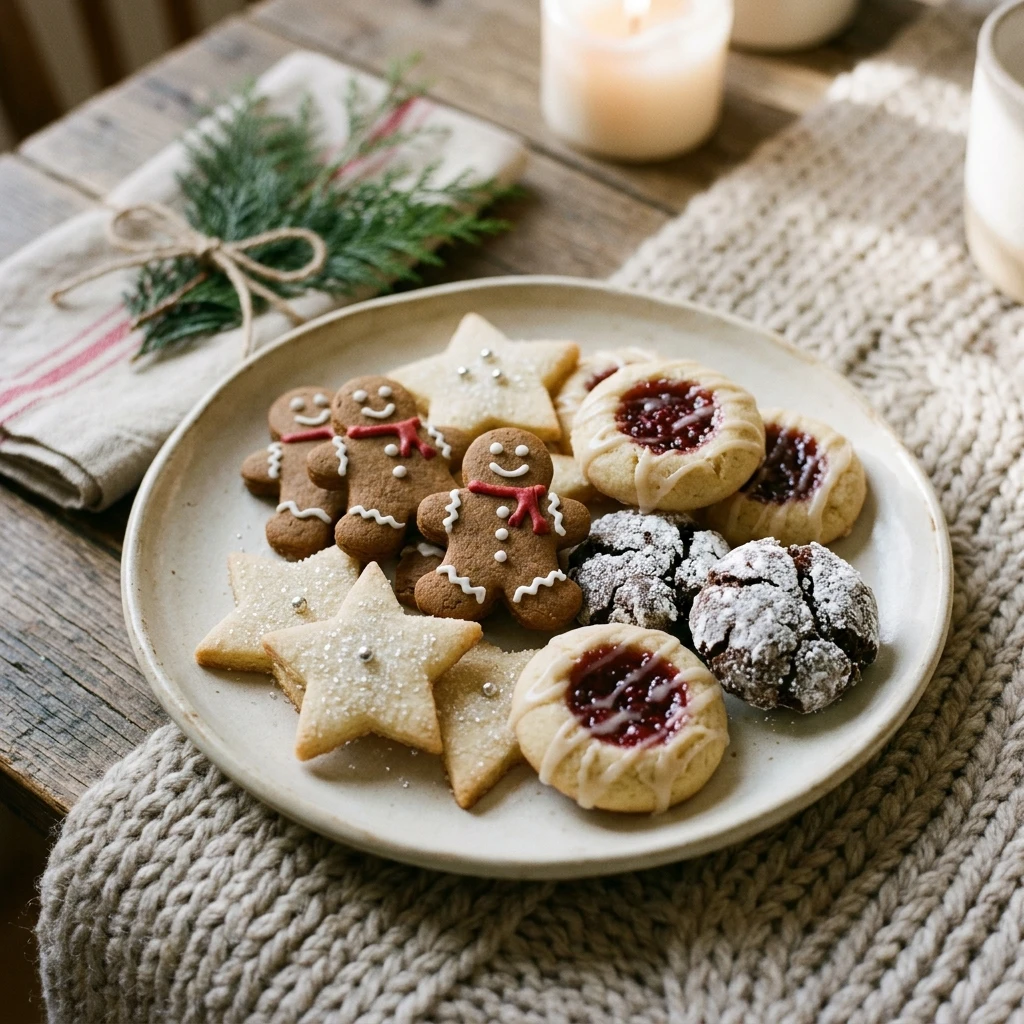
Serving Suggestions: What to Pair with Santa’s Favorite Christmas Cookies
Naturally, these cookies are best served with a cold glass of milk, just like Santa likes them. If you are hosting a holiday party, they go wonderfully with a hot cocoa bar where guests can dip their cookies into whipped cream or marshmallows. They also pair excellently with a warm cup of spiced apple cider or a festive herbal tea. For a decadent dessert, you can crumble a cookie over a bowl of vanilla bean ice cream or use two cookies to create a festive ice cream sandwich.
Storage & Reheating Instructions
Keep your cookies fresh by storing them in an airtight container at room temperature for up to five days. If you want to keep them longer, these cookies freeze beautifully. Simply place the baked and cooled cookies in a freezer-safe bag for up to three months. When you are ready to enjoy one, you can let it thaw at room temperature or pop it in the microwave for about ten seconds to get that just-out-of-the-oven warmth and gooey chocolate texture.
Memories Made Around the Table
I still remember the excitement of standing on a sturdy stool in my grandmother’s kitchen, carefully placing each red and green candy on top of the dough. We would talk about our favorite holiday stories while the kitchen filled with the scent of sugar and spice. Now, I love sharing that same joy with my own family, seeing the light in their eyes as they wait for the timer to beep. These cookies are more than just a snack, they are a piece of holiday history that brings us all together every December.
FAQs
Can I make the cookie dough in advance?
Yes, you can prepare the dough and keep it in the refrigerator for up to 48 hours before baking. Just make sure to cover it tightly with plastic wrap so it does not dry out. When you are ready to bake, let the dough sit at room temperature for about 15 minutes so it is easier to scoop.
Why did my cookies spread too much in the oven?
Cookies often spread too much if the butter was too soft or melted before mixing. Another reason could be that the baking sheets were still hot from a previous batch. Always start with room temperature butter and let your baking sheets cool completely between batches for the best shape.
Can I use this recipe to make giant cookies?
Absolutely, you can use a large ice cream scoop to make jumbo-sized cookies. Keep in mind that you will need to increase the baking time by a few minutes. Watch for the edges to turn a light golden brown as your cue that they are ready to come out.
What is the best way to keep these cookies soft?
A classic baker’s trick is to put a slice of plain white bread into the airtight container with the cookies. The cookies will absorb the moisture from the bread, which helps them stay soft and chewy for several days longer than usual.
Do I have to use a mixer for this recipe?
While an electric mixer makes the creaming process much faster and easier, you can certainly make these by hand. Use a sturdy wooden spoon and plenty of elbow grease to cream the butter and sugars until they are well combined and smooth before adding the rest of the ingredients.
Final Thoughts
Santa’s Favorite Christmas Cookies are a quintessential part of the holiday season that bring warmth and sweetness to any home. Whether you are leaving them out on a plate on Christmas Eve or sharing them with friends and neighbors, they are sure to be a hit. The combination of simple ingredients and festive decorations makes them a reliable and delicious choice year after year. I hope this recipe becomes a cherished part of your holiday celebrations and brings as much joy to your table as it does to mine.

Santa’s Favorite Christmas Cookies
- Total Time: 25 minutes
Ingredients
- 1 cup unsalted butter, softened to room temperature
- 1 cup granulated white sugar
- 1/2 cup packed light brown sugar
- 1 large egg, room temperature
- 2 teaspoons alcohol-free vanilla extract
- 2 1/4 cups all-purpose flour
- 1 teaspoon baking soda
- 1/2 teaspoon salt
- 1 cup semi-sweet chocolate chips
- 1 cup red and green candy-coated chocolate pieces
Instructions
- Start by preheating your oven to 350 degrees F. While the oven warms up, line two large baking sheets with parchment paper or silicone baking mats to prevent the cookies from sticking and to ensure even browning.
- In a large mixing bowl, beat the softened unsalted butter, granulated sugar, and brown sugar together. Use an electric mixer on medium speed for about two to three minutes until the mixture looks light, fluffy, and well combined.
- Add the large egg and the alcohol-free vanilla extract to the creamed butter mixture. Continue to beat on a lower speed until the egg is fully incorporated and the mixture is smooth.
- In a separate medium bowl, whisk together the all-purpose flour, baking soda, and salt. Gradually add these dry ingredients to the wet mixture, stirring by hand or on a very low mixer setting until just combined. Be careful not to overmix the dough, as this can make the cookies tough.
- Gently fold in the semi-sweet chocolate chips and the red and green candy pieces using a spatula. Make sure they are evenly distributed throughout the dough so every cookie gets a generous amount of chocolate and color.
- Scoop rounded tablespoons of dough and place them onto the prepared baking sheets, leaving about two inches of space between each one. Bake for 9 to 11 minutes, or until the edges are just golden but the centers still look slightly soft. Let them cool on the baking sheet for five minutes before moving them to a wire rack.
- Cook Time: 25 minutes
- Diet: Vegetarian