36 gluten-free chocolate sandwich cookies (standard 13 ounce package)
8 ounces cream cheese, softened to room temperature
1 teaspoon alcohol-free vanilla extract
12 ounces white chocolate melting wafers or high-quality chocolate chips
2 teaspoons refined coconut oil (optional, for smoother melting)
Christmas-themed sprinkles or crushed cookie crumbs for decoration
Instructions
Step 1: Preparation – Line a large baking sheet with parchment paper or a silicone baking mat. This ensures the balls do not stick once they are rolled and chilled. Ensure your cream cheese is completely softened to room temperature so it blends smoothly without any lumps.
Step 2: Crush the Cookies – Place the gluten-free sandwich cookies into a food processor. Pulse until the cookies are reduced to fine crumbs. You do not need to remove the cream filling, as it helps bind the mixture together. If you do not have a food processor, place the cookies in a sealed plastic bag and crush them with a rolling pin until fine.
Step 3: Combine the Ingredients – In a large mixing bowl, combine the cookie crumbs, the softened cream cheese, and the alcohol-free vanilla extract. Use a hand mixer on medium speed or a sturdy spatula to mix until the ingredients are thoroughly combined and a thick, uniform dough forms. No white streaks of cream cheese should be visible.
Step 4: Roll the Balls – Scoop about one tablespoon of the dough and roll it between your palms to form a ball roughly one inch in diameter. Place the ball onto the prepared baking sheet. Repeat this process until all the dough is used, which should yield approximately 24 balls.
Step 5: Chill the Dough – Place the baking sheet in the freezer for at least 30 to 45 minutes. This step is crucial because it firms up the balls, making them much easier to dip in the warm chocolate without falling apart or losing their shape.
Step 6: Melt the Chocolate – In a microwave-safe bowl, melt the white chocolate wafers in 30-second intervals, stirring well between each session. If the chocolate is too thick, stir in a teaspoon of coconut oil to thin it out. Continue until the chocolate is completely smooth and glossy.
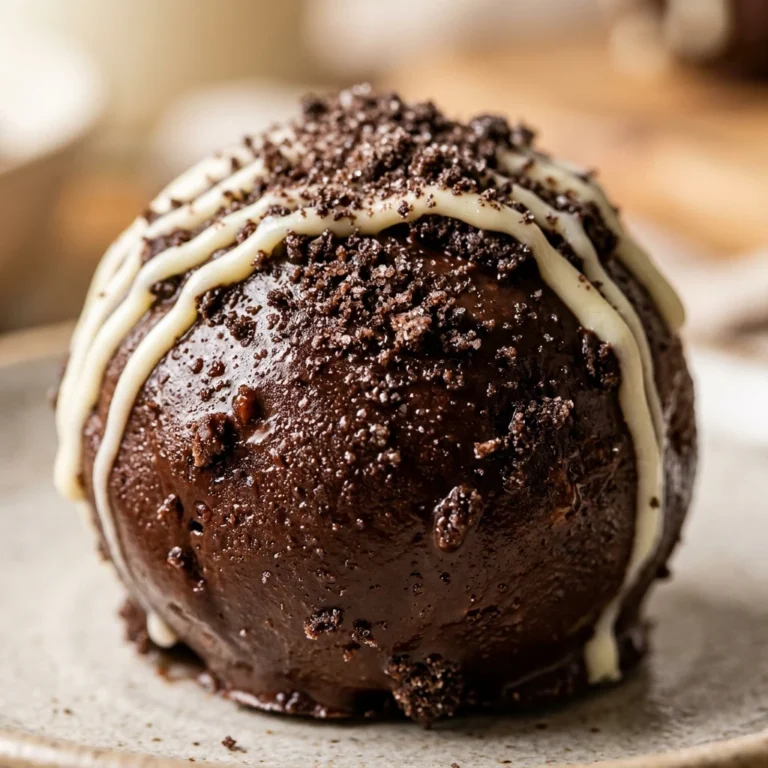
Step 7: Dip and Decorate – Use a fork or a dipping tool to submerge each chilled ball into the melted chocolate. Lift it out and tap the fork gently against the side of the bowl to let excess chocolate drip off. Place the ball back onto the parchment paper and immediately top with Christmas sprinkles or extra cookie crumbs before the chocolate sets.
Step 8: Final Set – Once all the balls are coated, place the tray in the refrigerator for another 15 to 20 minutes to allow the outer shell to harden completely. Serve chilled for the best texture.