
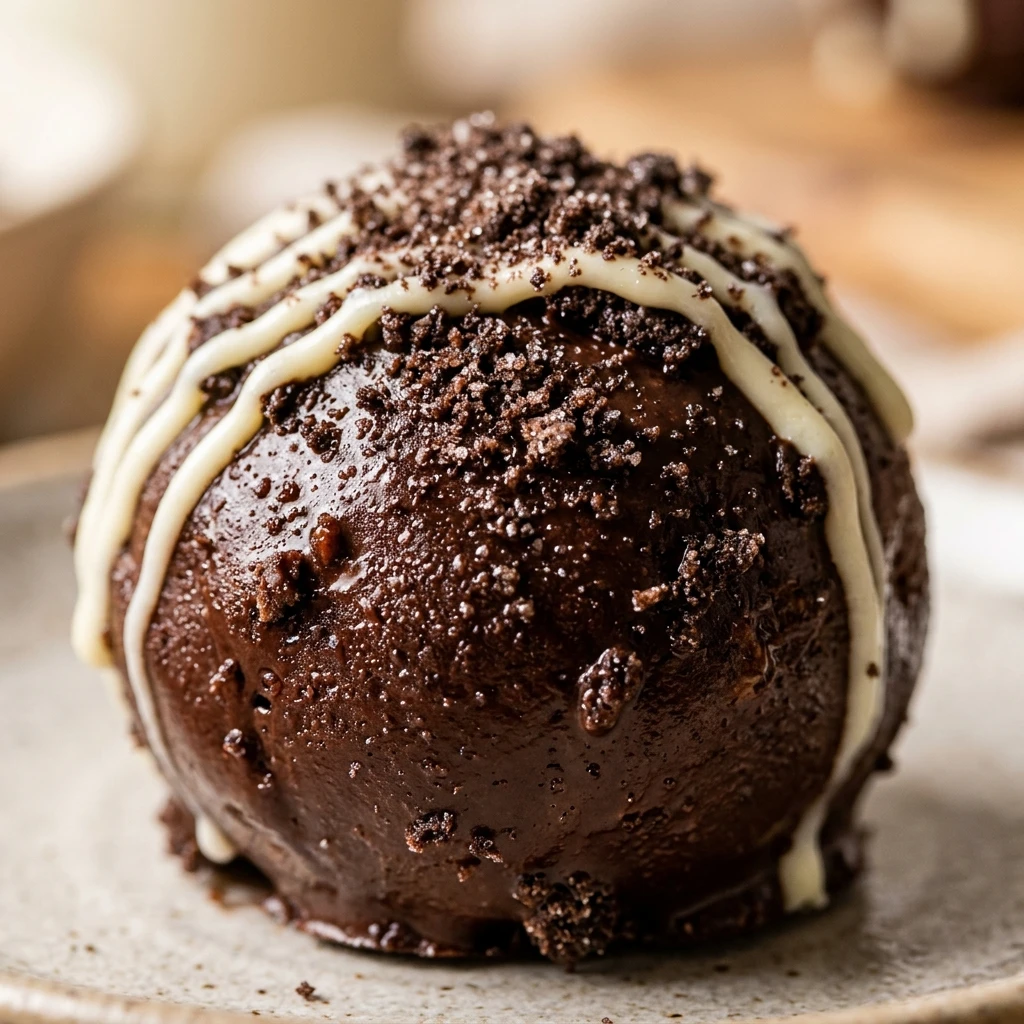
I always find myself making these treats as soon as the first snow falls because they represent the true spirit of holiday sharing. There is something so nostalgic about the combination of chocolate and cream cheese, especially when they are shaped into festive little snowballs for the Christmas dessert table. I love how simple they are to whip up during the busy holiday season without even turning on the oven, making them a staple in my kitchen every December.
Recipe Details
Recipe Information
- Prep Time: 30 minutes
- Cook Time: 0 minutes
- Total Time: 1 hour 30 minutes
- Servings: 24 balls
- Difficulty: Easy
Nutrition Information (Per Serving)
- Calories: 145 kcal
- Protein: 1.5g
- Carbs: 18g
- Fat: 8g
Why You’ll Love This Gluten-Free Oreo Balls
These festive treats are a total crowd-pleaser because they require only a handful of ingredients and absolutely no baking. Since they are naturally gluten-free when using the right cookies, they allow everyone at your Christmas party to indulge in a rich, truffle-like dessert. They look stunning on a holiday platter, especially when decorated with seasonal sprinkles or a drizzle of white chocolate, giving you a professional bakery look with very little effort. Plus, they are incredibly versatile, meaning you can customize the coatings to match your holiday theme perfectly.
Gluten-Free Oreo Balls Ingredients & Substitutions
- 36 gluten-free chocolate sandwich cookies (standard 13 ounce package)
- 8 ounces cream cheese, softened to room temperature
- 1 teaspoon alcohol-free vanilla extract
- 12 ounces white chocolate melting wafers or high-quality chocolate chips
- 2 teaspoons refined coconut oil (optional, for smoother melting)
- Christmas-themed sprinkles or crushed cookie crumbs for decoration
If you prefer a darker flavor, you can swap the white chocolate coating for semi-sweet or dark chocolate chips. For those who need a dairy-free option, a plant-based cream cheese and dairy-free chocolate work exceptionally well in this recipe. If you find the mixture too sweet, adding a tiny pinch of sea salt can help balance the flavors, while crushed candy canes can be used instead of sprinkles for a refreshing peppermint twist.
Step-by-Step Instructions to Make Gluten-Free Oreo Balls
Step 1: Preparation
Line a large baking sheet with parchment paper or a silicone baking mat. This ensures the balls do not stick once they are rolled and chilled. Ensure your cream cheese is completely softened to room temperature so it blends smoothly without any lumps.
Step 2: Crush the Cookies
Place the gluten-free sandwich cookies into a food processor. Pulse until the cookies are reduced to fine crumbs. You do not need to remove the cream filling, as it helps bind the mixture together. If you do not have a food processor, place the cookies in a sealed plastic bag and crush them with a rolling pin until fine.
Step 3: Combine the Ingredients
In a large mixing bowl, combine the cookie crumbs, the softened cream cheese, and the alcohol-free vanilla extract. Use a hand mixer on medium speed or a sturdy spatula to mix until the ingredients are thoroughly combined and a thick, uniform dough forms. No white streaks of cream cheese should be visible.
Step 4: Roll the Balls
Scoop about one tablespoon of the dough and roll it between your palms to form a ball roughly one inch in diameter. Place the ball onto the prepared baking sheet. Repeat this process until all the dough is used, which should yield approximately 24 balls.
Step 5: Chill the Dough
Place the baking sheet in the freezer for at least 30 to 45 minutes. This step is crucial because it firms up the balls, making them much easier to dip in the warm chocolate without falling apart or losing their shape.
Step 6: Melt the Chocolate
In a microwave-safe bowl, melt the white chocolate wafers in 30-second intervals, stirring well between each session. If the chocolate is too thick, stir in a teaspoon of coconut oil to thin it out. Continue until the chocolate is completely smooth and glossy.
Step 7: Dip and Decorate
Use a fork or a dipping tool to submerge each chilled ball into the melted chocolate. Lift it out and tap the fork gently against the side of the bowl to let excess chocolate drip off. Place the ball back onto the parchment paper and immediately top with Christmas sprinkles or extra cookie crumbs before the chocolate sets.
Step 8: Final Set
Once all the balls are coated, place the tray in the refrigerator for another 15 to 20 minutes to allow the outer shell to harden completely. Serve chilled for the best texture.
Tips for Success
To get the smoothest finish, make sure your cookies are crushed into a very fine powder, as large chunks can make the balls look bumpy. If the dough starts to feel too soft while you are rolling, pop it in the fridge for ten minutes before finishing. When dipping, keep the balls in the freezer and only take out a few at a time so they stay cold and firm. For a cleaner look, use a toothpick to hold the ball while dipping, then gently smooth over the small hole with a drop of chocolate once it is back on the tray.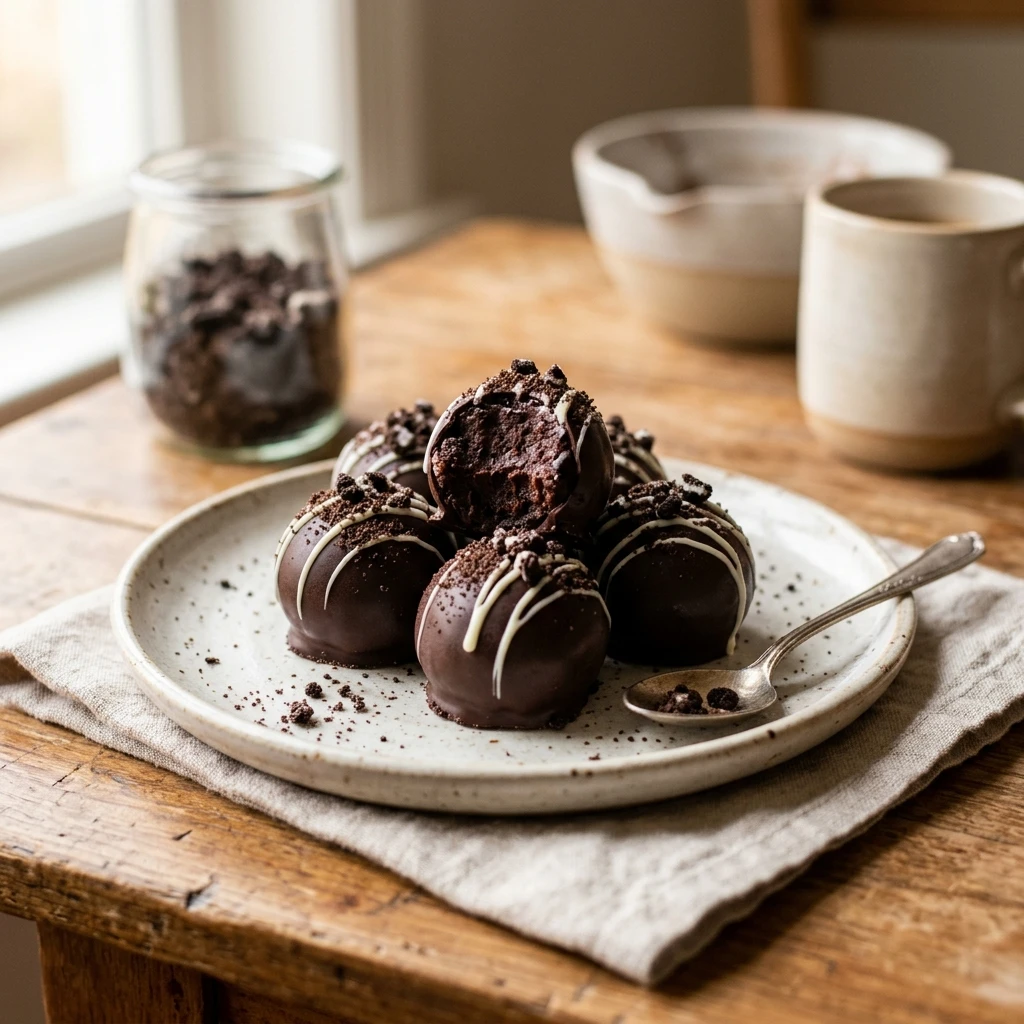
Variations of Gluten-Free Oreo Balls
For a festive peppermint version, add half a teaspoon of peppermint extract to the dough and top with crushed candy canes. You can also create a beautiful contrast by using dark chocolate for the coating and drizzling melted white chocolate over the top in a zigzag pattern. If you want a more golden look, try using gluten-free vanilla sandwich cookies instead of the chocolate ones for a “Golden Oreo” style truffle. For an adult-friendly holiday platter, you can even dust them with a little bit of edible gold glitter or cocoa powder for a sophisticated finish.
Serving Suggestions: What to Pair with Gluten-Free Oreo Balls
These rich treats pair perfectly with a steaming mug of hot cocoa topped with marshmallows. They are also a wonderful addition to a Christmas cookie exchange platter alongside gingerbread men and shortbread. If you are serving them at a dinner party, consider pairing them with fresh raspberries or strawberries to provide a tart contrast to the sweet chocolate. For a cozy evening by the fire, serve them with a cold glass of milk or a warm cup of herbal tea.
Storage & Reheating Instructions
Store these treats in an airtight container in the refrigerator for up to two weeks. Because they contain cream cheese, they should not be left out at room temperature for more than two hours. If you want to prepare them well in advance, you can freeze the coated balls in a single layer and then transfer them to a freezer-safe bag for up to three months. To serve from the freezer, simply thaw them in the refrigerator overnight. These are best served cold, so there is no need to reheat them.
Memories Made Around the Table
I remember bringing a tray of these to my neighborhood gift exchange last year, and they were gone within minutes of being set down. My kids love helping me sprinkle the festive holiday glitter on top, and it has quickly become our favorite Christmas Eve tradition to prepare a batch for the whole family. There is something so special about the messy, chocolatey hands and the laughter in the kitchen while we wait for the chocolate to set. It is those small, sweet moments that make the holidays feel truly magical.
FAQs
Can I make these ahead of time?
Yes, these are the perfect make-ahead treat. You can prepare the dough and roll the balls up to two days before you plan to dip them, or fully finish them and keep them in the fridge for up to two weeks. This makes them ideal for reducing stress during the busy Christmas week.
How do I stop the chocolate from cracking?
Cracking usually happens when there is a extreme temperature difference between the frozen ball and the hot chocolate. To prevent this, let the balls sit at room temperature for just a few minutes after taking them out of the freezer before dipping, and avoid overheating your chocolate.
Can I use a food processor for the whole process?
While you can use a food processor to crush the cookies, it is usually better to mix the cream cheese in by hand or with a mixer. Over-processing the cream cheese in a food processor can sometimes make the mixture too soft and oily, which makes it harder to roll into balls.
Why is my mixture too soft to roll?
If your mixture is too sticky or soft, it usually means the cream cheese was very warm or you used a different ratio of cookies. Simply place the bowl in the refrigerator for 30 minutes to firm up the fats in the cream cheese, and it should become much easier to handle.
What is the best chocolate for dipping?
Melting wafers are generally the best choice because they are designed to melt smoothly and set firmly with a nice snap. If you use chocolate chips, adding a small amount of coconut oil helps achieve a similar consistency and prevents the chocolate from being too thick to dip easily.
Final Thoughts
Gluten-Free Oreo Balls are the ultimate easy holiday dessert that brings a touch of magic to any Christmas gathering. Their rich, creamy centers and crisp chocolate shells make them feel like an expensive truffle, yet they are simple enough for anyone to master. Whether you are gifting them to neighbors or serving them at your own family feast, these little treats are sure to be a highlight of the season. I hope they bring as much joy to your holiday table as they do to mine.

Gluten-Free Oreo Balls
- Total Time: 1 hour 30 minutes
Ingredients
- 36 gluten-free chocolate sandwich cookies (standard 13 ounce package)
- 8 ounces cream cheese, softened to room temperature
- 1 teaspoon alcohol-free vanilla extract
- 12 ounces white chocolate melting wafers or high-quality chocolate chips
- 2 teaspoons refined coconut oil (optional, for smoother melting)
- Christmas-themed sprinkles or crushed cookie crumbs for decoration
Instructions
- Step 1: Preparation – Line a large baking sheet with parchment paper or a silicone baking mat. This ensures the balls do not stick once they are rolled and chilled. Ensure your cream cheese is completely softened to room temperature so it blends smoothly without any lumps.
- Step 2: Crush the Cookies – Place the gluten-free sandwich cookies into a food processor. Pulse until the cookies are reduced to fine crumbs. You do not need to remove the cream filling, as it helps bind the mixture together. If you do not have a food processor, place the cookies in a sealed plastic bag and crush them with a rolling pin until fine.
- Step 3: Combine the Ingredients – In a large mixing bowl, combine the cookie crumbs, the softened cream cheese, and the alcohol-free vanilla extract. Use a hand mixer on medium speed or a sturdy spatula to mix until the ingredients are thoroughly combined and a thick, uniform dough forms. No white streaks of cream cheese should be visible.
- Step 4: Roll the Balls – Scoop about one tablespoon of the dough and roll it between your palms to form a ball roughly one inch in diameter. Place the ball onto the prepared baking sheet. Repeat this process until all the dough is used, which should yield approximately 24 balls.
- Step 5: Chill the Dough – Place the baking sheet in the freezer for at least 30 to 45 minutes. This step is crucial because it firms up the balls, making them much easier to dip in the warm chocolate without falling apart or losing their shape.
- Step 6: Melt the Chocolate – In a microwave-safe bowl, melt the white chocolate wafers in 30-second intervals, stirring well between each session. If the chocolate is too thick, stir in a teaspoon of coconut oil to thin it out. Continue until the chocolate is completely smooth and glossy.
- Step 7: Dip and Decorate – Use a fork or a dipping tool to submerge each chilled ball into the melted chocolate. Lift it out and tap the fork gently against the side of the bowl to let excess chocolate drip off. Place the ball back onto the parchment paper and immediately top with Christmas sprinkles or extra cookie crumbs before the chocolate sets.
- Step 8: Final Set – Once all the balls are coated, place the tray in the refrigerator for another 15 to 20 minutes to allow the outer shell to harden completely. Serve chilled for the best texture.
- Cook Time: 1 hour 30 minutes
- Diet: Gluten-Free