
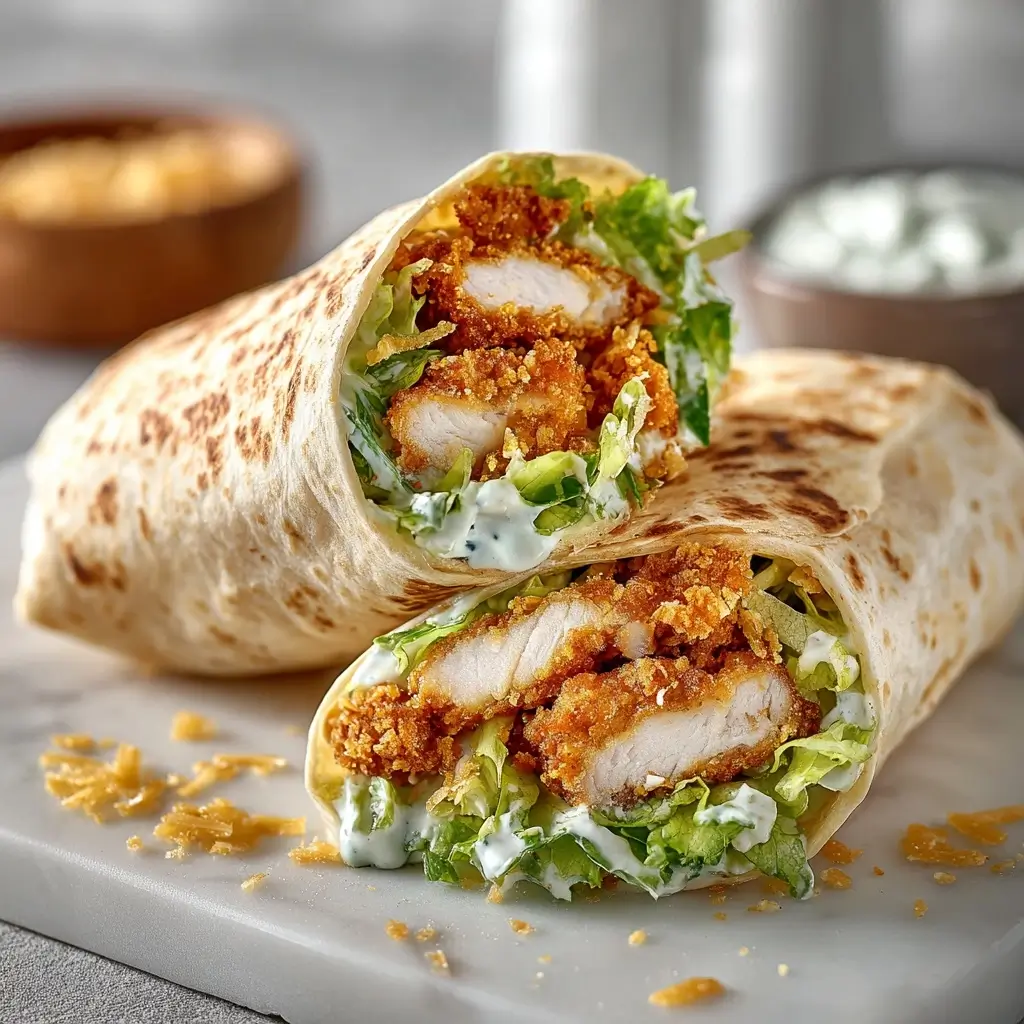
If you love a crunchy, creamy lunch that feels a little special but still comes together fast, this Crispy Chicken Caesar Wrap is a keeper. It has crisp chicken, cool lettuce, and a bold Caesar-style dressing all tucked into a soft wrap for an easy meal any day of the week.

Crispy Chicken Caesar Wrap
Instructions
- Step 1: Prep the chickenPat the chicken dry, then season it with salt, pepper, garlic powder, and onion powder. Set out three shallow bowls, one with flour, one with beaten eggs, and one with breadcrumbs.
- Step 2: Coat the chickenDip each piece of chicken into the flour, then the egg, then the breadcrumbs, pressing gently so the coating sticks well. This helps create that crisp outer layer once cooked.
- Step 3: Cook until crispyHeat oil in a skillet over medium heat and cook the chicken until golden and cooked through, or bake it on a lined sheet pan until crisp and done. Let it rest briefly, then slice into strips.
- Step 4: Build the wrapWarm the tortillas slightly so they fold easily. Add romaine lettuce, sliced crispy chicken, Caesar-style dressing, and Parmesan cheese down the center of each tortilla.
- Step 5: Roll and serveFold in the sides, roll tightly, and slice in half if you like. Serve right away while the chicken is still crisp and the wrap is cool and fresh.
Notes
Why You’ll Love This Crispy Chicken Caesar Wrap
This wrap gives you that satisfying mix of textures, crispy coating, tender chicken, and fresh greens, in every bite. It is also easy to pack for lunch, simple to customize, and great for using up leftover chicken if you want to make it even faster.
Crispy Chicken Caesar Wrap Ingredients & Substitutions
- Chicken tenders or thin chicken cutlets, for the crispy filling
- All-purpose flour, for dredging
- Eggs, for helping the coating stick
- Breadcrumbs or panko, for extra crunch
- Garlic powder, for flavor
- Onion powder, for a savory base
- Salt and black pepper, to season the chicken
- Oil, for pan-frying or baking
- Large flour tortillas, for wrapping
- Romaine lettuce, chopped for freshness
- Caesar-style dressing, choose an alcohol-free version
- Parmesan cheese, grated or shaved
- Lemon juice, optional, for brightness
If you want a lighter option, you can use baked chicken instead of pan-fried. For extra flavor, add sliced avocado, diced tomatoes, or a little smoked paprika to the breadcrumb mix.
Step-by-Step Instructions to Make Crispy Chicken Caesar Wrap
Step 1: Prep the chicken
Pat the chicken dry, then season it with salt, pepper, garlic powder, and onion powder. Set out three shallow bowls, one with flour, one with beaten eggs, and one with breadcrumbs.
Step 2: Coat the chicken
Dip each piece of chicken into the flour, then the egg, then the breadcrumbs, pressing gently so the coating sticks well. This helps create that crisp outer layer once cooked.
Step 3: Cook until crispy
Heat oil in a skillet over medium heat and cook the chicken until golden and cooked through, or bake it on a lined sheet pan until crisp and done. Let it rest briefly, then slice into strips.
Step 4: Build the wrap
Warm the tortillas slightly so they fold easily. Add romaine lettuce, sliced crispy chicken, Caesar-style dressing, and Parmesan cheese down the center of each tortilla.
Step 5: Roll and serve
Fold in the sides, roll tightly, and slice in half if you like. Serve right away while the chicken is still crisp and the wrap is cool and fresh.
Tips for Success
Keep the lettuce dry so the wrap does not get soggy too quickly. If you are making these ahead, store the chicken and fillings separately, then assemble just before eating for the best texture.
For an extra-crispy finish, use panko breadcrumbs and do not overcrowd the pan. If you prefer a cleaner wrap, warm the tortilla for just a few seconds so it softens without becoming sticky.
Variations of Crispy Chicken Caesar Wrap
Try grilled chicken if you want a lighter version with the same Caesar flavor. You can also swap the tortilla for a whole wheat wrap, add crispy turkey bacon, or toss in avocado for a richer bite.
If you like more crunch, add shredded cabbage or chopped cucumbers. For a little heat, mix a pinch of chili flakes into the dressing or breadcrumb coating.
Serving Suggestions: What to Pair with Crispy Chicken Caesar Wrap
This wrap goes well with a simple fruit salad, potato wedges, or a cup of soup. It also pairs nicely with pickles, chips, or a crisp side salad if you want to keep the meal fresh and balanced.
Storage & Reheating Instructions
Store cooked chicken in an airtight container in the refrigerator for up to 3 days. Keep the lettuce, dressing, and tortillas separate so everything stays fresh.
To reheat, warm the chicken in a skillet, oven, or air fryer until hot and crisp again. Assemble the wrap after reheating, since adding cold fillings too early can soften the coating.
Memories Made Around the Table
There is something comforting about a wrap that feels both casual and homemade. It is the kind of lunch that works for a busy weekday, but still makes you pause and enjoy each bite.
FAQs
Can I make this wrap ahead of time?
Yes, but it is best to store the chicken and fillings separately. Assemble the wrap just before serving so the coating stays crisp.
Can I bake the chicken instead of frying it?
Absolutely. Baking works well and still gives you a crisp result, especially if you use panko and a hot oven.
What kind of tortilla works best?
Large flour tortillas are the easiest to roll and hold the fillings well. If you use smaller ones, you may need to make more wraps.
How do I keep the wrap from getting soggy?
Use dry lettuce, add dressing sparingly, and assemble right before eating. A little extra care makes a big difference in texture.
Final Thoughts
This Crispy Chicken Caesar Wrap is the kind of meal that feels simple but still delivers plenty of flavor. With crunchy chicken, cool lettuce, and creamy dressing, it is a reliable favorite you will want to make again and again.