
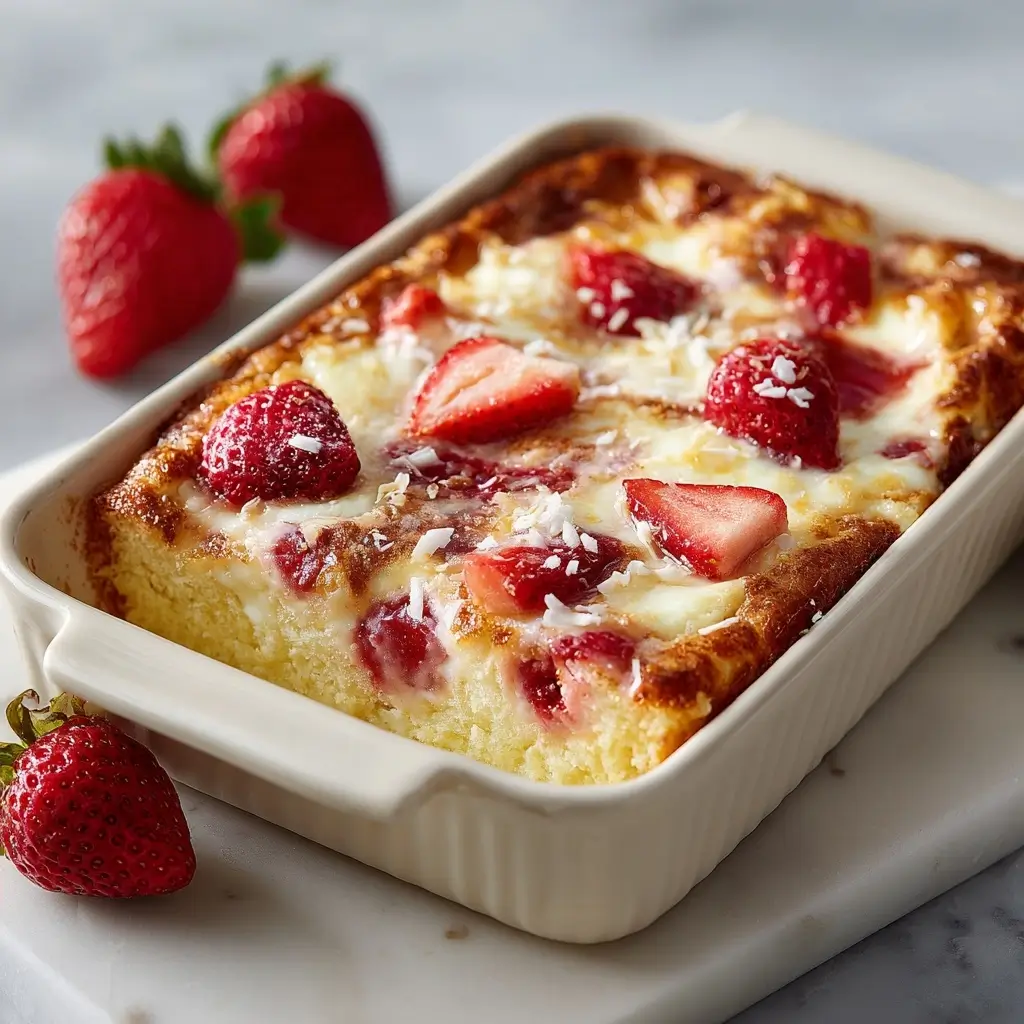
If you love a dessert that’s as beautiful as it is delicious, this Strawberry Earthquake Cake is sure to be a showstopper at your table. Sweet strawberries, creamy swirls and a surprise crackle make each slice irresistible and perfect for sharing with loved ones.

Strawberry Earthquake Cake
Equipment
- 1 9x13-inch baking pan
- 1 Mixing Bowl
- 1 Whisk
- 1 Electric Mixer (optional, for cream cheese mix)
- 1 Knife (for swirling)
Ingredients
Cake Base
- 1 box strawberry cake mix
- 1 cup sliced fresh strawberries plus extra for garnish
- 3 large eggs
- 0.5 cup vegetable oil
- 1 cup milk
- 1 cup sweetened shredded coconut
- 1 cup chopped white chocolate
Cream Cheese Swirl
- 0.5 cup butter melted
- 8 oz cream cheese softened
- 2 cups powdered sugar
- 1 teaspoon alcohol-free vanilla
Instructions
Make the Cake
- Preheat your oven to 350°F (175°C). Grease a 9x13-inch baking pan. Layer the sweetened coconut evenly across the bottom, then sprinkle on the white chocolate and sliced strawberries.
- In a bowl, whisk together the strawberry cake mix, eggs, oil, and milk until smooth. Pour this batter over the layered base in your pan.
- In another bowl, beat cream cheese, melted butter, powdered sugar, and vanilla until fluffy. Drop spoonfuls of this mixture over the cake batter, then gently swirl with a knife for a marbled effect.
- Bake for 40-45 minutes, or until the edges are set and the center is just slightly jiggly. Let cool before serving, and garnish with extra strawberries if desired.
Notes
- For extra strawberry flavor, sprinkle diced berries between the batter and cream cheese swirls.
- Let the cake cool completely before cutting for the cleanest slices.
- Check doneness by testing with a toothpick in the cake part, not the cream cheese swirls.
Nutrition
Why You’ll Love This Strawberry Earthquake Cake
This cake blends fruity bursts of strawberry with creamy pockets of sweetness, all in a soft, moist crumb. The “earthquake” cracks ensure every slice looks uniquely inviting, while the flavors feel nostalgic and comforting.
Strawberry Earthquake Cake Ingredients & Substitutions
- 1 box strawberry cake mix
- 1 cup sliced fresh strawberries (plus extra for garnish)
- 3 large eggs
- 1/2 cup vegetable oil
- 1 cup milk
- 1 cup sweetened shredded coconut
- 1 cup chopped white chocolate
- 1/2 cup butter, melted
- 8 oz cream cheese, softened
- 2 cups powdered sugar
- 1 teaspoon alcohol-free vanilla
If you’re out of white chocolate, try semi-sweet chips or yogurt chips. Butter can be replaced with a neutral oil. Fresh strawberries are best, but frozen ones (thawed and drained) work too.
Step-by-Step Instructions to Make Strawberry Earthquake Cake
Step 1: Prepare the Base
Preheat your oven to 350°F (175°C). Grease a 9×13-inch baking pan. Layer the sweetened coconut evenly across the bottom, then sprinkle on the white chocolate and sliced strawberries.
Step 2: Make the Cake Batter
In a bowl, whisk together the strawberry cake mix, eggs, oil, and milk until smooth. Pour this batter over the layered base in your pan.
Step 3: Swirl in the Cream Cheese Mixture
In another bowl, beat cream cheese, melted butter, powdered sugar, and vanilla until fluffy. Drop spoonfuls of this mixture over the cake batter, then gently swirl with a knife for a marbled effect.
Step 4: Bake
Bake for 40-45 minutes, or until the edges are set and the center is just slightly jiggly. Let cool before serving, and garnish with extra strawberries if desired.
Tips for Success
- For extra strawberry flavor, sprinkle diced berries between the batter and cream cheese swirls.
- Let the cake cool completely before cutting for the cleanest slices.
- Check doneness by testing with a toothpick in the cake part, not the cream cheese swirls.
Variations of Strawberry Earthquake Cake
- Swap white chocolate for dark or milk chocolate for a richer taste.
- Add a handful of chopped nuts for crunch.
- Try mixing in a few blueberries or raspberries with the strawberries for a berry medley twist.
Serving Suggestions: What to Pair with Strawberry Earthquake Cake
- Top with a scoop of vanilla ice cream or a dollop of whipped cream.
- Pair with a mug of herbal tea, berry lemonade, or cold milk.
- Serve alongside a fresh fruit salad for a light finish.
Storage & Reheating Instructions
- Store leftover cake covered in the refrigerator for up to 5 days.
- To serve warm, microwave individual slices for 15-20 seconds.
- Freeze tightly wrapped cake slices for up to 2 months, thawing in the fridge before enjoying.
Memories Made Around the Table
Every time I bake this Strawberry Earthquake Cake, it becomes the center of our celebrations. Kids love the pretty swirls and surprises in every bite, while adults appreciate the playful textures. It’s a dessert that brings smiles and happy memories at family gatherings.
FAQs
Can I use a different cake mix flavor?
Absolutely. White or yellow cake mix works well and pairs nicely with the strawberries.
Is it okay to use frozen strawberries?
Yes, just be sure to thaw and drain them well to avoid extra moisture in the cake.
Can I make this cake ahead of time?
You can bake it a day in advance. The flavors blend beautifully after a few hours in the fridge.
Final Thoughts
This Strawberry Earthquake Cake is a delight to make and share. From its juicy fruit to creamy swirls, it’s the perfect dessert to brighten up any occasion. Enjoy creating sweet moments around your table!