

Every year when the first snowflake falls, I find myself craving the perfect blend of cool mint and rich chocolate. This No-Bake Peppermint Tart is my secret weapon for holiday entertaining because it looks stunning but requires zero oven time. I love how the vibrant red and white candy cane pieces sparkle against the dark chocolate crust, making it the ultimate centerpiece for our Christmas dessert table.
Recipe Details
Recipe Information
- Prep Time: 25 minutes
- Cook Time: 0 minutes
- Total Time: 25 minutes
- Servings: 10 servings
- Difficulty: Easy
Nutrition Information (Per Serving)
- Calories: 340 kcal
- Protein: 4g
- Carbs: 32g
- Fat: 22g
Why You’ll Love This No-Bake Peppermint Tart
This dessert is a holiday lifesaver when your oven is already occupied by a Christmas turkey or tray of roasted vegetables. It offers a sophisticated flavor profile that balances the richness of a chocolate cookie crust with a light, airy peppermint mousse. Since it needs to be made ahead of time, it removes the stress of last-minute prep, allowing you to focus on your guests. The texture is velvety and smooth, providing a refreshing finish to a heavy festive meal.
No-Bake Peppermint Tart Ingredients & Substitutions
- 2 cups chocolate sandwich cookie crumbs
- 1/2 cup melted butter
- 8 ounces cream cheese, softened to room temperature
- 1/2 cup powdered sugar
- 1 teaspoon alcohol-free vanilla extract
- 1/2 teaspoon peppermint extract
- 1 1/2 cups heavy whipping cream, chilled
- 1/4 cup crushed candy canes
- Optional: dark chocolate shavings for garnish
If you prefer a lighter base, you can use graham cracker crumbs instead of chocolate cookies. For the cream, if you are looking for a dairy-free alternative, a chilled coconut cream can be whipped into a similar consistency. You can adjust the peppermint extract to your liking, adding an extra quarter teaspoon if you enjoy a very bold mint flavor.
Step-by-Step Instructions to Make No-Bake Peppermint Tart
Step 1: Prepare the Chocolate Crust
In a medium bowl, combine the chocolate sandwich cookie crumbs with the melted butter. Stir until the mixture looks like wet sand. Press the crumbs firmly into the bottom and up the sides of a 9-inch tart pan with a removable bottom. Use the back of a spoon to ensure the crust is even and compact, then place the pan in the freezer to set while you prepare the filling.
Step 2: Whip the Heavy Cream
In a large chilled bowl, beat the heavy whipping cream until stiff peaks form. It is important that the cream is very cold to achieve the best volume. Set the whipped cream aside in the refrigerator to keep it firm while you work on the next step.
Step 3: Mix the Peppermint Filling
In another large bowl, beat the softened cream cheese and powdered sugar together until the mixture is completely smooth and free of lumps. Stir in the alcohol-free vanilla extract and the peppermint extract. Ensure everything is well incorporated so the mint flavor is evenly distributed.
Step 4: Fold and Assemble
Gently fold the whipped cream into the cream cheese mixture using a spatula. Use a light hand to keep the filling airy and light. Once combined, pour the filling into the chilled crust and spread it out evenly with an offset spatula.
Step 5: Garnish and Chill
Sprinkle the crushed candy canes and chocolate shavings over the top of the tart. Cover the tart loosely and refrigerate for at least 4 hours, or ideally overnight. This chilling time allows the filling to set properly and the flavors to meld together for the perfect slice.
Tips for Success
To get a clean slice, use a sharp knife that has been dipped in hot water and wiped dry between each cut. Ensure your cream cheese is truly at room temperature before mixing, as cold cream cheese will result in a lumpy filling. If you want a more festive look, you can add a drop of red food coloring to the filling to create a pale pink hue that matches the candy canes.
Variations of No-Bake Peppermint Tart
For a White Chocolate Peppermint version, melt half a cup of white chocolate chips and fold them into the cream cheese mixture before adding the whipped cream. If you prefer a “Double Mint” experience, you can use mint-filled chocolate cookies for the crust instead of the standard ones. For a mini version, follow the same steps but use a muffin tin with liners to create individual serving-sized tarts for a holiday party buffet.
Serving Suggestions: What to Pair with No-Bake Peppermint Tart
This tart pairs beautifully with a warm cup of cocoa or a dark roast coffee, which helps balance the sweetness of the mint. For a truly festive spread, serve it alongside a platter of fresh berries or a small glass of sparkling apple cider. It also makes a wonderful accompaniment to a cheese board featuring sharp cheddars and nuts after the main Christmas dinner has concluded.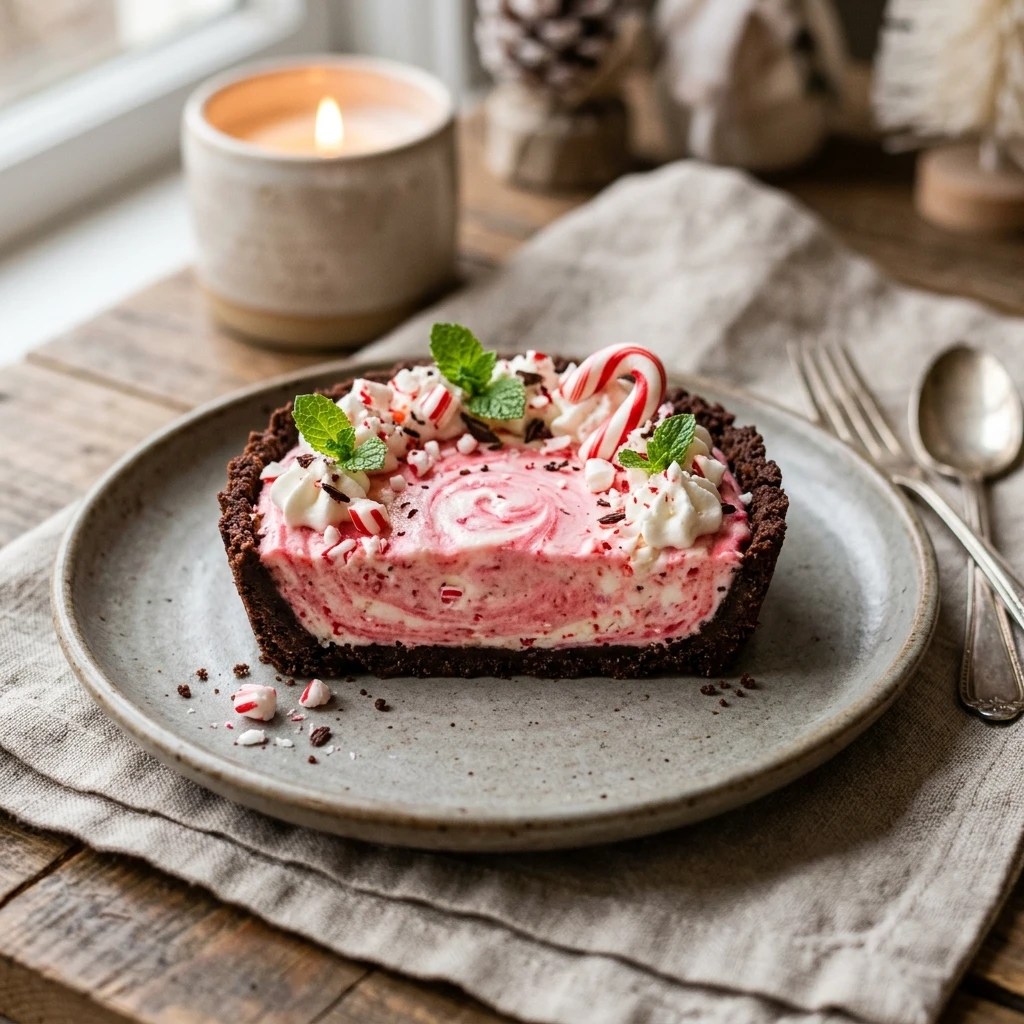
Storage & Reheating Instructions
Since this is a no-bake cream-based dessert, it should always be stored in the refrigerator. Keep it in an airtight container or tightly covered with plastic wrap to prevent it from absorbing other fridge odors. It will stay fresh for up to 3 days. You can also freeze the tart for up to one month, just be sure to thaw it in the refrigerator for a few hours before serving for the best texture. Do not reheat this dish, as the filling will melt.
Memories Made Around the Table
I remember my grandmother always had a jar of peppermint candy on her side table during December, and the scent of mint always brings back those cozy winter afternoons. This tart has become our family’s new tradition, something the kids can help decorate with crushed candy canes while the adults relax. Seeing everyone’s face light up when I bring this out after our Christmas feast is a reminder that the best gifts are the ones we share at the table.
FAQs
Can I make this tart ahead of time?
Yes, this is actually the best way to prepare it. Making the tart 24 hours in advance allows the filling to firm up completely, making it much easier to slice and serve. The flavor of the peppermint also deepens slightly as it sits.
How do I crush the candy canes without making a mess?
The easiest way is to place the unwrapped candy canes in a heavy-duty plastic freezer bag. Seal the bag and use a rolling pin or a meat mallet to gently tap them until they reach your desired consistency. This keeps all the sticky dust contained.
Why is my tart filling too soft?
This usually happens if the heavy cream wasn’t whipped to stiff peaks or if the tart hasn’t chilled for long enough. Make sure you use full-fat heavy whipping cream and give it at least four hours in the refrigerator to set firmly.
Can I use a pre-made crust for this recipe?
Absolutely. If you are short on time, a store-bought chocolate cookie crust works perfectly fine. Just make sure it is the standard 9-inch size so the filling-to-crust ratio remains balanced.
Should I add the candy canes right before serving?
While you can add them before chilling, candy canes can sometimes “weep” or bleed their red color into the white filling if left for too long. If you want a pristine look, sprinkle the crushed candy canes on top just an hour or two before you plan to serve the dessert.
Final Thoughts
The No-Bake Peppermint Tart is a testament to the fact that you do not need a lot of equipment or time to create a spectacular holiday dessert. With its cooling mint flavor and decadent chocolate base, it captures the essence of Christmas in every bite. Whether you are hosting a large gathering or a quiet family dinner, this tart is sure to be the star of the season.
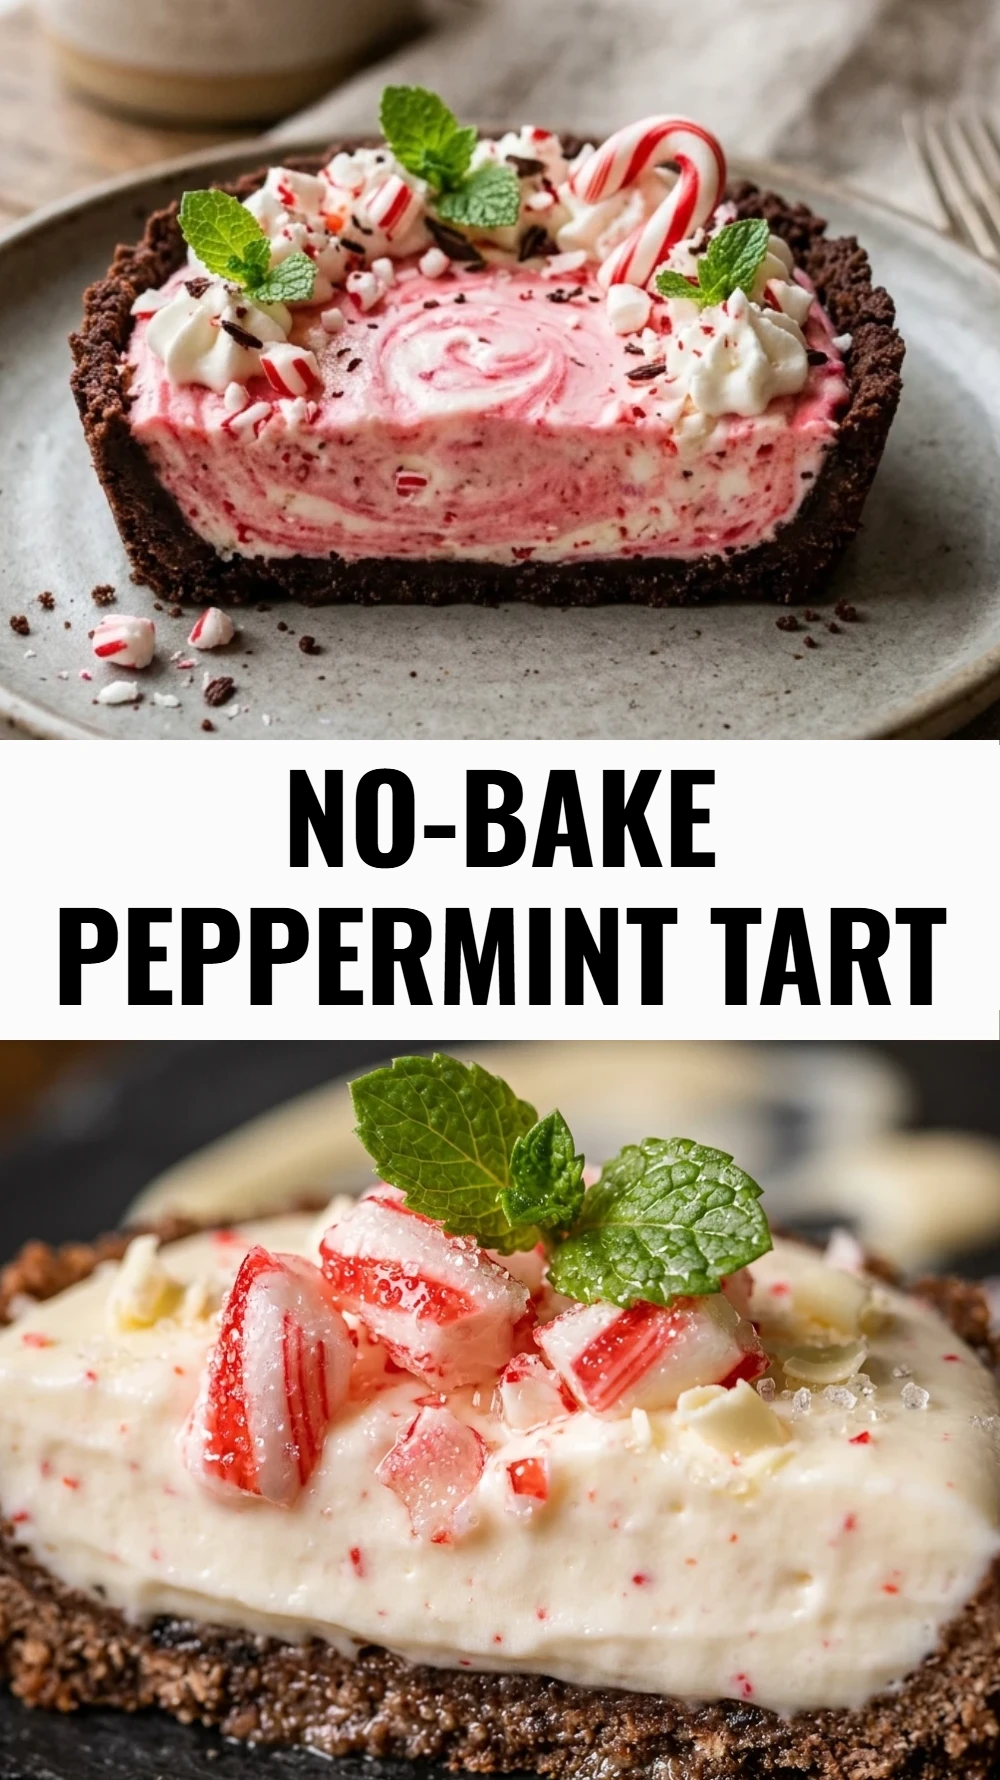

No-Bake Peppermint Tart
- Total Time: 25 minutes
Ingredients
- 2 cups chocolate sandwich cookie crumbs
- 1/2 cup melted butter
- 8 ounces cream cheese, softened to room temperature
- 1/2 cup powdered sugar
- 1 teaspoon alcohol-free vanilla extract
- 1/2 teaspoon peppermint extract
- 1 1/2 cups heavy whipping cream, chilled
- 1/4 cup crushed candy canes
- Optional: dark chocolate shavings for garnish
Instructions
- In a medium bowl, combine the chocolate sandwich cookie crumbs with the melted butter. Stir until the mixture looks like wet sand. Press the crumbs firmly into the bottom and up the sides of a 9-inch tart pan with a removable bottom. Use the back of a spoon to ensure the crust is even and compact, then place the pan in the freezer to set while you prepare the filling.
- In a large chilled bowl, beat the heavy whipping cream until stiff peaks form. It is important that the cream is very cold to achieve the best volume. Set the whipped cream aside in the refrigerator to keep it firm while you work on the next step.
- In another large bowl, beat the softened cream cheese and powdered sugar together until the mixture is completely smooth and free of lumps. Stir in the alcohol-free vanilla extract and the peppermint extract. Ensure everything is well incorporated so the mint flavor is evenly distributed.
- Gently fold the whipped cream into the cream cheese mixture using a spatula. Use a light hand to keep the filling airy and light. Once combined, pour the filling into the chilled crust and spread it out evenly with an offset spatula.
- Sprinkle the crushed candy canes and chocolate shavings over the top of the tart. Cover the tart loosely and refrigerate for at least 4 hours, or ideally overnight. This chilling time allows the filling to set properly and the flavors to meld together for the perfect slice.
- Cook Time: 25 minutes
- Diet: Vegetarian