
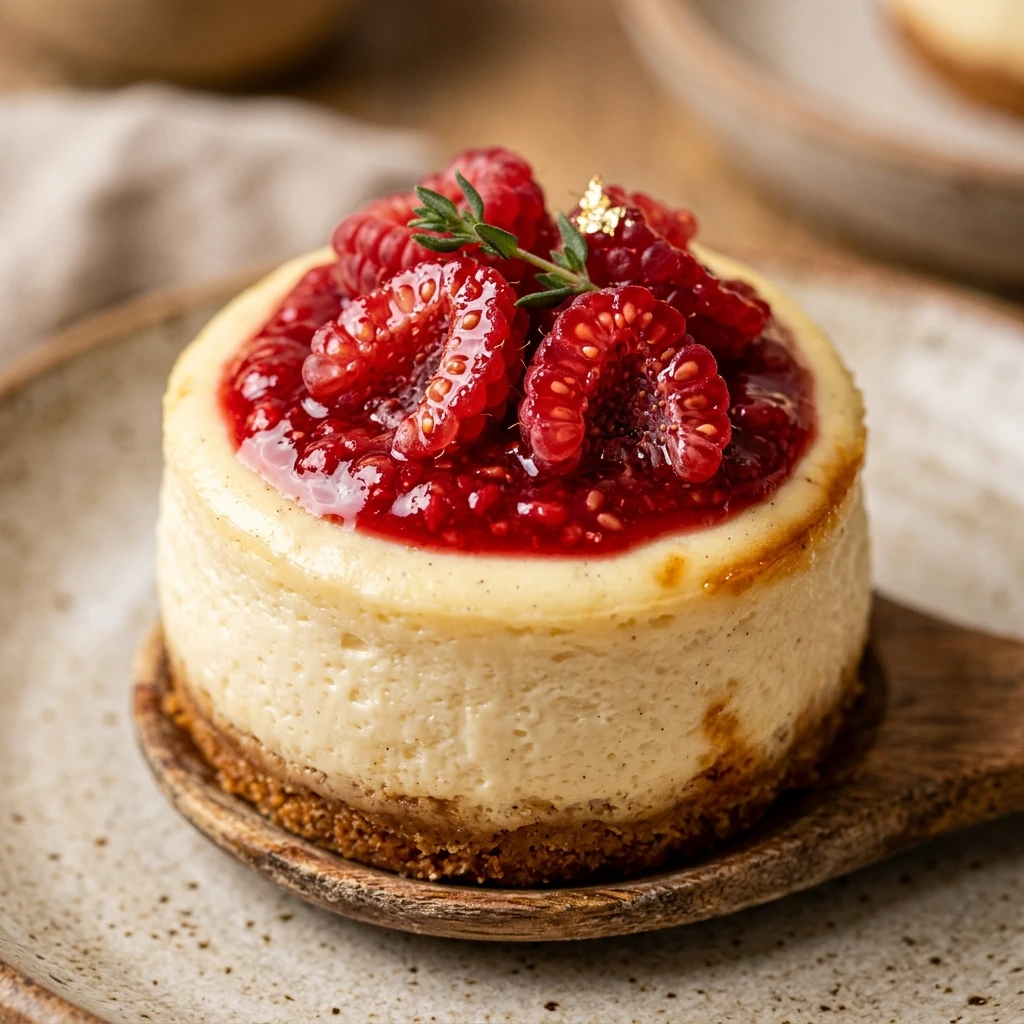
I always find that the holiday season feels a bit more magical when there are bite-sized treats waiting on the dessert table. These Mini Cheesecakes are my favorite way to bring a touch of elegance to our Christmas celebrations without the stress of a full-sized cake. I love how they offer that perfect, creamy indulgence in a portion that leaves plenty of room for all the other festive goodies we enjoy during this time of year.
Recipe Details
Recipe Information
- Prep Time: 20 minutes
- Cook Time: 20 minutes
- Total Time: 40 minutes
- Servings: 12 mini cheesecakes
- Difficulty: Easy
Nutrition Information (Per Serving)
- Calories: 245
- Protein: 4g
- Carbs: 16g
- Fat: 19g
Why You’ll Love This Mini Cheesecakes
These Mini Cheesecakes are a holiday dream because they require no water bath and bake in a fraction of the time compared to a traditional cheesecake. Their individual size makes them perfect for Christmas parties, allowing guests to grab one and mingle without needing a fork and plate. Plus, the creamy texture and buttery graham cracker crust provide a classic flavor profile that everyone at the table will adore.
Mini Cheesecakes Ingredients & Substitutions
- 1 1/2 cups graham cracker crumbs
- 4 tablespoons unsalted butter, melted
- 1 tablespoon granulated sugar (for crust)
- 16 ounces cream cheese, softened to room temperature
- 1/2 cup granulated sugar (for filling)
- 2 large eggs, room temperature
- 1/2 cup sour cream, room temperature
- 1 teaspoon alcohol-free vanilla extract
- 1 teaspoon lemon juice
If you do not have graham crackers, you can use crushed digestive biscuits or even ginger snaps for a spicy Christmas twist. For a lighter version, Greek yogurt works well as a replacement for sour cream, and you can use a sugar alternative if you prefer to reduce the sweetness. Ensure your butter is unsalted to control the saltiness of the crust, or use a plant based butter alternative if needed.
Step-by-Step Instructions to Make Mini Cheesecakes
Step 1: Preparation
Preheat your oven to 325 degrees Fahrenheit. Line a standard 12-count muffin tin with paper liners to ensure the cheesecakes are easy to remove after baking and cooling.
Step 2: Create the Crust
In a medium bowl, combine the graham cracker crumbs, melted butter, and one tablespoon of sugar. Stir until the mixture looks like wet sand. Distribute the mixture evenly among the 12 muffin liners, pressing down firmly with the bottom of a small glass or a spoon to create a solid base.
Step 3: Bake the Crust
Place the muffin tin in the oven and bake the crusts for 5 minutes. Remove the tin from the oven and let the crusts cool while you prepare the cheesecake filling.
Step 4: Cream the Cheese and Sugar
In a large mixing bowl, beat the softened cream cheese and half cup of sugar together using an electric mixer on medium speed. Mix until the texture is completely smooth and creamy, which usually takes about 2 to 3 minutes.
Step 5: Add Wet Ingredients
Add the sour cream, alcohol-free vanilla extract, and lemon juice to the cream cheese mixture. Beat on low speed until combined. Add the eggs one at a time, mixing just until the yellow disappears. Be careful not to overbeat the batter at this stage to avoid adding too much air.
Step 6: Fill and Bake
Spoon the cheesecake batter into the muffin liners, filling each one nearly to the top. Bake for 18 to 20 minutes, or until the edges are set but the centers still have a slight jiggle. Turn off the oven and leave the door cracked for 10 minutes to let them cool slowly.
Step 7: Chill
Remove the tin from the oven and let the cheesecakes cool completely at room temperature. Once cooled, transfer the tin to the refrigerator and chill for at least 3 to 4 hours, or preferably overnight, before serving.
Tips for Success
The most important tip for a smooth cheesecake is to ensure all your ingredients, especially the cream cheese and eggs, are at room temperature before you start. This prevents lumps from forming in the batter. When mixing the eggs, use the lowest speed on your mixer to keep the texture dense and creamy rather than light and airy, which can cause the cheesecakes to crack as they cool. Finally, do not skip the chilling process, as this is when the flavor develops and the structure sets firmly.
Variations of Mini Cheesecakes
For a festive Christmas variation, try folding in a half cup of crushed peppermint candies or white chocolate chips into the batter. You can also swap the graham cracker crust for a chocolate sandwich cookie crust to create a rich cocoa base. Another wonderful holiday option is to swirl a tablespoon of cranberry sauce or raspberry jam into the top of each cheesecake before baking for a beautiful red marbled effect.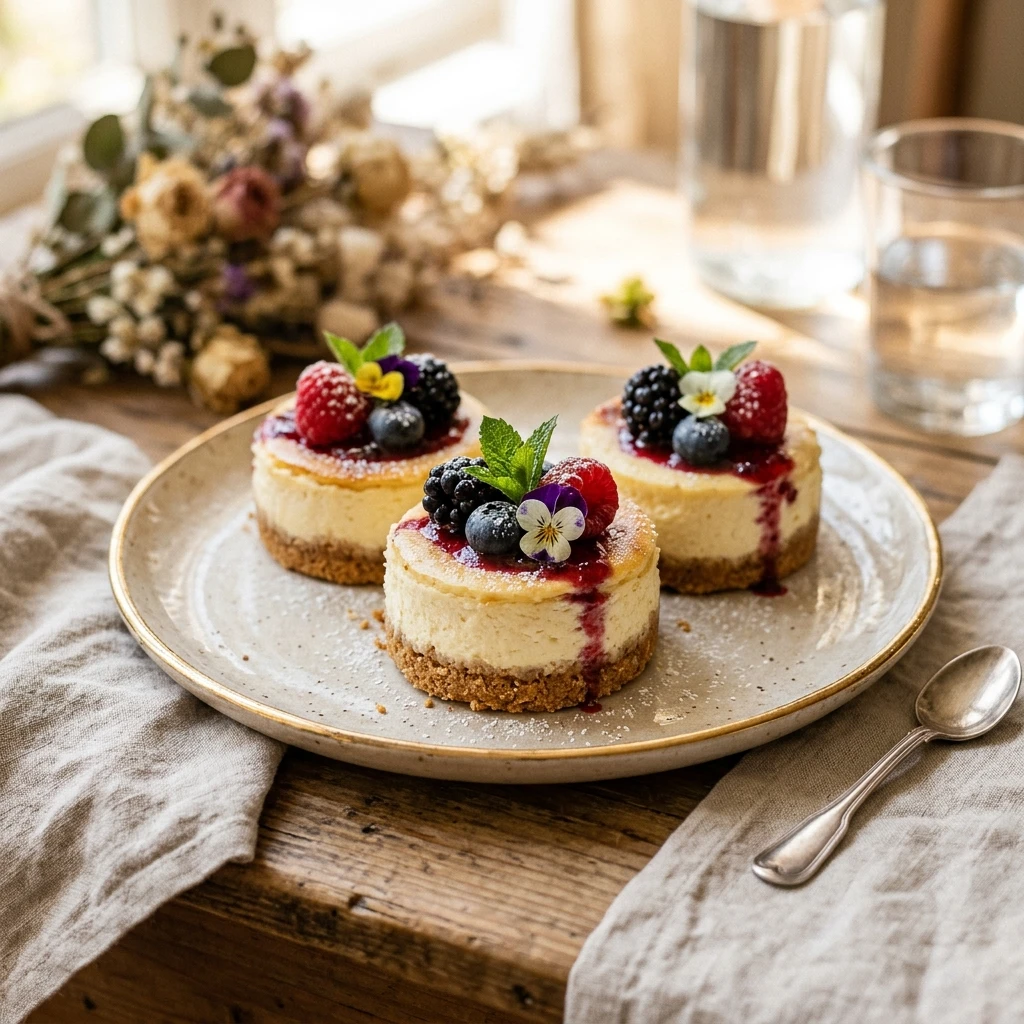
Serving Suggestions: What to Pair with Mini Cheesecakes
These Mini Cheesecakes look stunning when topped with a dollop of fresh whipped cream and a single red raspberry or a sprig of mint for a Christmas color palette. They pair beautifully with a warm cup of spiced cider or a rich hot cocoa. If you are serving these as part of a larger dessert spread, place them alongside gingerbread cookies and dark chocolate truffles to give your guests a variety of textures and flavors.
Storage & Reheating Instructions
Store your Mini Cheesecakes in an airtight container in the refrigerator for up to 5 days. Because they are best enjoyed cold, there is no need to reheat them. If you want to make them ahead of time for the holidays, these cheesecakes freeze exceptionally well. Place the chilled cheesecakes on a baking sheet to freeze individually for an hour, then wrap them tightly in plastic wrap and store them in a freezer bag for up to 2 months. Thaw them in the refrigerator overnight before serving.
Memories Made Around the Table
I remember one Christmas Eve when the snow was falling heavily outside and the house was filled with the scent of pine and baking spices. My children gathered around the kitchen island, each picking their favorite toppings for these Mini Cheesecakes. We had a little station set up with berries, caramel sauce, and chocolate shavings. It has since become a cherished tradition in our home, a quiet moment of sweetness and connection before the excitement of Christmas morning takes over.
FAQs
Can I make these Mini Cheesecakes without a muffin tin?
It is best to use a muffin tin to help the cheesecakes maintain their round shape and provide support while baking. If you do not have one, you can use sturdy, foil-lined cupcake liners doubled up on a flat baking sheet, but they may spread slightly more during the baking process.
Why did my mini cheesecakes sink in the middle?
A slight sink in the middle is normal for cheesecakes as they cool, but excessive sinking usually happens if too much air was whipped into the batter. To prevent this, mix your ingredients on low speed once you add the eggs and avoid over-baking the cheesecakes.
Can I use low-fat cream cheese for this recipe?
While you can use low-fat cream cheese, the texture will not be as rich or creamy as the full-fat version. Full-fat cream cheese provides the necessary structure and mouthfeel that makes cheesecake so satisfying, especially for holiday celebrations.
How do I know when the cheesecakes are finished baking?
The cheesecakes are done when the edges look set and slightly puffed, but the very center still has a small wobble when you gently shake the pan. They will continue to firm up as they cool in the tin and then further in the refrigerator.
Do I have to peel off the paper liners before serving?
You can serve them with the liners on for easy handling, or peel them off if you want a cleaner look on a dessert platter. If you choose to remove the liners, make sure the cheesecakes are completely chilled and firm, which makes the paper much easier to peel away without sticking.
Final Thoughts
Mini Cheesecakes are a versatile and delightful addition to any Christmas menu, offering a classic dessert in a convenient and festive form. Their simplicity and the ability to customize them with various toppings make them a reliable crowd-pleaser year after year. Whether you are hosting a large party or a quiet family dinner, these little treats are sure to bring a smile to everyone’s face and a sweet end to your holiday celebrations.


Mini Cheesecakes
- Total Time: 40 minutes
Ingredients
- 1 1/2 cups graham cracker crumbs
- 4 tablespoons unsalted butter, melted
- 1 tablespoon granulated sugar (for crust)
- 16 ounces cream cheese, softened to room temperature
- 1/2 cup granulated sugar (for filling)
- 2 large eggs, room temperature
- 1/2 cup sour cream, room temperature
- 1 teaspoon alcohol-free vanilla extract
- 1 teaspoon lemon juice
Instructions
- Preheat your oven to 325 degrees Fahrenheit. Line a standard 12-count muffin tin with paper liners to ensure the cheesecakes are easy to remove after baking and cooling.
- In a medium bowl, combine the graham cracker crumbs, melted butter, and one tablespoon of sugar. Stir until the mixture looks like wet sand. Distribute the mixture evenly among the 12 muffin liners, pressing down firmly with the bottom of a small glass or a spoon to create a solid base.
- Place the muffin tin in the oven and bake the crusts for 5 minutes. Remove the tin from the oven and let the crusts cool while you prepare the cheesecake filling.
- In a large mixing bowl, beat the softened cream cheese and half cup of sugar together using an electric mixer on medium speed. Mix until the texture is completely smooth and creamy, which usually takes about 2 to 3 minutes.
- Add the sour cream, alcohol-free vanilla extract, and lemon juice to the cream cheese mixture. Beat on low speed until combined. Add the eggs one at a time, mixing just until the yellow disappears. Be careful not to overbeat the batter at this stage to avoid adding too much air.
- Spoon the cheesecake batter into the muffin liners, filling each one nearly to the top. Bake for 18 to 20 minutes, or until the edges are set but the centers still have a slight jiggle. Turn off the oven and leave the door cracked for 10 minutes to let them cool slowly.
- Remove the tin from the oven and let the cheesecakes cool completely at room temperature. Once cooled, transfer the tin to the refrigerator and chill for at least 3 to 4 hours, or preferably overnight, before serving.
- Cook Time: 40 minutes
- Diet: Vegetarian