
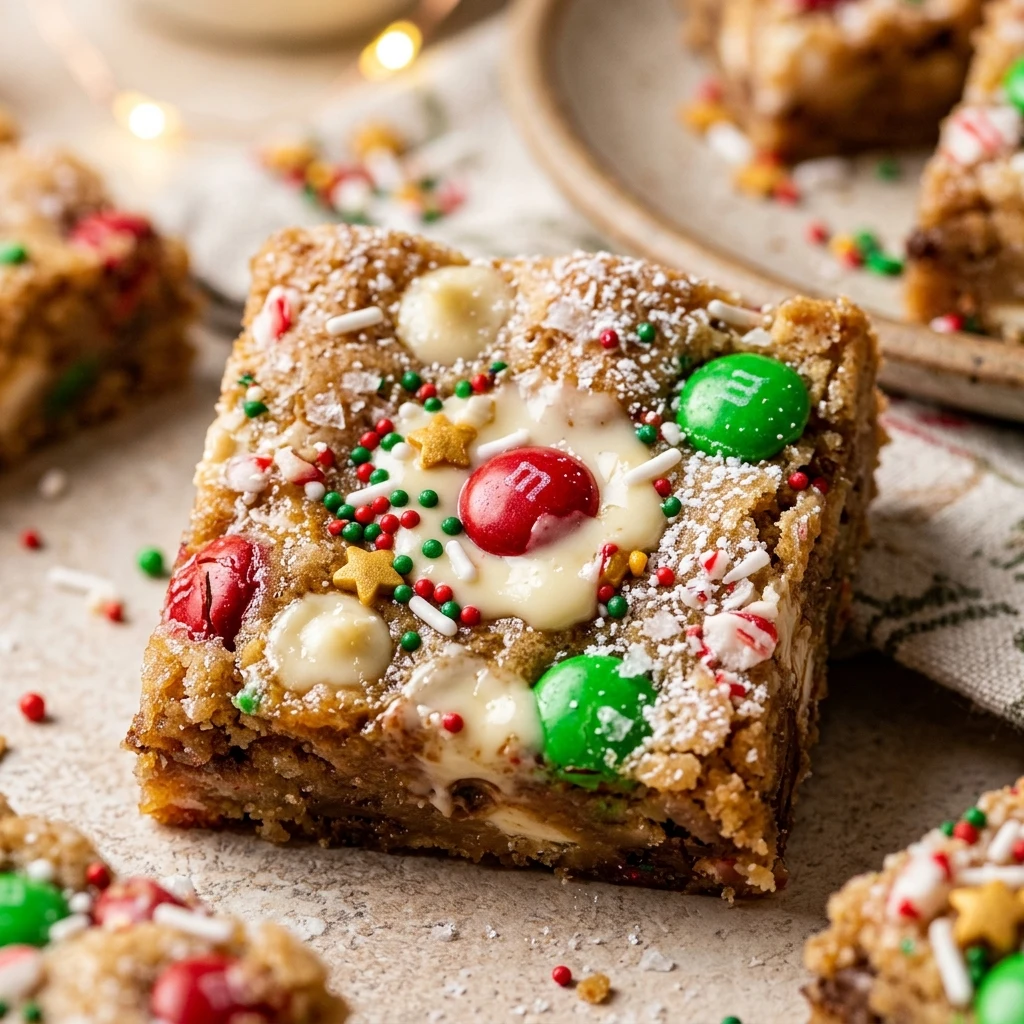
I always find that the holiday season truly begins once I pull the first tray of festive treats out of the oven. These Christmas Cookie Bars have become a staple in my kitchen because they deliver all the nostalgic flavor of a soft sugar cookie with a fraction of the effort. I love how the vibrant red and green candies make the dessert table look so bright and inviting for my guests.
Recipe Details
Recipe Information
- Prep Time: 15 minutes
- Cook Time: 25 minutes
- Total Time: 40 minutes
- Servings: 24 bars
- Difficulty: Easy
Nutrition Information (Per Serving)
- Calories: 185 kcal
- Protein: 2 g
- Carbs: 26 g
- Fat: 8 g
Why You’ll Love This Christmas Cookie Bars
If you love the taste of traditional cookies but find yourself short on time during the busy holiday rush, this recipe is a lifesaver. You do not have to worry about chilling the dough or scooping out dozens of individual portions. This version is thick, buttery, and incredibly soft, offering a chewy texture that holds up perfectly when sliced into neat squares. It is the ultimate festive crowd-pleaser that looks just as good as it tastes.
Christmas Cookie Bars Ingredients & Substitutions
- 1 cup unsalted butter, softened to room temperature
- 1 cup granulated white sugar
- 1/2 cup packed light brown sugar
- 2 large eggs
- 1 tablespoon alcohol-free vanilla extract
- 3 cups all-purpose flour
- 2 teaspoons cornstarch
- 1 teaspoon baking soda
- 1/2 teaspoon salt
- 1 cup red and green chocolate candies
- 1/2 cup festive holiday sprinkles
- 1/2 cup white chocolate chips (optional)
For a gluten-free version, you can replace the all-purpose flour with a 1-to-1 gluten-free baking blend. If you prefer a deeper flavor, dark brown sugar can be used instead of light brown sugar for a more molasses-like finish. You can also swap the chocolate candies for chopped chocolate chunks or dried cranberries if you want a different texture or a less sweet profile.
Step-by-Step Instructions to Make Christmas Cookie Bars
Step 1: Preparation and Oven Setup
Preheat your oven to 350 degrees Fahrenheit. Line a 9×13 inch baking pan with parchment paper, leaving a little overhang on the sides so you can easily lift the bars out later. Lightly grease the parchment paper with a small amount of butter or oil to ensure nothing sticks.
Step 2: Creaming the Butter and Sugars
In a large mixing bowl or the bowl of a stand mixer, beat the softened butter, granulated sugar, and light brown sugar together on medium-high speed. Continue mixing for about 2 to 3 minutes until the mixture looks light, fluffy, and well-combined.
Step 3: Incorporating Wet Ingredients
Add the eggs one at a time, beating well after each addition to ensure they are fully incorporated. Stir in the alcohol-free vanilla extract. Scrape down the sides of the bowl with a spatula to make sure no butter streaks remain.
Step 4: Mixing the Dry Ingredients
In a separate medium bowl, whisk together the flour, cornstarch, baking soda, and salt. Gradually add the dry ingredients to the wet mixture while mixing on low speed. Be careful not to overmix, stop as soon as you see no more streaks of flour.
Step 5: Adding the Festive Flair
Gently fold in about three-quarters of the red and green chocolate candies and half of the sprinkles using a spatula. This ensures the colors are distributed evenly throughout the dough without crushing the candies.
Step 6: Pressing and Baking
Transfer the dough into the prepared baking pan. Use your hands or the back of a spoon to press the dough into an even layer. Press the remaining candies and sprinkles into the top of the dough for a beautiful finish. Bake for 22 to 25 minutes, or until the edges are lightly golden brown but the center still looks slightly soft.
Step 7: Cooling and Slicing
Remove the pan from the oven and place it on a wire rack to cool completely. It is important to let them cool for at least an hour before slicing, as this allows the bars to set and gives you those perfect, clean edges. Once cooled, lift the parchment paper out and cut into 24 squares.
Tips for Success
The secret to the softest bars is the cornstarch, so do not skip it. It helps create a tender crumb that stays soft for days. Also, make sure your butter is truly at room temperature, it should be soft to the touch but not melting. If you want the bars to look professional, save a handful of the chocolate candies to press into the top right before the pan goes into the oven. Finally, avoid overbaking. The bars might look slightly underdone in the very center when you take them out, but they will finish setting as they cool.
Variations of Christmas Cookie Bars
There are so many ways to customize this treat to fit your holiday mood. You can add a cup of mini marshmallows for a hot cocoa inspired version, or stir in some crushed peppermint candies for a refreshing minty twist. If you enjoy a salty and sweet combination, try adding half a cup of crushed pretzels to the dough. For an even more indulgent treat, you can frost the cooled bars with a thick layer of vanilla buttercream before adding the sprinkles.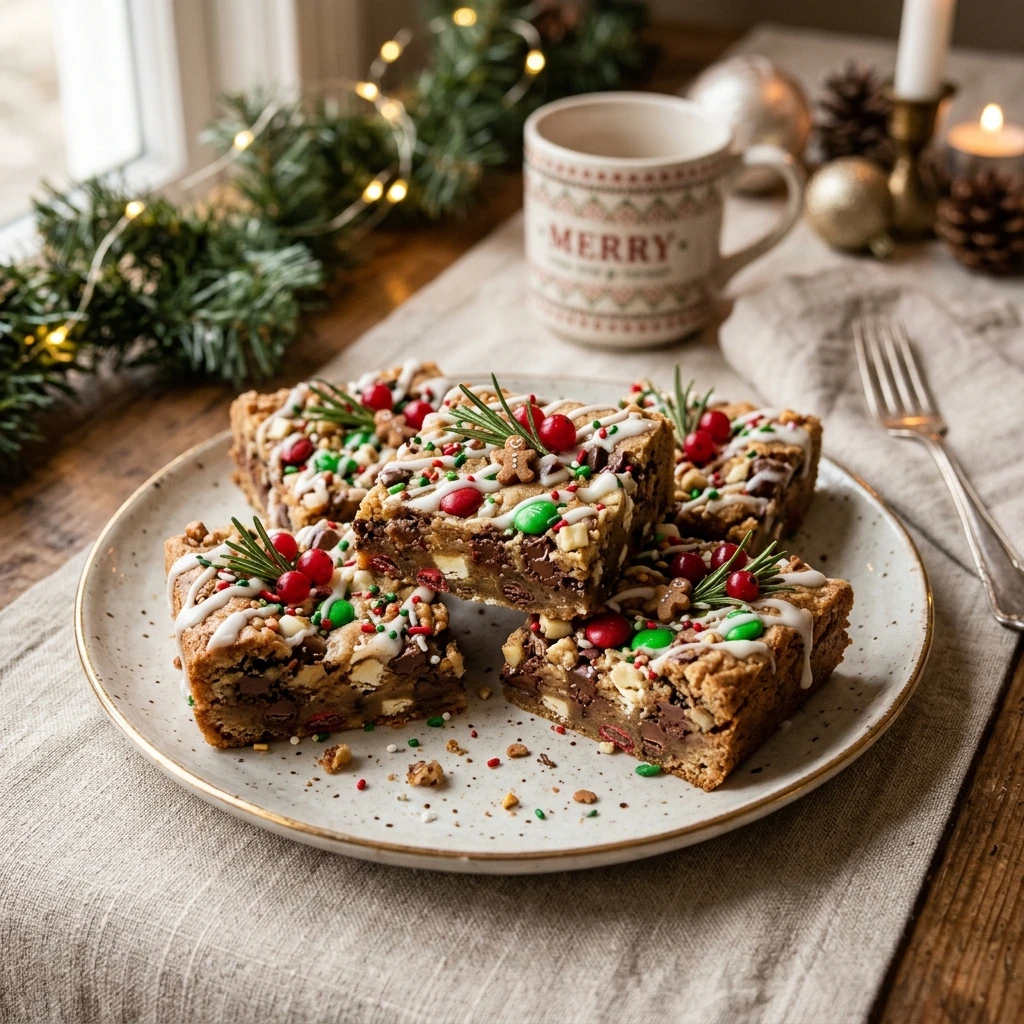
Serving Suggestions: What to Pair with Christmas Cookie Bars
These bars are fantastic when served alongside a steaming mug of homemade hot chocolate topped with whipped cream. They also make a wonderful addition to a holiday dessert board filled with gingerbread, peppermint bark, and spiced nuts. If you are serving them for a more formal dessert, try warming a bar slightly and topping it with a scoop of vanilla bean ice cream and a drizzle of caramel sauce.
Storage & Reheating Instructions
Store any leftover bars in an airtight container at room temperature for up to 4 days. If you want to keep them longer, they can be refrigerated for up to a week. To freeze, wrap individual bars in plastic wrap and place them in a freezer-safe bag for up to 3 months. When you are ready to enjoy a frozen bar, let it thaw at room temperature for about 30 minutes. If you prefer them warm, a quick 10 second zap in the microwave will bring back that fresh-out-of-the-oven softness.
Memories Made Around the Table
I remember spending Saturday afternoons in December with my grandmother, her kitchen dusted in a fine layer of flour and the radio playing holiday classics. We used to spend hours decorating individual cookies, but as the family grew, we needed a faster way to feed everyone. These bars became our go-to solution, they gave us more time to sit around the table, sharing stories and laughing, rather than being stuck at the counter scooping dough. Every time I smell the buttery vanilla scent of these bars, I am transported back to those cozy, joyful afternoons.
FAQs
Can I use salted butter instead of unsalted butter?
Yes, you can use salted butter if that is what you have on hand. Just reduce the added salt in the recipe to a quarter teaspoon to ensure the bars do not turn out too salty.
How do I know when the bars are perfectly baked?
The edges should be a light golden brown and starting to pull away slightly from the sides of the pan. The center should look set but still appear soft and not quite browned. They will firm up significantly as they cool in the pan.
Can I make the dough in advance?
Absolutely. You can prepare the dough, press it into the pan, cover it tightly with plastic wrap, and refrigerate it for up to 24 hours before baking. Just let the pan sit at room temperature for about 20 minutes before putting it in the oven.
Why did my bars turn out dry?
Dry bars are usually the result of overmeasuring the flour or overbaking. Be sure to use the spoon and level method for your flour, and start checking the oven a few minutes before the timer goes off to prevent them from drying out.
Can I use different types of candy for other holidays?
This is a very versatile base recipe. You can easily swap the red and green candies for pastel colors for Spring, orange and black for October, or even multi-colored chocolate gems for a standard birthday celebration.
Final Thoughts
Christmas Cookie Bars are the ultimate holiday hack for anyone who wants big flavor with minimal effort. They are festive, portable, and always a hit at cookie swaps or office parties. Once you see how quickly these disappear from the cooling rack, they are sure to become a permanent part of your yearly holiday traditions. Happy baking and enjoy the sweetness of the season!

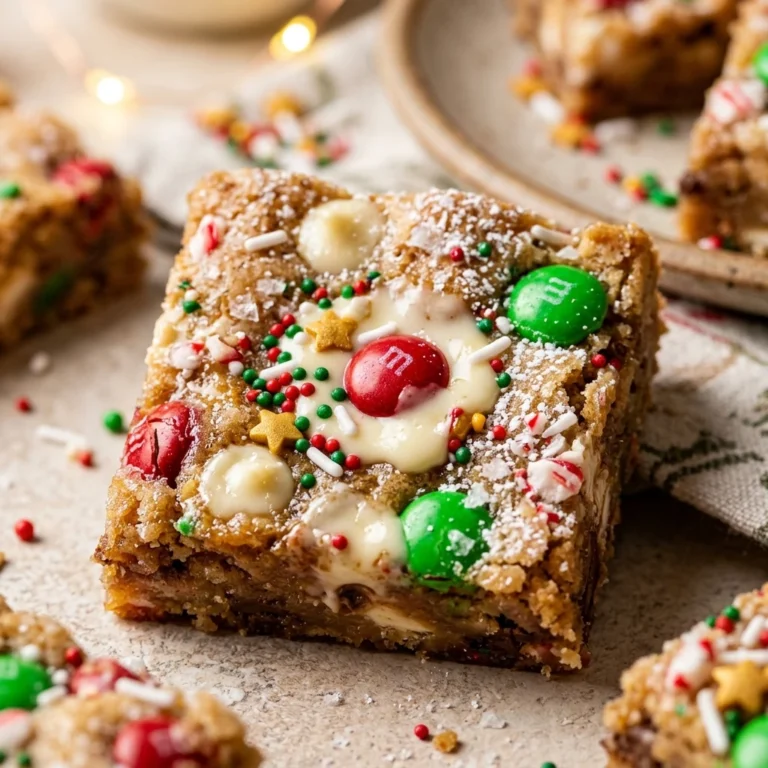
Christmas Cookie Bars
- Total Time: 40 minutes
Ingredients
- 1 cup unsalted butter, softened to room temperature
- 1 cup granulated white sugar
- 1/2 cup packed light brown sugar
- 2 large eggs
- 1 tablespoon alcohol-free vanilla extract
- 3 cups all-purpose flour
- 2 teaspoons cornstarch
- 1 teaspoon baking soda
- 1/2 teaspoon salt
- 1 cup red and green chocolate candies
- 1/2 cup festive holiday sprinkles
- 1/2 cup white chocolate chips (optional)
Instructions
- Preheat your oven to 350 degrees Fahrenheit. Line a 9×13 inch baking pan with parchment paper, leaving a little overhang on the sides so you can easily lift the bars out later. Lightly grease the parchment paper with a small amount of butter or oil to ensure nothing sticks.
- In a large mixing bowl or the bowl of a stand mixer, beat the softened butter, granulated sugar, and light brown sugar together on medium-high speed. Continue mixing for about 2 to 3 minutes until the mixture looks light, fluffy, and well-combined.
- Add the eggs one at a time, beating well after each addition to ensure they are fully incorporated. Stir in the alcohol-free vanilla extract. Scrape down the sides of the bowl with a spatula to make sure no butter streaks remain.
- In a separate medium bowl, whisk together the flour, cornstarch, baking soda, and salt. Gradually add the dry ingredients to the wet mixture while mixing on low speed. Be careful not to overmix, stop as soon as you see no more streaks of flour.
- Gently fold in about three-quarters of the red and green chocolate candies and half of the sprinkles using a spatula. This ensures the colors are distributed evenly throughout the dough without crushing the candies.
- Transfer the dough into the prepared baking pan. Use your hands or the back of a spoon to press the dough into an even layer. Press the remaining candies and sprinkles into the top of the dough for a beautiful finish. Bake for 22 to 25 minutes, or until the edges are lightly golden brown but the center still looks slightly soft.
- Remove the pan from the oven and place it on a wire rack to cool completely. It is important to let them cool for at least an hour before slicing, as this allows the bars to set and gives you those perfect, clean edges. Once cooled, lift the parchment paper out and cut into 24 squares.
- Cook Time: 40 minutes
- Diet: Vegetarian