
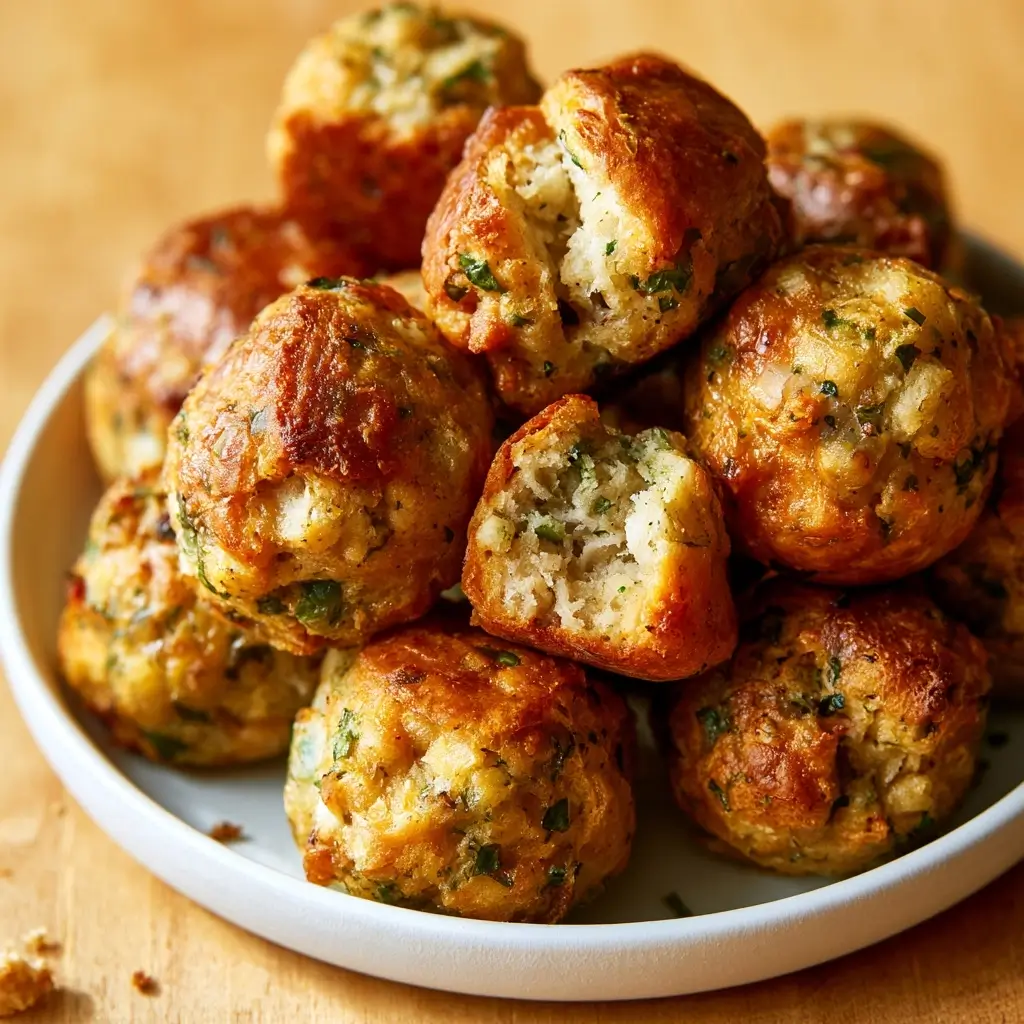
These Thanksgiving Stuffing Balls bring all the cozy flavor of classic holiday stuffing in a bite-sized, easy-to-serve form. I like to bake them until golden and crisp outside, then serve them warm with gravy or cranberry sauce for dipping.
Why You’ll Love These Thanksgiving Stuffing Balls
They have tender centers, crisp edges, and the familiar savory flavor of herbs, onion, and celery. The balls are easy to portion for a holiday appetizer spread, and you can prep the mixture ahead to make the day of your gathering simpler. They’re also a handy way to use up day-old bread.
Thanksgiving Stuffing Balls Ingredients & Substitutions
- 8 cups dry bread cubes, about 1-inch pieces
- 4 tablespoons unsalted butter
- 1 small yellow onion, finely chopped
- 2 celery stalks, finely chopped
- 1 teaspoon dried sage
- 1 teaspoon dried thyme
- 2 tablespoons chopped fresh parsley
- 1 cup chicken or vegetable broth, plus more as needed
- 1 large egg, lightly beaten
- 1/2 teaspoon fine salt
- 1/4 teaspoon black pepper
- Cooking spray or a little oil, for the baking sheet
Use vegetable broth to keep the flavor meat-free, or choose chicken broth for a richer taste. If your bread is fresh, spread the cubes on a baking sheet and dry them in a 250°F oven for 20 to 30 minutes, stirring once. Fresh herbs work well too, use about 1 tablespoon each of finely chopped sage and thyme in place of the dried herbs.
Step-by-Step Instructions to Make Thanksgiving Stuffing Balls
1. Prepare the bread and oven
Heat the oven to 375°F. Lightly coat a baking sheet with cooking spray or oil. Place the bread cubes in a large mixing bowl.
2. Cook the vegetables and herbs
Melt the butter in a skillet over medium heat. Add the onion and celery and cook for 5 to 7 minutes, stirring occasionally, until softened. Stir in the sage, thyme, and parsley.
3. Mix the stuffing
Spoon the vegetable mixture over the bread. Add the broth, beaten egg, salt, and pepper, then stir until the bread is evenly moistened. The mixture should hold together when pressed. If it seems dry, add broth 1 tablespoon at a time.
4. Shape the balls
Scoop about 1/4 cup of mixture at a time and gently press it into a ball. Arrange the balls on the prepared baking sheet, leaving a little space between them.
5. Bake until golden
Bake for 25 to 30 minutes, turning the baking sheet halfway through, until the outside is lightly crisp and golden. Let the stuffing balls rest for 5 minutes before serving.
Tips for Success
- Use dry bread so it absorbs the broth without turning mushy. If the mixture feels wet, let it sit for a few minutes before shaping.
- Press each ball firmly enough to hold its shape, but avoid packing it too tightly or the center can become dense.
- Moisten the bread gradually. Different breads absorb liquid at different rates, so you may not need every drop of broth.
- For more browning, lightly brush the tops with melted butter before baking.
Variations of Thanksgiving Stuffing Balls
Add 1/2 cup of finely chopped mushrooms with the onion and celery for an earthy note. For a little sweetness, mix in 1/3 cup dried cranberries. You can also fold in 1/2 cup shredded cheddar or finely chopped cooked turkey, adjusting the broth as needed so the mixture still holds together.
Serving Suggestions: What to Pair with Thanksgiving Stuffing Balls
Serve these as a warm appetizer with bowls of gravy and cranberry sauce for dipping. They’re also a tasty side alongside roast turkey, mashed potatoes, green beans, or a crisp fall salad. For a party platter, add fresh parsley and arrange the dips in small bowls nearby.
Storage & Reheating Instructions
Store cooled stuffing balls in an airtight container in the refrigerator for up to 3 days. Reheat them on a baking sheet at 350°F for 10 to 15 minutes, until warmed through. You can also microwave them in short intervals, though the outside will be softer. To freeze, arrange fully cooled balls in a single layer until firm, then transfer them to a freezer-safe container for up to 2 months. Reheat from frozen at 350°F until hot in the center.
Memories Made Around the Table
I love how a tray of these little bites brings people together before the main meal. Someone is usually reaching for one while the table is being set, and a bowl of warm gravy nearby makes it feel like a small preview of Thanksgiving dinner. They’re simple, familiar, and just right for sharing.
FAQs
Can I make Thanksgiving Stuffing Balls ahead of time?
Yes. Mix and shape them up to a day ahead, then cover and refrigerate. Bake just before serving, adding a few minutes to the baking time if they go into the oven cold.
Why are my stuffing balls falling apart?
The mixture may need a little more moisture or a firmer press when shaping. Add broth a tablespoon at a time, and make sure the egg is evenly mixed through the bread.
Can I use fresh bread?
Yes, but dry it in a low oven first so it can absorb the broth. Fresh, soft bread can make the mixture too wet and difficult to shape.
How do I know when they are done?
They should be golden on the outside and hold their shape when lifted. If you want to check the center, it should be hot throughout.
Final Thoughts
Thanksgiving Stuffing Balls make classic stuffing easy to share as an appetizer or side dish. With crisp edges, tender centers, and a few simple ingredients, they’re a cozy addition to a holiday table.

Thanksgiving Stuffing Balls
Equipment
- 1 Baking Sheet
- 1 Skillet
- 1 Large mixing bowl
Ingredients
- 8 cups dry bread cubes about 1-inch pieces
- 4 tablespoons unsalted butter
- 1 small yellow onion finely chopped
- 2 stalks celery finely chopped
- 1 teaspoon dried sage
- 1 teaspoon dried thyme
- 2 tablespoons fresh parsley chopped
- 1 cup chicken or vegetable broth plus more as needed
- 1 large egg lightly beaten
- 0.5 teaspoon fine salt
- 0.25 teaspoon black pepper
- cooking spray or oil for the baking sheet
Instructions
- Heat the oven to 375°F. Lightly coat a baking sheet with cooking spray or oil. Place the bread cubes in a large mixing bowl.
- Melt the butter in a skillet over medium heat. Add the onion and celery and cook for 5 to 7 minutes, stirring occasionally, until softened. Stir in the sage, thyme, and parsley.
- Spoon the vegetable mixture over the bread. Add the broth, beaten egg, salt, and pepper, then stir until the bread is evenly moistened. The mixture should hold together when pressed. If it seems dry, add broth 1 tablespoon at a time.
- Scoop about 1/4 cup of mixture at a time and gently press it into a ball. Arrange the balls on the prepared baking sheet, leaving a little space between them.
- Bake for 25 to 30 minutes, turning the baking sheet halfway through, until the outside is lightly crisp and golden. Let the stuffing balls rest for 5 minutes before serving.