
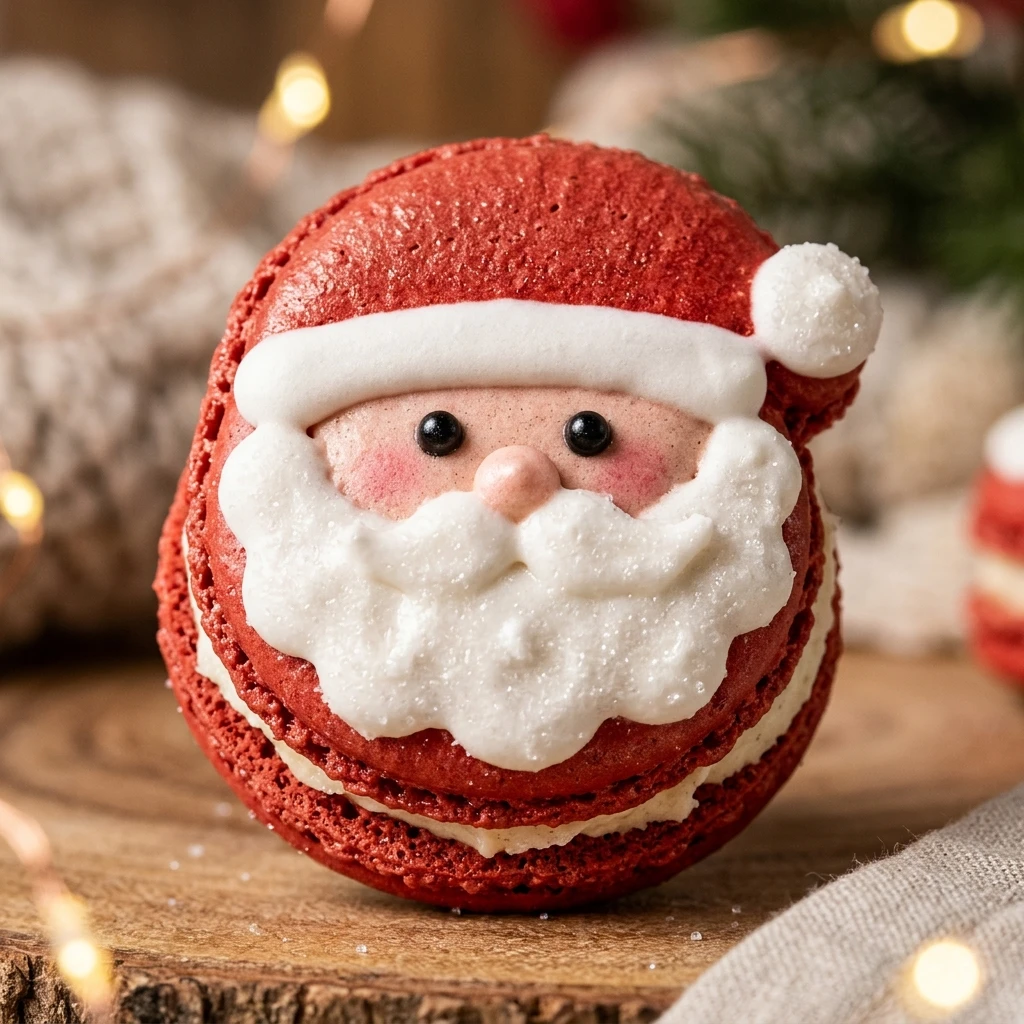
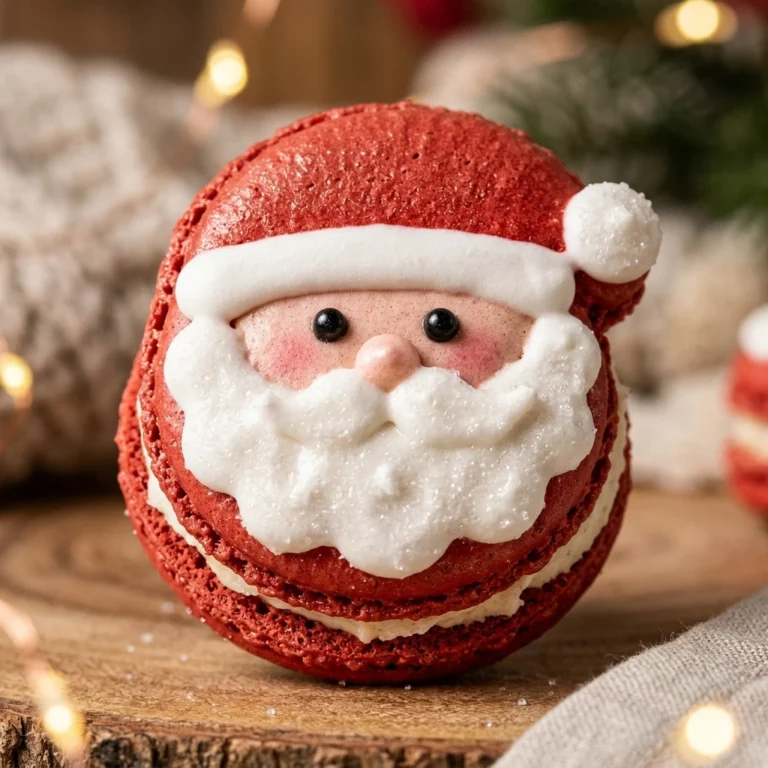
I truly enjoy the holiday hustle, especially when it involves turning my kitchen into a miniature North Pole workshop. These Santa Claus Macarons are the highlight of my Christmas baking list, combining the elegance of French pastry with the whimsy of the festive season. I find that these little red suits and fluffy beards are almost too cute to eat, but their delicious white chocolate flavor always wins everyone over in the end.
Recipe Details
Recipe Information
- Prep Time: 60 minutes
- Cook Time: 15 minutes
- Total Time: 75 minutes
- Servings: 24 macarons
- Difficulty: Hard
Nutrition Information (Per Serving)
- Calories: 105
- Protein: 2g
- Carbs: 14g
- Fat: 5g
Why You’ll Love Santa Claus Macarons
These festive treats are the ultimate showstopper for any holiday gathering. Beyond their adorable appearance, they offer a sophisticated texture that balances a crispy shell with a soft, melt-in-your-mouth interior. They make for thoughtful homemade gifts that show your loved ones you put extra care into their holiday surprises. Plus, the process of decorating them is a wonderful way to express your creativity during the most wonderful time of the year.
Santa Claus Macarons Ingredients & Substitutions
- 1 1/4 cups super-fine almond flour
- 1 3/4 cups powdered sugar
- 3 large egg whites, room temperature
- 1/4 cup granulated sugar
- 1/2 teaspoon red gel food coloring
- 1/2 cup white chocolate chips
- 1/4 cup heavy cream
- 1 teaspoon alcohol-free vanilla extract
- 1/4 cup white royal icing (for the beard and hat trim)
- Black edible food marker
If you cannot find super-fine almond flour, you can pulse standard almond flour in a food processor and sift it twice to achieve the right consistency. For the filling, you can replace the white chocolate ganache with a simple buttercream if you prefer a fluffier texture. Ensure your food coloring is gel-based rather than liquid to avoid changing the moisture content of the batter. If you do not have an edible marker, a tiny bit of melted dark chocolate applied with a toothpick works perfectly for the eyes.
Step-by-Step Instructions to Make Santa Claus Macarons
Step 1: Sift the Dry Ingredients
In a large bowl, sift together the almond flour and powdered sugar through a fine-mesh sieve. It is best to do this twice to ensure there are no lumps, which helps create that signature smooth macaron top. Discard any large almond pieces that remain in the sieve.
Step 2: Whip the Meringue
In a clean glass or metal bowl, whisk the egg whites on medium speed until they become frothy. Gradually add the granulated sugar one tablespoon at a time while increasing the speed to high. Continue whisking until stiff, glossy peaks form, meaning the mixture stands straight up when the beaters are lifted.
Step 3: The Macronage Process
Gently fold the dry ingredients into the meringue using a spatula. Once the flour is mostly incorporated, add the red gel food coloring. Continue folding using a circular motion, scraping the sides and cutting through the middle. Stop folding when the batter falls off the spatula in a slow, continuous ribbon that disappears back into the bowl after about ten seconds.
Step 4: Piping Santa
Transfer the red batter to a piping bag fitted with a medium round tip. On a baking sheet lined with parchment paper, pipe circles about one and a half inches in diameter. To create the Santa hat shape, pipe a small triangle on top of some of the circles. Tap the tray firmly on the counter several times to release trapped air bubbles.
Step 5: Drying and Baking
Let the piped shells sit at room temperature for 30 to 60 minutes. They are ready when a dull skin forms on the surface and they are no longer sticky to the touch. Bake at 300 degrees Fahrenheit for 14 to 16 minutes. Allow them to cool completely on the pan before attempting to remove them.
Step 6: Filling and Decoration
Heat the heavy cream until simmering, then pour it over the white chocolate chips. Let it sit for two minutes, add the alcohol-free vanilla, and stir until smooth. Once the ganache has thickened, pipe it onto the flat side of a shell and sandwich it with another. Use white royal icing to pipe a fluffy beard and the white trim of the hat. Finish by drawing eyes with the edible marker.
Tips for Success
Precision is key when making macarons, so I highly recommend using a kitchen scale for the most accurate measurements. Always ensure your mixing bowl and whisk are completely grease-free, as even a tiny drop of oil can prevent the egg whites from whipping properly. If your kitchen is particularly humid, you may need to let the shells dry for a longer period before baking to ensure they develop their iconic feet. Finally, remember to be patient during the folding process, as over-mixing can lead to flat cookies while under-mixing can cause cracking.
Variations of Santa Claus Macarons
While the white chocolate filling is a classic choice, you can easily spice things up for the holidays. Try adding a pinch of cinnamon or nutmeg to the dry ingredients for a warm, spiced shell flavor. You could also use a peppermint-infused ganache to give these treats a refreshing candy cane twist. For a different look, you can leave some of the batter white to create Snowmen or Reindeer shapes using the same piping techniques and different food coloring colors.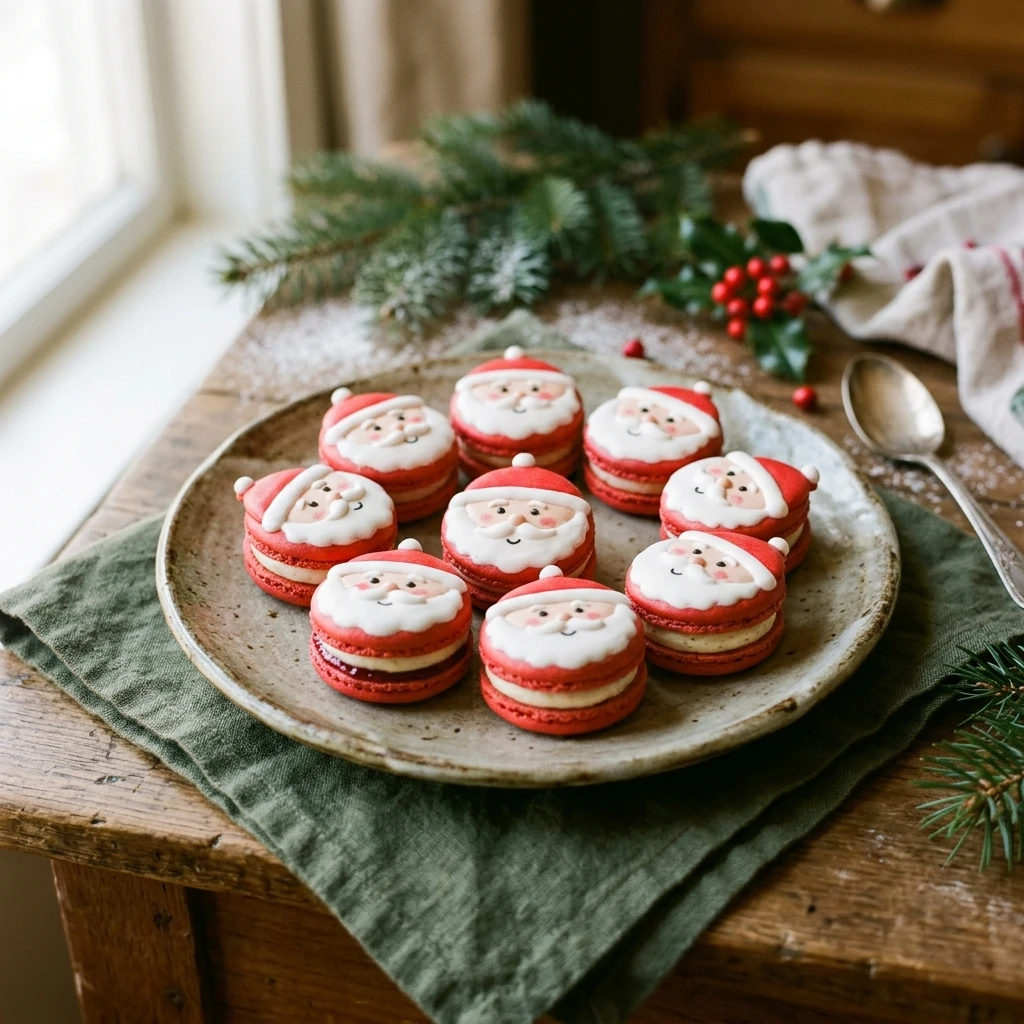
Serving Suggestions: What to Pair with Santa Claus Macarons
These delicate cookies are wonderful when served alongside a steaming mug of hot cocoa topped with marshmallows. For an afternoon tea during the Christmas break, they pair beautifully with a spicy chai or a festive herbal tea. If you are hosting a holiday party, arrange them on a platter with fresh cranberries and rosemary sprigs for a beautiful, edible centerpiece. They also look stunning when placed on top of a simple white cake as a festive topper.
Storage & Reheating Instructions
Macarons actually taste better after they have spent a day in the refrigerator, as this allows the filling to soften the shells slightly. Store them in an airtight container for up to five days in the fridge. If you want to make them ahead of time, you can freeze the filled macarons for up to a month. Just be sure to thaw them in the refrigerator overnight before serving. Never reheat macarons, as the delicate meringue will melt and lose its texture.
Memories Made Around the Table
I remember the first time I tried to make these with my daughter, and we ended up with more red batter on the floor than on the baking sheet. It became a yearly tradition that we both look forward to, marking the official start of our Christmas celebrations. Now, the kitchen feels empty without the sweet smell of almond and the sight of little Santa hats drying on the counter. Those messy moments in the kitchen are truly where the holiday magic happens for our family.
FAQs
Why did my macaron shells crack in the oven?
Cracking is usually caused by trapped air or insufficient drying time. Make sure to tap the tray firmly against the counter to release bubbles and let the shells sit until a solid skin forms on top. If the oven temperature is too high, it can also cause the shells to expand too quickly and burst.
Can I use liquid food coloring for the red batter?
It is best to avoid liquid food coloring because it adds too much moisture to the delicate meringue. This can prevent the shells from setting correctly or cause them to become hollow. Gel or powder food coloring provides a vibrant color without affecting the consistency of the batter.
Do I really need to age my egg whites?
While not strictly mandatory, aging egg whites for 24 hours in the fridge helps reduce their moisture content while maintaining their protein structure. This leads to a more stable meringue and a better overall texture for your Santa Claus Macarons. Just remember to bring them back to room temperature before whipping.
How do I know when the macarons are done baking?
You can test for doneness by gently touching the side of a shell. If it feels firm and does not wiggle on its feet, it is ready. If the shell moves or feels unstable, give it another minute or two in the oven. Be careful not to overbake, as they can quickly turn brown and lose their vibrant red color.
What if I don’t have a piping bag?
In a pinch, you can use a heavy-duty plastic storage bag. Simply fill the bag with batter and snip off one corner to create a makeshift piping tip. It might be a little harder to control the shape of the Santa hats, but it will work for the basic round shells and beards.
Final Thoughts
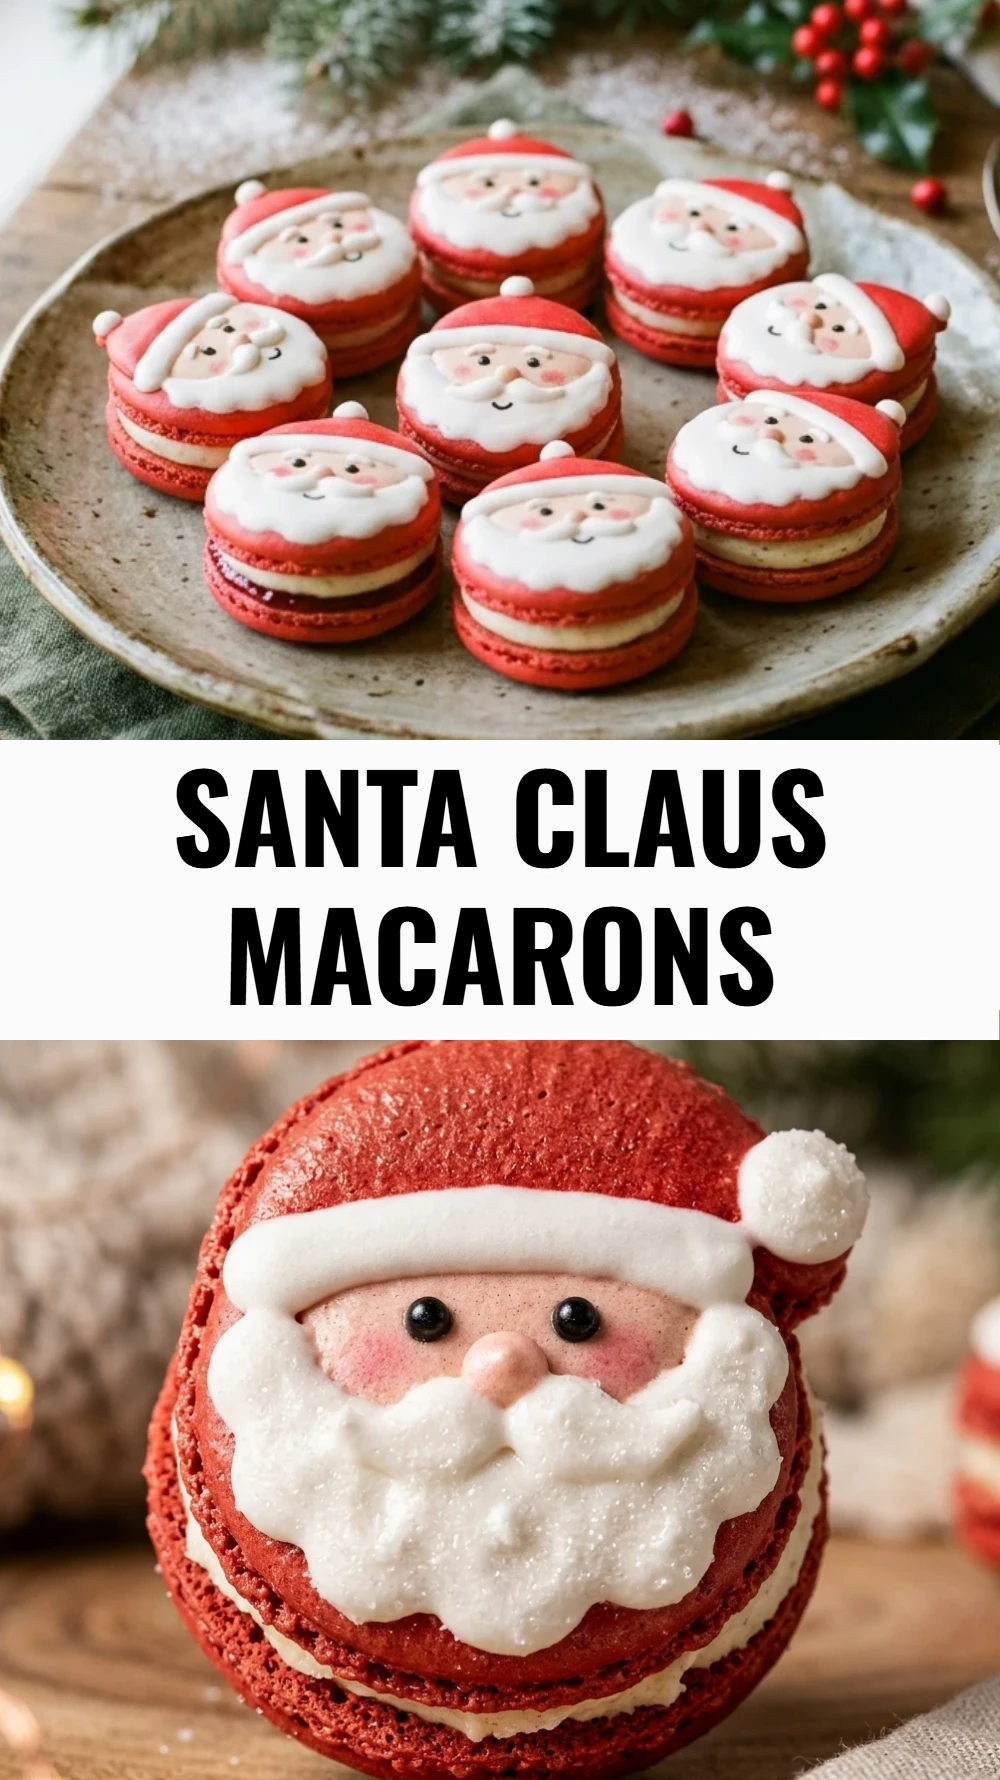
Making Santa Claus Macarons is a labor of love that is well worth the effort when you see the joy they bring to your holiday table. They may require a bit of practice and patience, but even the less-than-perfect ones taste absolutely delicious. I hope this recipe brings a little extra sparkle to your Christmas baking this year. Happy holidays and happy baking!
Santa Claus Macarons
- Total Time: 1 hour 15 minutes
Ingredients
- 1 1/4 cups super-fine almond flour
- 1 3/4 cups powdered sugar
- 3 large egg whites, room temperature
- 1/4 cup granulated sugar
- 1/2 teaspoon red gel food coloring
- 1/2 cup white chocolate chips
- 1/4 cup heavy cream
- 1 teaspoon alcohol-free vanilla extract
- 1/4 cup white royal icing (for the beard and hat trim)
- Black edible food marker
Instructions
- In a large bowl, sift together the almond flour and powdered sugar through a fine-mesh sieve. It is best to do this twice to ensure there are no lumps, which helps create that signature smooth macaron top. Discard any large almond pieces that remain in the sieve.
- In a clean glass or metal bowl, whisk the egg whites on medium speed until they become frothy. Gradually add the granulated sugar one tablespoon at a time while increasing the speed to high. Continue whisking until stiff, glossy peaks form, meaning the mixture stands straight up when the beaters are lifted.
- Gently fold the dry ingredients into the meringue using a spatula. Once the flour is mostly incorporated, add the red gel food coloring. Continue folding using a circular motion, scraping the sides and cutting through the middle. Stop folding when the batter falls off the spatula in a slow, continuous ribbon that disappears back into the bowl after about ten seconds.
- Transfer the red batter to a piping bag fitted with a medium round tip. On a baking sheet lined with parchment paper, pipe circles about one and a half inches in diameter. To create the Santa hat shape, pipe a small triangle on top of some of the circles. Tap the tray firmly on the counter several times to release trapped air bubbles.
- Let the piped shells sit at room temperature for 30 to 60 minutes. They are ready when a dull skin forms on the surface and they are no longer sticky to the touch. Bake at 300 degrees Fahrenheit for 14 to 16 minutes. Allow them to cool completely on the pan before attempting to remove them.
- Heat the heavy cream until simmering, then pour it over the white chocolate chips. Let it sit for two minutes, add the alcohol-free vanilla, and stir until smooth. Once the ganache has thickened, pipe it onto the flat side of a shell and sandwich it with another. Use white royal icing to pipe a fluffy beard and the white trim of the hat. Finish by drawing eyes with the edible marker.
- Cook Time: 75 minutes
- Diet: Gluten-Free, Vegetarian