
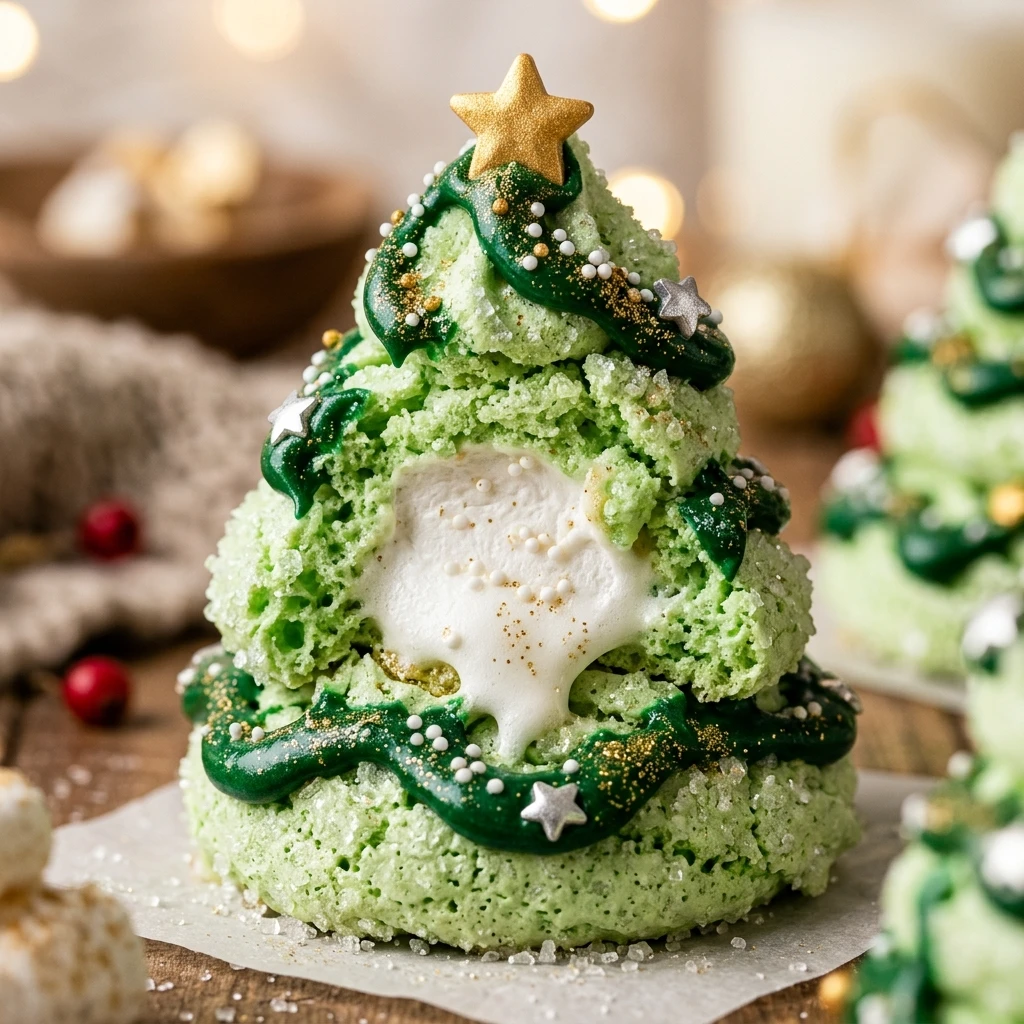
I always look forward to the holiday season because it is the perfect time to bring a bit of magic into the kitchen with whimsical treats. These festive sweets are a staple in my home during December, combining the light crunch of a classic meringue with a hidden, gooey center that everyone loves. I find that placing these tiny edible trees on a dessert platter immediately makes the table feel more like a winter wonderland.
Recipe Details
Recipe Information
- Prep Time: 30 minutes
- Cook Time: 1 hour 30 minutes
- Total Time: 2 hours
- Servings: 24 trees
- Difficulty: Medium
Nutrition Information (Per Serving)
- Calories: 55 kcal
- Protein: 1g
- Carbs: 13g
- Fat: 0g
Why You’ll Love This Festive Dessert
This Festive Dessert is the ultimate combination of texture and holiday spirit. You get that satisfying, crisp snap from the meringue followed by the soft, pillowy surprise of a marshmallow tucked inside. Because they are naturally fat-free and light, they are a wonderful alternative to heavy holiday cakes. Plus, they look absolutely stunning on a cookie swap plate or used as edible decorations for a gingerbread house. Kids especially enjoy the surprise center, making these a huge hit at family gatherings.
This Festive Dessert Ingredients & Substitutions
- 4 large egg whites, at room temperature
- 1/2 teaspoon cream of tartar
- 1 cup granulated white sugar
- 1 teaspoon alcohol-free vanilla extract
- Green gel food coloring
- 24 marshmallows made with agar-agar
- Small gold or yellow star sprinkles
- Assorted tiny nonpareils for ornaments
If you do not have cream of tartar, a few drops of lemon juice can help stabilize the egg whites just as well. For the sugar, superfine sugar is ideal for a smoother texture, but regular granulated sugar works if you add it slowly. If you prefer a different flavor profile, you can swap the alcohol-free vanilla for peppermint extract to give it a cool, wintry taste. For those who want to avoid food coloring, you can leave the meringue white to create beautiful snowy mountain peaks instead of green trees.
Step-by-Step Instructions to Make This Festive Dessert
Step 1: Preparation and Oven Setup
Preheat your oven to 200 degrees Fahrenheit. Line two large baking sheets with parchment paper or silicone baking mats. Use a tiny dab of meringue on the corners of the parchment paper to keep it from sliding around while you pipe your trees later.
Step 2: Whipping the Egg Whites
In a very clean, grease-free glass or metal bowl, beat the egg whites and cream of tartar on medium speed. Continue until soft peaks form, which means the peaks curl over gently when the whisk is lifted. Ensure there is no yellow yolk in your whites, or they will not whip properly.
Step 3: Gradually Adding Sugar
Increase the mixer speed to medium-high and begin adding the granulated sugar one tablespoon at a time. This slow process is vital to ensure the sugar dissolves completely. Continue beating until the mixture is thick, glossy, and forms stiff peaks that stand straight up.
Step 4: Flavoring and Coloring
Gently fold in the alcohol-free vanilla extract and the green gel food coloring. Use a toothpick to add the color gradually until you reach your desired shade of forest green. Avoid over-mixing at this stage to keep the air in the meringue.
Step 5: Piping the Trees
Place a small dot of meringue on the bottom of each marshmallow and stick them onto the prepared baking sheets, spaced two inches apart. Fit a piping bag with a star tip and fill it with the green meringue. Starting at the base of a marshmallow, pipe three layers of “branches” in a circular motion, moving upward and inward to cover the marshmallow entirely and form a pointed tree shape.
Step 6: Decorating and Baking
Carefully place a star sprinkle on the top of each tree and lightly dust with nonpareils to look like ornaments. Bake in the center of the oven for 90 minutes. Once the time is up, turn off the oven and leave the door slightly ajar, allowing the trees to cool completely inside for at least an hour to prevent cracking.
Tips for Success
The most important tip is to ensure your mixing bowl and whisk are completely free of any oil or residue, as even a tiny bit of fat will prevent the egg whites from fluffing up. I always recommend using room temperature eggs because they reach a higher volume than cold eggs. If you are making these on a very humid day, you may need to bake them slightly longer, as meringue absorbs moisture from the air which can make it sticky. Always use gel food coloring rather than liquid drops to maintain the thick consistency of the batter.
Variations of This Festive Dessert
There are many ways to get creative with this recipe. You can dip the bottoms of the cooled meringue trees in melted dark chocolate for an extra layer of decadence. Another fun idea is to use different colors like pink or light blue for a modern holiday aesthetic. If you want a different “trunk,” you can place the marshmallow on top of a small circular cocoa cookie before piping the green meringue over both. For a snowy effect, a light dusting of powdered sugar right before serving adds a beautiful finishing touch.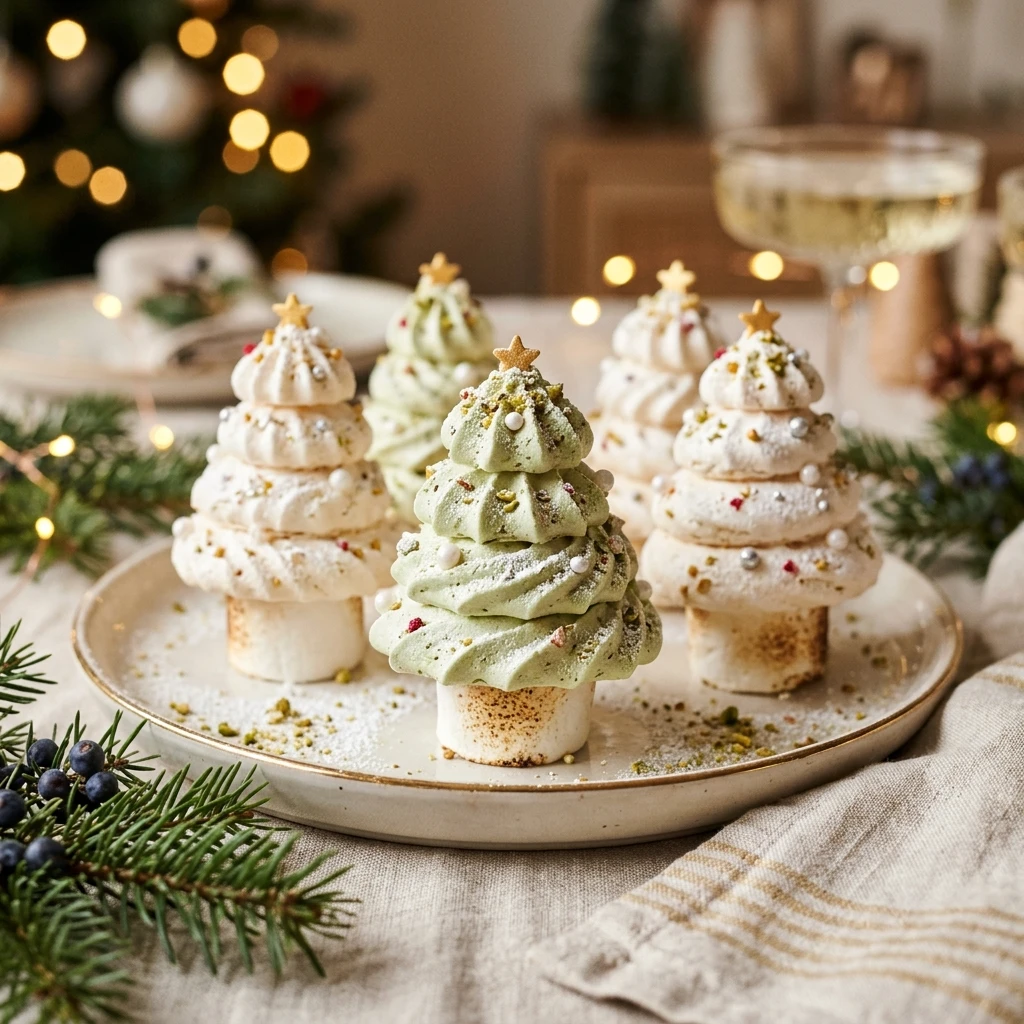
Serving Suggestions: What to Pair with This Festive Dessert
These little trees are perfect when served alongside a steaming mug of hot cocoa or a warm spiced apple cider. They also make a lovely garnish for a holiday cake or can be used to decorate a festive grazing board filled with nuts and dried fruits. If you are hosting a Christmas tea party, serve them on a tiered stand with finger sandwiches and scones for a touch of seasonal whimsy.
Storage & Reheating Instructions
Meringues are sensitive to moisture, so store them in an airtight container at room temperature as soon as they have cooled completely. They will stay crisp for up to five days if kept away from humidity. Do not store them in the refrigerator, as the moisture will cause the sugar to weep and the marshmallow to get soggy. If they do soften slightly, you can crisp them back up by placing them in a 200 degree Fahrenheit oven for about 10 minutes, though this is rarely necessary if stored properly.
Memories Made Around the Table
I remember the first time I made these with my nieces. Their eyes lit up when they realized there was a marshmallow hidden inside the “tree.” We spent the whole afternoon covered in a little bit of sugar and a lot of laughter while deciding where each star should go. It has now become a tradition in our home to bake a batch on the first weekend of December to kick off the holiday festivities. Seeing those little green trees lined up on the counter always makes the house feel like Christmas has truly arrived.
FAQs
Can I make these meringues in advance?
Yes, you can make them up to three or four days in advance. Just be sure to store them in a very tight airtight container at room temperature. Avoid making them too far ahead if the weather is particularly rainy or humid, as they might lose their crunch.
Why did my meringue trees turn brown?
If the meringues are browning, your oven temperature is likely too high. Every oven is different, so if you notice a tint of tan, lower the heat by 15 degrees next time. Meringues are meant to dry out rather than bake like a traditional cookie.
Can I use liquid food coloring?
It is best to avoid liquid food coloring because the extra moisture can deflate the egg whites and make the mixture runny. Gel coloring is much more concentrated, so you only need a tiny amount to get a vibrant green without changing the texture.
Does the marshmallow inside melt?
The marshmallow will soften and become slightly gooey due to the low heat, but it will not melt into a puddle. This creates a wonderful soft texture that contrasts beautifully with the crisp meringue shell once it is bitten into.
What if I do not have a piping bag?
You can use a heavy-duty plastic freezer bag and snip off one corner. While you will not get the “star” texture on the branches, you can still create smooth, tiered trees that look like modern, minimalist evergreens.
Final Thoughts
Creating these mini meringue Christmas trees is such a joyful way to celebrate the holiday season. They are light, festive, and offer a delightful surprise that guests of all ages will appreciate. Whether you are an experienced baker or just looking for a fun project to do with the family, these treats are sure to bring a smile to everyone’s face. Enjoy the process of decorating your own little forest and have a wonderful holiday season!
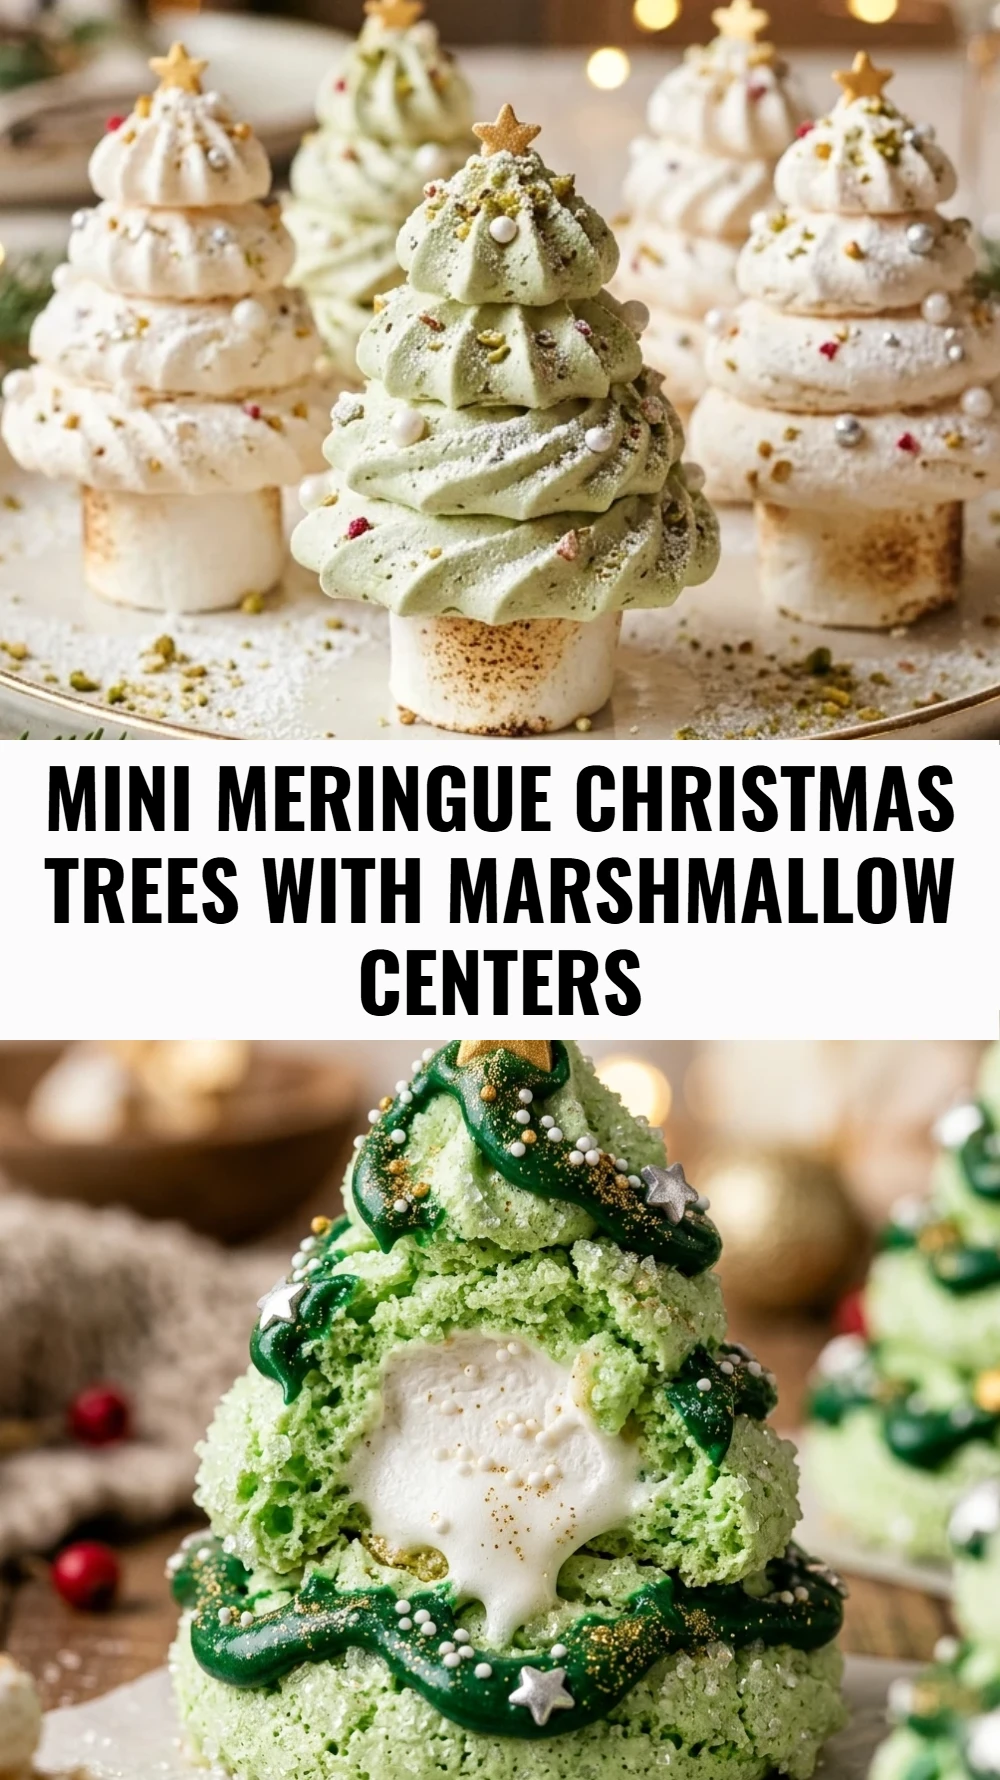
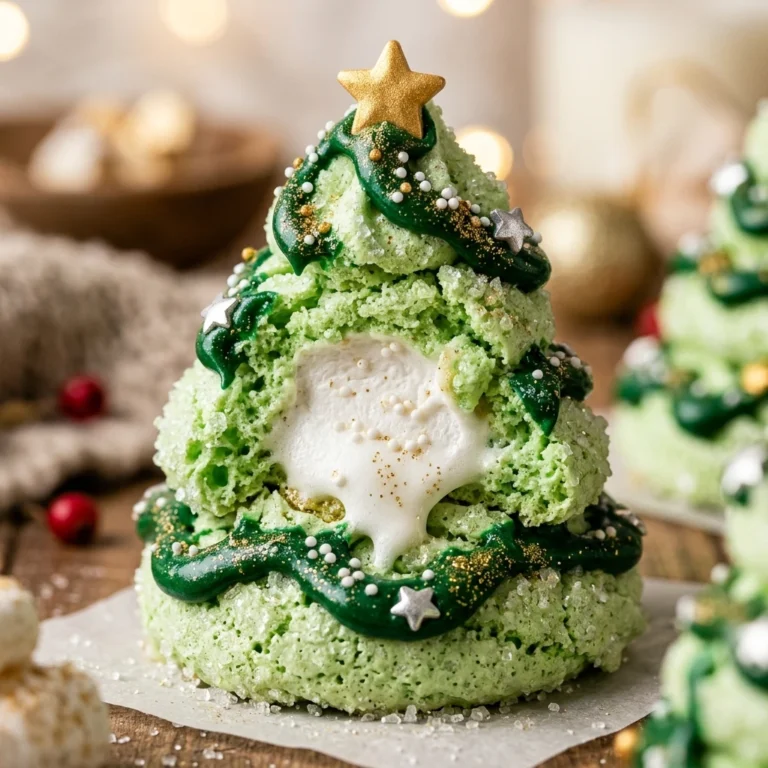
Mini Meringue Christmas Trees with Marshmallow Centers
- Total Time: 2 hours
Ingredients
- 4 large egg whites, at room temperature
- 1/2 teaspoon cream of tartar
- 1 cup granulated white sugar
- 1 teaspoon alcohol-free vanilla extract
- Green gel food coloring
- 24 marshmallows made with agar-agar
- Small gold or yellow star sprinkles
- Assorted tiny nonpareils for ornaments
Instructions
- Preheat your oven to 200 degrees Fahrenheit. Line two large baking sheets with parchment paper or silicone baking mats. Use a tiny dab of meringue on the corners of the parchment paper to keep it from sliding around while you pipe your trees later.
- In a very clean, grease-free glass or metal bowl, beat the egg whites and cream of tartar on medium speed. Continue until soft peaks form, which means the peaks curl over gently when the whisk is lifted. Ensure there is no yellow yolk in your whites, or they will not whip properly.
- Increase the mixer speed to medium-high and begin adding the granulated sugar one tablespoon at a time. This slow process is vital to ensure the sugar dissolves completely. Continue beating until the mixture is thick, glossy, and forms stiff peaks that stand straight up.
- Gently fold in the alcohol-free vanilla extract and the green gel food coloring. Use a toothpick to add the color gradually until you reach your desired shade of forest green. Avoid over-mixing at this stage to keep the air in the meringue.
- Place a small dot of meringue on the bottom of each marshmallow and stick them onto the prepared baking sheets, spaced two inches apart. Fit a piping bag with a star tip and fill it with the green meringue. Starting at the base of a marshmallow, pipe three layers of “branches” in a circular motion, moving upward and inward to cover the marshmallow entirely and form a pointed tree shape.
- Carefully place a star sprinkle on the top of each tree and lightly dust with nonpareils to look like ornaments. Bake in the center of the oven for 90 minutes. Once the time is up, turn off the oven and leave the door slightly ajar, allowing the trees to cool completely inside for at least an hour to prevent cracking.
- Cook Time: 2 hours
- Diet: Fat-Free