
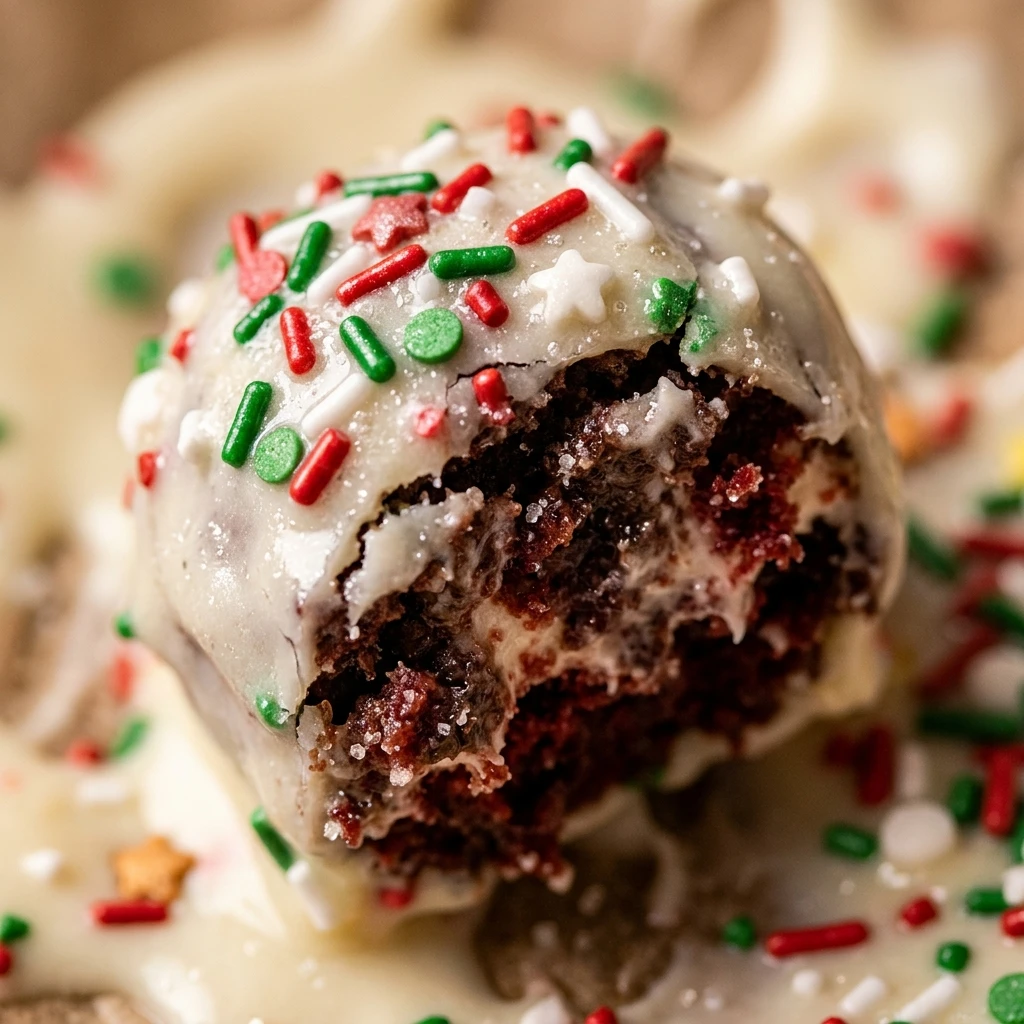
Christmas time is always filled with nostalgia for me, and nothing brings back those sweet childhood memories quite like the iconic snack cakes we all know and love. I decided to turn these classic treats into something even more special this year by transforming them into bite-sized truffles that look absolutely beautiful on a holiday dessert tray. They are incredibly easy to make with no baking required, and they always become the festive star of every gathering I host.
Recipe Details
Recipe Information
- Prep Time: 30 minutes
- Cook Time: 0 minutes
- Total Time: 1 hour 30 minutes
- Servings: 20 truffles
- Difficulty: Easy
Nutrition Information (Per Serving)
- Calories: 185 kcal
- Protein: 1 g
- Carbs: 24 g
- Fat: 9 g
Why You’ll Love This Little Debbie Christmas Tree Cake Truffles
This recipe takes a beloved grocery store staple and elevates it into a gourmet holiday treat. You will love how the creamy texture of the inside contrasts with the crisp chocolate shell, providing a satisfying snap with every bite. Since there is no actual baking involved, it is the perfect project for busy holiday schedules or for getting the kids involved in the kitchen. Plus, the festive green sprinkles and red stripes make them look like professional bakery items with very little effort.
Little Debbie Christmas Tree Cake Truffles Ingredients & Substitutions
- 10 Little Debbie Christmas Tree Cakes (Vanilla variety)
- 4 ounces cream cheese, softened to room temperature
- 12 ounces white chocolate melting wafers or white almond bark
- 1 teaspoon alcohol-free vanilla extract
- 2 tablespoons green sanding sugar or festive sprinkles
- 1 tube red decorating icing or red melting wafers
If you cannot find the specific snack cakes mentioned, any similar cream filled snack cake will work as a base for this recipe. For the coating, you can substitute the white chocolate with milk or dark chocolate if you prefer a richer flavor profile. If you do not have alcohol-free vanilla extract, you can simply omit it or use the seeds from a vanilla bean for a lovely speckled appearance. For a different texture, try adding finely crushed pretzels or toasted pecans into the cake mixture for a salty crunch.
Step-by-Step Instructions to Make Little Debbie Christmas Tree Cake Truffles
Step 1: Crumble the Cakes
Place the snack cakes into a large mixing bowl. Using your hands or a sturdy spoon, break the cakes apart until they are reduced to fine crumbs. You want to make sure the exterior frosting and the interior cream filling are well incorporated into the cake crumbs so the mixture stays together later.
Step 2: Combine with Cream Cheese
Add the softened cream cheese and the alcohol-free vanilla extract to the bowl with the cake crumbs. Use a hand mixer on low speed or a spatula to blend the ingredients together until a thick, dough-like consistency forms. The mixture should be moist enough to hold its shape when pressed together.
Step 3: Shape the Truffles
Line a baking sheet with parchment paper or a silicone mat. Scoop about one tablespoon of the mixture at a time and roll it between your palms to form a smooth ball, approximately one inch in diameter. Place each ball onto the prepared baking sheet, ensuring they are not touching.
Step 4: Chill the Mixture
Place the baking sheet in the refrigerator for at least 45 minutes to an hour. This step is crucial because it firms up the truffles, making them much easier to dip in the warm chocolate without falling apart or losing their shape.
Step 5: Melt the Coating
Place your white chocolate melting wafers in a microwave-safe bowl. Heat in 30-second intervals, stirring thoroughly between each session, until the chocolate is completely smooth and liquid. Be careful not to overheat the chocolate, as white chocolate can scorch easily.
Step 6: Dip and Decorate
Using a fork or a dipping tool, submerge each chilled cake ball into the melted chocolate. Lift it out and tap the fork gently against the side of the bowl to let the excess chocolate drip off. Place the truffle back onto the parchment paper. Immediately top with green sanding sugar or sprinkles before the chocolate sets. Once all are dipped, use the red icing to drizzle diagonal stripes across the top to mimic the original cake design.
Tips for Success
To get the smoothest finish on your Little Debbie Christmas Tree Cake Truffles, make sure the cream cheese is truly at room temperature before mixing, as this prevents lumps in the filling. If the chocolate starts to thicken while you are dipping, pop it back in the microwave for 10 seconds to loosen it up. I find that using a toothpick to help slide the truffle off the dipping fork keeps the bottom edges clean and tidy. Always decorate with your sprinkles immediately after dipping each individual truffle, as the chilled centers cause the chocolate shell to harden quite rapidly.
Variations of Little Debbie Christmas Tree Cake Truffles
You can easily customize these treats by using the chocolate version of the Christmas Tree Cakes for a double-chocolate experience. For a minty holiday twist, add a tiny drop of peppermint extract to the cake and cream cheese mixture. If you want a more rustic look, you can roll the finished truffles in crushed sugar cookies or dehydrated strawberry powder instead of dipping them in melted chocolate. Another fun idea is to use different colored melting wafers, such as light green or bright red, to create a colorful assortment on your dessert table.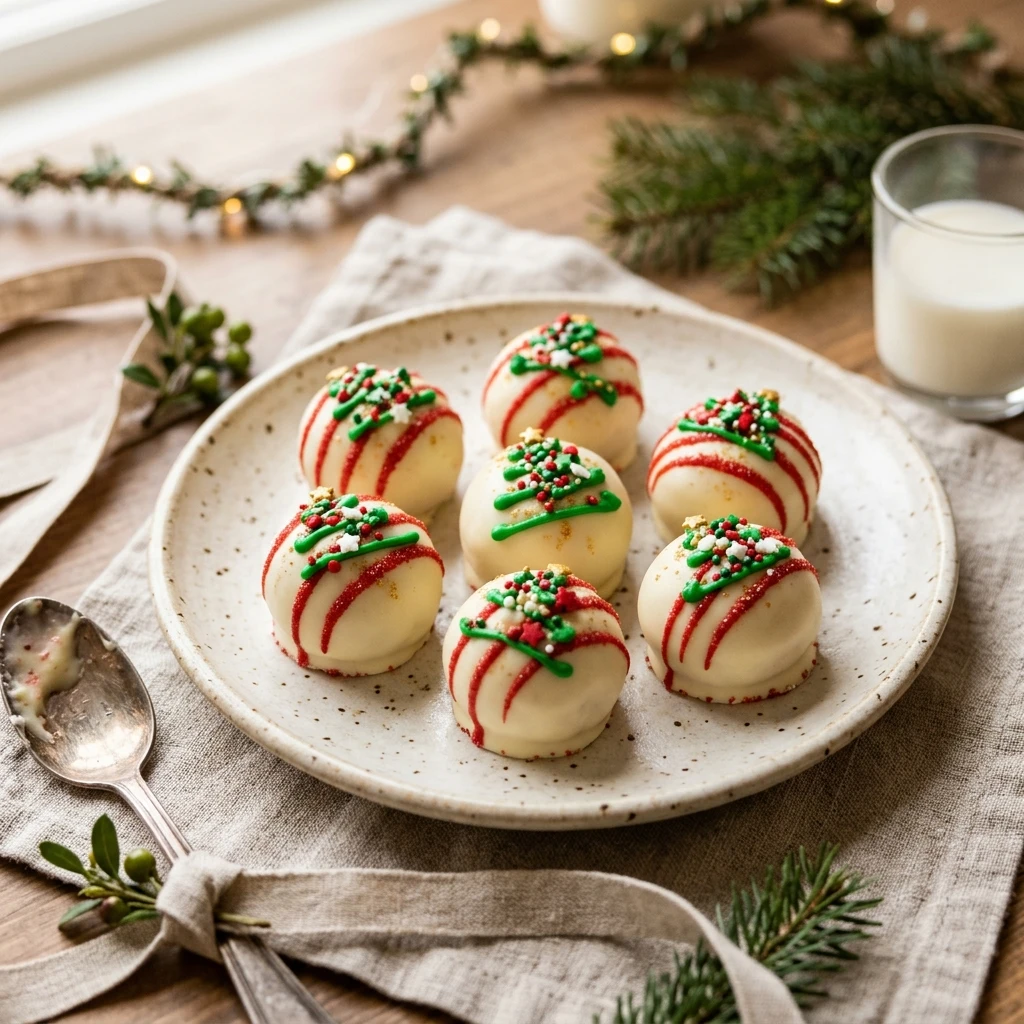
Serving Suggestions: What to Pair with Little Debbie Christmas Tree Cake Truffles
These truffles are quite sweet and rich, so they pair beautifully with a hot cup of black coffee or a strong Earl Grey tea to balance the flavors. If you are serving them at a Christmas party, arrange them on a silver platter alongside fresh berries or tart green apple slices. They also make a wonderful addition to a holiday cocoa bar, where guests can enjoy them while sipping on warm chocolate topped with marshmallows. For a truly festive display, serve them in small gold foil cupcake liners to give them a professional gift-shop look.
Storage & Reheating Instructions
Store your truffles in an airtight container in the refrigerator for up to one week. Because they contain cream cheese, they should not be left out at room temperature for more than two hours at a time. If you want to make these well in advance, you can freeze them for up to three months. Simply place the set truffles in a freezer-safe bag or container with parchment paper between layers. When you are ready to serve, thaw them in the refrigerator overnight. These are best served chilled and do not require any reheating.
Memories Made Around the Table
I remember my grandmother always keeping a box of these trees in her pantry during the month of December, and the sight of them always signaled that the holidays had officially arrived. Bringing that flavor into a homemade truffle has become a new tradition in my own home. My kids love the messy job of crumbling the cakes, and we spend the afternoon listening to holiday music while we decorate each one with red stripes. It is these simple moments of connection and shared sweetness that truly make the season feel bright and meaningful.
FAQs
Can I use a stand mixer to combine the ingredients?
Yes, you can use a stand mixer with the paddle attachment on a low speed setting. Just be careful not to overwork the mixture, or it might become too oily from the fats in the snack cakes. You want it just combined enough to hold its shape.
How do I prevent the chocolate from cracking?
Cracking usually happens when there is a large temperature difference between the cold truffle and the hot chocolate. To avoid this, let the truffles sit at room temperature for about five minutes after taking them out of the fridge before you begin the dipping process.
Do I need to remove the green sugar from the original cakes?
There is no need to remove the frosting or the sprinkles from the original snack cakes. When you crumble them up, everything blends together into the filling, and the original sprinkles simply add a little extra sweetness and color to the center of your truffles.
Can I use white chocolate chips instead of melting wafers?
You can use white chocolate chips, but they often contain stabilizers that prevent them from melting as smoothly as wafers or almond bark. If you use chips, you may need to add a teaspoon of coconut oil or shortening to help the chocolate reach a dippable consistency.
Why is my cake mixture too soft to roll into balls?
If the mixture feels too soft or sticky, it likely needs more time to chill. Place the bowl of dough in the refrigerator for 20 to 30 minutes before trying to roll the balls. This will firm up the butter and cream cheese, making it much easier to handle.
Final Thoughts
Making Little Debbie Christmas Tree Cake Truffles is a delightful way to celebrate the holiday season with a touch of nostalgia and a lot of flavor. They are the perfect solution for when you need a high-impact dessert with minimal kitchen time. Whether you are gifting them to neighbors or serving them at your own family gathering, these sweet treats are sure to bring smiles to everyone’s faces. I hope this recipe adds a little extra magic and sweetness to your Christmas celebrations this year.

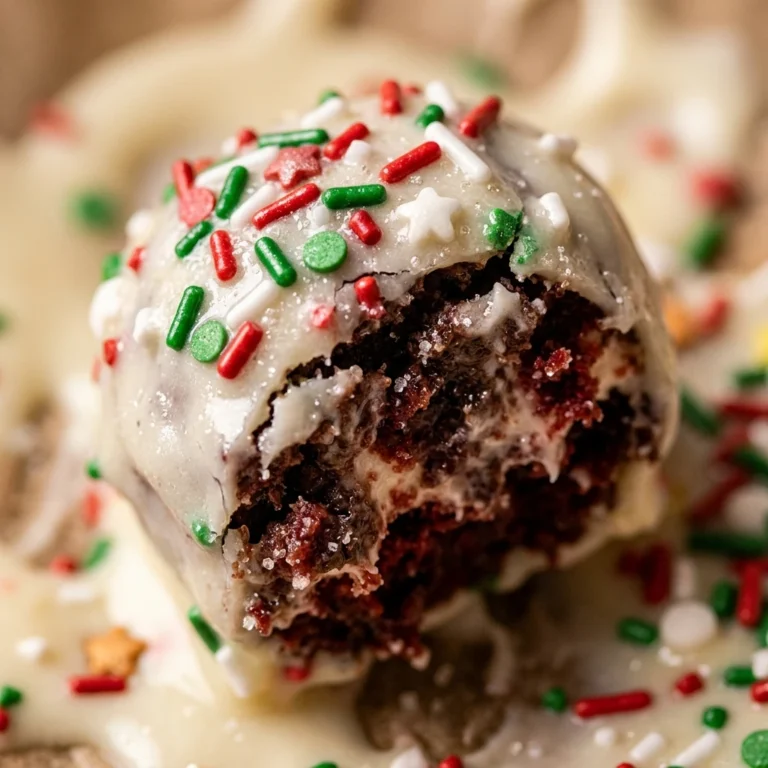
Little Debbie Christmas Tree Cake Truffles
- Total Time: 1 hour 30 minutes
Ingredients
- 10 Little Debbie Christmas Tree Cakes (Vanilla variety)
- 4 ounces cream cheese, softened to room temperature
- 12 ounces white chocolate melting wafers or white almond bark
- 1 teaspoon alcohol-free vanilla extract
- 2 tablespoons green sanding sugar or festive sprinkles
- 1 tube red decorating icing or red melting wafers
Instructions
- Step 1: Crumble the Cakes
Place the snack cakes into a large mixing bowl. Using your hands or a sturdy spoon, break the cakes apart until they are reduced to fine crumbs. You want to make sure the exterior frosting and the interior cream filling are well incorporated into the cake crumbs so the mixture stays together later.
- Step 2: Combine with Cream Cheese
Add the softened cream cheese and the alcohol-free vanilla extract to the bowl with the cake crumbs. Use a hand mixer on low speed or a spatula to blend the ingredients together until a thick, dough-like consistency forms. The mixture should be moist enough to hold its shape when pressed together.
- Step 3: Shape the Truffles
Line a baking sheet with parchment paper or a silicone mat. Scoop about one tablespoon of the mixture at a time and roll it between your palms to form a smooth ball, approximately one inch in diameter. Place each ball onto the prepared baking sheet, ensuring they are not touching.
- Step 4: Chill the Mixture
Place the baking sheet in the refrigerator for at least 45 minutes to an hour. This step is crucial because it firms up the truffles, making them much easier to dip in the warm chocolate without falling apart or losing their shape.
- Step 5: Melt the Coating
Place your white chocolate melting wafers in a microwave-safe bowl. Heat in 30-second intervals, stirring thoroughly between each session, until the chocolate is completely smooth and liquid. Be careful not to overheat the chocolate, as white chocolate can scorch easily.
- Step 6: Dip and Decorate
Using a fork or a dipping tool, submerge each chilled cake ball into the melted chocolate. Lift it out and tap the fork gently against the side of the bowl to let the excess chocolate drip off. Place the truffle back onto the parchment paper. Immediately top with green sanding sugar or sprinkles before the chocolate sets. Once all are dipped, use the red icing to drizzle diagonal stripes across the top to mimic the original cake design.
- Cook Time: 1 hour 30 minutes
- Diet: Vegetarian