
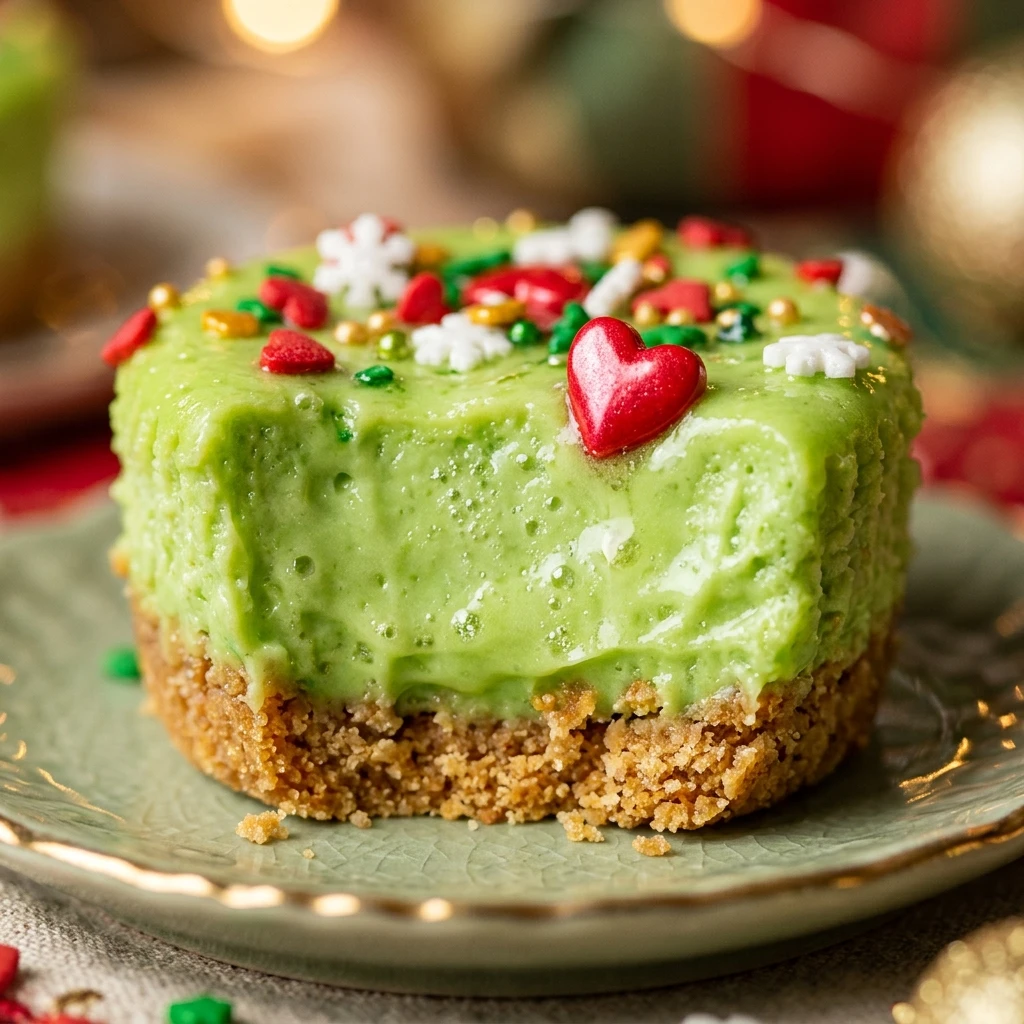
I always look forward to movie night during the holidays, especially when we watch the classic tale of the mean one who learned to love. These Grinch Mini Cheesecakes are my favorite way to bring that whimsy to the dessert table without spending hours in the kitchen. They are vibrant, creamy, and just the right size for a festive treat that kids and adults alike will adore during the Christmas season.
Recipe Details
Recipe Information
- Prep Time: 20 minutes
- Cook Time: 20 minutes
- Total Time: 40 minutes
- Servings: 12 mini cheesecakes
- Difficulty: Easy
Nutrition Information (Per Serving)
- Calories: 245
- Protein: 4g
- Carbs: 18g
- Fat: 17g
Why You’ll Love This Grinch Mini Cheesecakes
These festive treats are a showstopper because they combine the classic richness of New York style cheesecake with a playful holiday twist. The bright green color immediately catches the eye, making them perfect for Christmas parties or themed gatherings. Since they are baked in individual liners, they are naturally portion controlled and easy to serve without the mess of slicing a large cake. Plus, the addition of a single red heart sprinkle perfectly captures the spirit of the season, reminding everyone of the moment the Grinch’s heart grew three sizes.
Grinch Mini Cheesecakes Ingredients & Substitutions
- 1.5 cups graham cracker crumbs
- 4 tablespoons unsalted butter, melted
- 16 ounces cream cheese, softened to room temperature
- 1/2 cup granulated sugar
- 2 large eggs
- 1 teaspoon alcohol-free vanilla
- 1/2 cup sour cream
- Neon green gel food coloring
- Whipped cream for topping
- Large red heart shaped sprinkles
For a different flavor profile, you can substitute the graham cracker crumbs with crushed chocolate sandwich cookies or gingersnaps to add a spicy holiday kick. If you do not have sour cream on hand, Greek yogurt works as a wonderful alternative to maintain that signature tang. Ensure you use gel food coloring rather than liquid drops to achieve a vibrant green without thinning out the cheesecake batter. If you prefer a more natural approach, a small amount of matcha powder can provide a subtle green hue, though the color will be less neon.
Step-by-Step Instructions to Make Grinch Mini Cheesecakes
Step 1: Prepare the Crust
Preheat your oven to 325 degrees Fahrenheit and line a standard muffin tin with paper liners. In a medium bowl, combine the graham cracker crumbs and melted butter, stirring until the mixture resembles wet sand. Press about one tablespoon of the mixture into the bottom of each liner, using the back of a spoon to pack it down firmly and evenly.
Step 2: Cream the Base
In a large mixing bowl, beat the softened cream cheese and granulated sugar together using an electric mixer on medium speed. Continue mixing for about two to three minutes until the texture is completely smooth and no lumps remain. Scraping the sides of the bowl frequently ensures an even consistency throughout the batter.
Step 3: Add Eggs and Flavoring
Reduce the mixer speed to low and add the eggs one at a time, beating just until the yellow disappears after each addition. Stir in the alcohol-free vanilla and the sour cream. It is important not to overmix at this stage, as incorporating too much air can cause the mini cheesecakes to crack or puff up too much during the baking process.
Step 4: Color the Batter
Add a small amount of neon green gel food coloring to the batter. Stir gently by hand using a spatula until the color is uniform. Continue adding dye a tiny bit at a time until you reach that iconic Grinch green shade. Remember that the color may deepen slightly as it bakes, so aim for a bright and saturated tone.
Step 5: Bake and Cool
Divide the green cheesecake batter evenly among the prepared muffin liners, filling each about three quarters of the way to the top. Bake for 18 to 20 minutes, or until the edges are set but the centers still have a slight jiggle. Remove from the oven and let them cool completely in the tin at room temperature before transferring them to the refrigerator to chill for at least three hours.
Step 6: Decorate
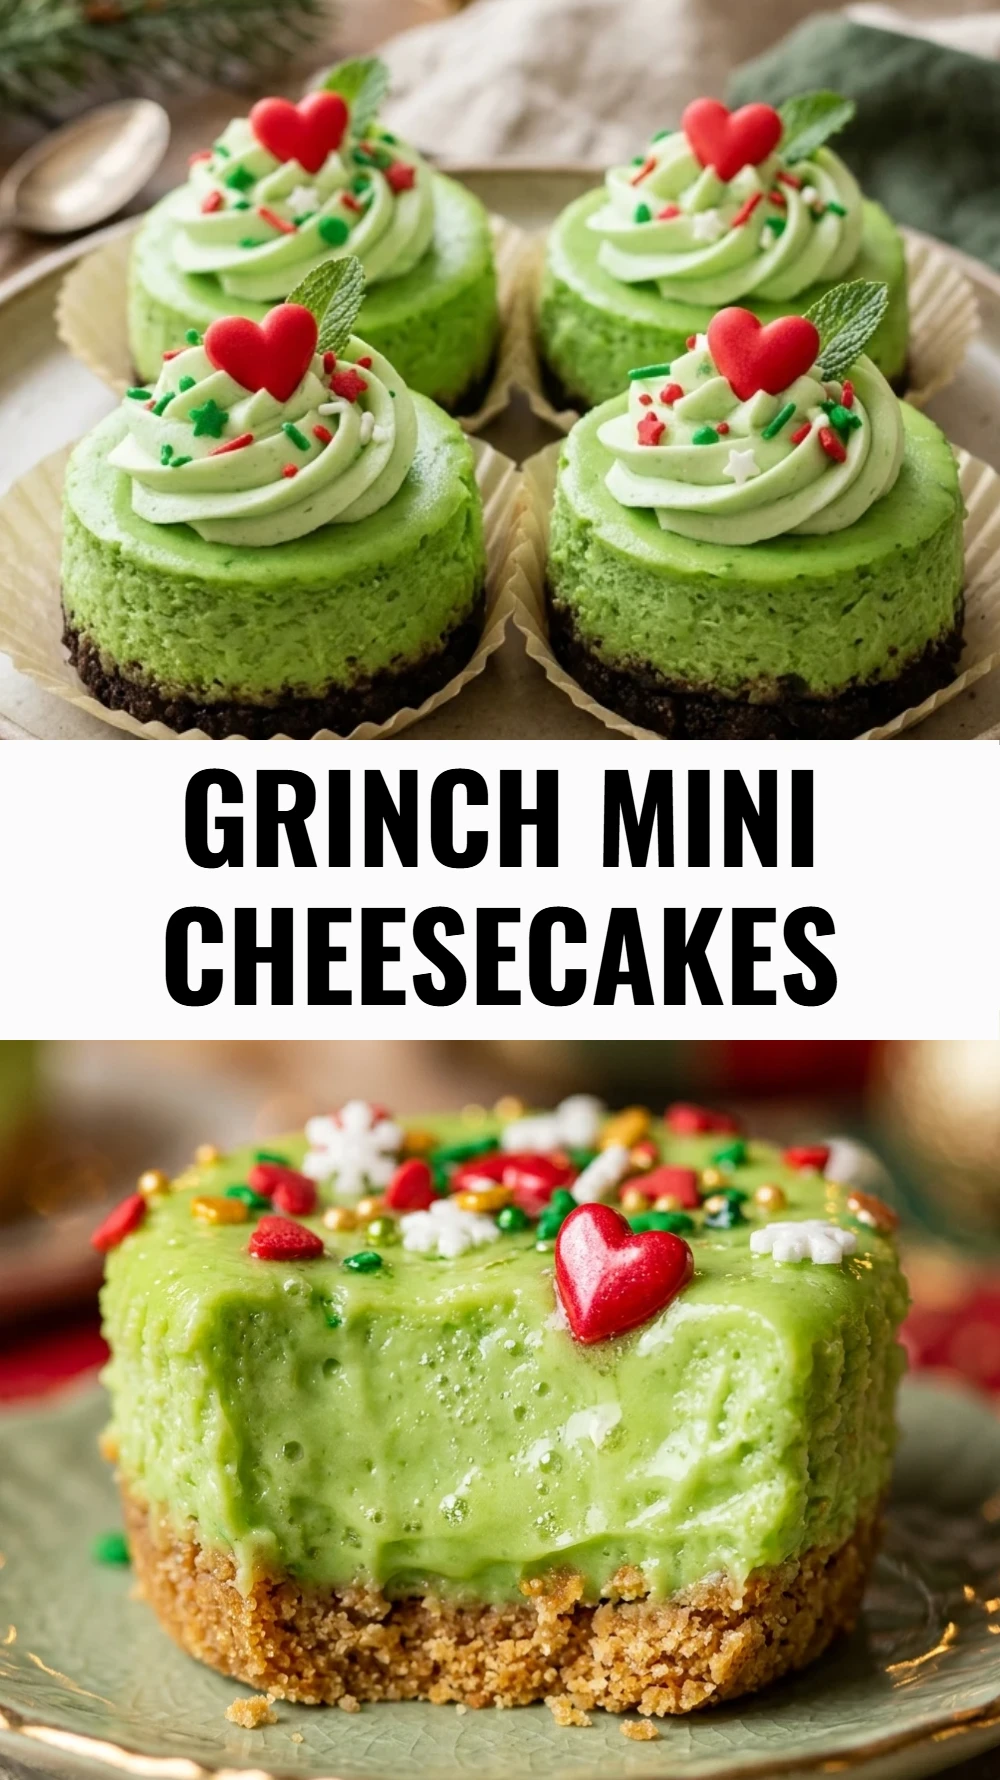
Once the cheesecakes are fully chilled and firm, remove them from the muffin tin. Top each cheesecake with a swirl of whipped cream. Place one red heart sprinkle on the side of the whipped cream to represent the Grinch’s heart. Serve immediately or keep refrigerated until your guests arrive.
Tips for Success
The most important tip for a smooth cheesecake is using room temperature ingredients. When your cream cheese, eggs, and sour cream are at room temperature, they emulsify much better, resulting in a velvety texture without lumps. Also, avoid opening the oven door during the baking process, as sudden temperature changes can cause the cheesecakes to sink in the middle. If you want a perfectly flat top, you can place a small pan of water on the bottom rack of the oven to create a moist environment while they bake.
Variations of Grinch Mini Cheesecakes
If you want to add more texture, try folding in a handful of mini chocolate chips to the green batter for a “Grinch chip” version. For those who love peppermint, adding a half teaspoon of peppermint extract along with the alcohol-free vanilla creates a refreshing winter flavor. You can also change the topping by using a green tinted buttercream frosting instead of whipped cream if you need the decoration to be more stable for a long party or an outdoor event.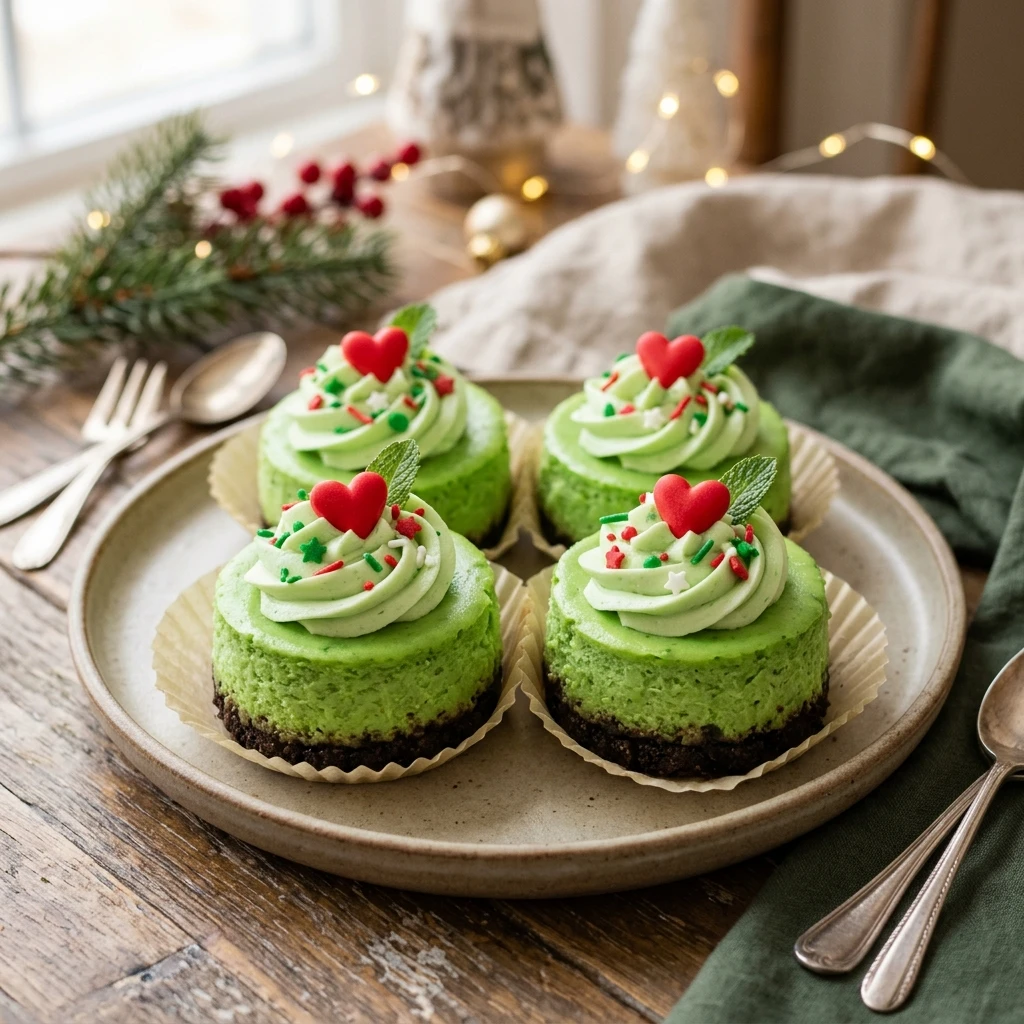
Serving Suggestions: What to Pair with Grinch Mini Cheesecakes
These festive cheesecakes pair beautifully with a steaming mug of hot cocoa or a cold glass of sparkling apple cider. If you are serving them as part of a larger dessert spread, they look wonderful alongside white powdered sugar cookies or dark chocolate truffles. For a fun kids party theme, serve them on a platter decorated with green tinsel or alongside a bowl of “Grinch punch” made from lime sherbet and ginger ale.
Storage & Reheating Instructions
Keep these mini cheesecakes in an airtight container in the refrigerator for up to five days. It is best to wait to add the whipped cream and heart sprinkles until just before serving to prevent the topping from deflating or the red color from bleeding. You can also freeze the baked and cooled cheesecakes without toppings for up to two months. Simply thaw them in the refrigerator overnight before decorating and serving. These are meant to be enjoyed cold, so there is no need to reheat them.
Memories Made Around the Table
One of my favorite childhood memories is sitting by the glowing Christmas tree while my mother brought out a tray of festive treats. We would always watch the Grinch movie together, and I remember how magical it felt to have snacks that matched the story on the screen. Now that I make these for my own family, I love seeing that same spark of joy in their eyes. Creating these little green desserts has become a tradition that marks the start of our holiday celebrations every single December.
FAQs
How do I prevent my mini cheesecakes from cracking?
Cracks usually happen due to overbeating the eggs or sudden temperature changes. Mix your batter on low speed once the eggs are added and let the cheesecakes cool gradually at room temperature before putting them in the fridge. Using room temperature ingredients also helps ensure a smooth, crack-free finish.
Can I make these cheesecakes ahead of time?
Yes, these are the perfect make ahead dessert. In fact, they need at least three hours to chill, but they actually taste even better if made 24 hours in advance. Just store them in the fridge and add the whipped cream and heart sprinkles right before you plan to serve them.
What if I cannot find heart sprinkles?
If heart sprinkles are not available at your local store, you can use a small bit of red frosting to pipe a tiny heart onto the whipped cream. Alternatively, you can cut a small heart shape out of a red fruit leather or a strawberry slice. The red heart is a key part of the theme, so any small red edible decoration will work.
Do I need to use a water bath for mini cheesecakes?
Unlike full sized cheesecakes, mini cheesecakes generally do not require a formal water bath because they bake so quickly. However, placing a small dish of water on the rack below them can help maintain moisture in the oven and result in an even creamier texture if your oven tends to run dry.
Why did my cheesecake liners stick to the cakes?
This often happens if the cheesecakes are still warm when you try to peel the paper off. Make sure they have chilled thoroughly in the refrigerator for several hours. The cold temperature firms up the fats in the cheese, allowing the paper to pull away cleanly from the sides.
Final Thoughts
These Grinch Mini Cheesecakes are more than just a dessert, they are a festive experience that brings a bit of holiday magic to your table. Simple to prepare and delightful to look at, they are sure to be the star of your Christmas celebrations. Whether you are hosting a large party or just enjoying a quiet night with family, these creamy treats are a wonderful way to celebrate the season of giving and kindness.
Grinch Mini Cheesecakes
- Total Time: 40 minutes
Ingredients
- 1.5 cups graham cracker crumbs
- 4 tablespoons unsalted butter, melted
- 16 ounces cream cheese, softened to room temperature
- 1/2 cup granulated sugar
- 2 large eggs
- 1 teaspoon alcohol-free vanilla
- 1/2 cup sour cream
- Neon green gel food coloring
- Whipped cream for topping
- Large red heart shaped sprinkles
Instructions
- Preheat your oven to 325 degrees Fahrenheit and line a standard muffin tin with paper liners. In a medium bowl, combine the graham cracker crumbs and melted butter, stirring until the mixture resembles wet sand. Press about one tablespoon of the mixture into the bottom of each liner, using the back of a spoon to pack it down firmly and evenly.
- In a large mixing bowl, beat the softened cream cheese and granulated sugar together using an electric mixer on medium speed. Continue mixing for about two to three minutes until the texture is completely smooth and no lumps remain. Scraping the sides of the bowl frequently ensures an even consistency throughout the batter.
- Reduce the mixer speed to low and add the eggs one at a time, beating just until the yellow disappears after each addition. Stir in the alcohol-free vanilla and the sour cream. It is important not to overmix at this stage, as incorporating too much air can cause the mini cheesecakes to crack or puff up too much during the baking process.
- Add a small amount of neon green gel food coloring to the batter. Stir gently by hand using a spatula until the color is uniform. Continue adding dye a tiny bit at a time until you reach that iconic Grinch green shade. Remember that the color may deepen slightly as it bakes, so aim for a bright and saturated tone.
- Divide the green cheesecake batter evenly among the prepared muffin liners, filling each about three quarters of the way to the top. Bake for 18 to 20 minutes, or until the edges are set but the centers still have a slight jiggle. Remove from the oven and let them cool completely in the tin at room temperature before transferring them to the refrigerator to chill for at least three hours.
- Once the cheesecakes are fully chilled and firm, remove them from the muffin tin. Top each cheesecake with a swirl of whipped cream. Place one red heart sprinkle on the side of the whipped cream to represent the Grinch’s heart. Serve immediately or keep refrigerated until your guests arrive.
- Cook Time: 40 minutes
- Diet: Vegetarian