
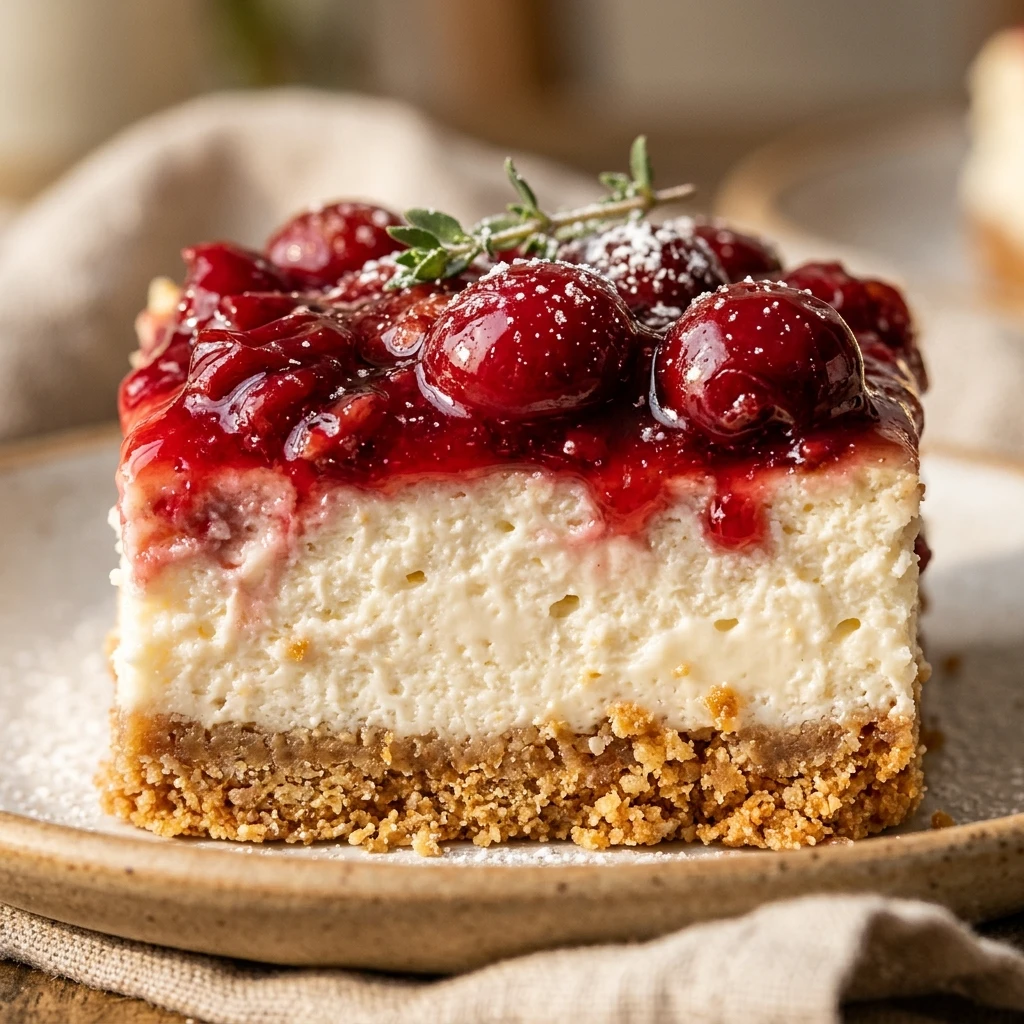
Every year when the Christmas lights go up, I start dreaming about the festive red and white treats that make the season so special. These Cherry Cheesecake Bars have become a permanent fixture on my holiday dessert table because they look just like little edible presents. I love how the tart cherry topping cuts through the rich, creamy cheesecake layer, making them the perfect bite to share with friends and family during the most wonderful time of the year.
Recipe Details
Recipe Information
- Prep Time: 20 minutes
- Cook Time: 35 minutes
- Total Time: 55 minutes
- Servings: 16 bars
- Difficulty: Easy
Nutrition Information (Per Serving)
- Calories: 285 kcal
- Protein: 4g
- Carbs: 31g
- Fat: 17g
Why You’ll Love This Cherry Cheesecake Bars
These bars are the ultimate holiday hack for anyone who loves cheesecake but finds the traditional water bath method a bit too fussy. Since they are baked in a rectangular pan, you get a much higher ratio of crunchy graham cracker crust to filling, which is exactly how a Christmas treat should be. The bright red cherry topping adds a natural festive flair that looks beautiful on a dessert platter without needing any extra decorating skills. Plus, they are incredibly easy to transport to office parties or family gatherings, holding their shape much better than a delicate slice of cake.
Cherry Cheesecake Bars Ingredients & Substitutions
- 1.5 cups graham cracker crumbs
- 1/3 cup unsalted butter, melted
- 2 tablespoons granulated sugar (for the crust)
- 16 ounces cream cheese, softened to room temperature
- 1/2 cup granulated sugar (for the filling)
- 2 large eggs, room temperature
- 1 teaspoon alcohol-free vanilla extract
- 1/4 cup sour cream
- 21 ounces cherry pie filling
If you cannot find graham crackers, digestive biscuits or vanilla wafers work perfectly as a base. For a slightly different flavor profile, you can swap the sour cream for thick Greek yogurt. If you want to make these even more seasonal for Christmas, feel free to use a mix of cherry and cranberry pie filling for an extra tart kick. Always ensure your cream cheese is truly softened at room temperature to avoid lumps in your batter, as this is the secret to a professional finish.
Step-by-Step Instructions to Make Cherry Cheesecake Bars
Step 1: Preparation and Oven Setup
Preheat your oven to 325 degrees Fahrenheit. Grease an 8×8 inch square baking pan with butter or line it with parchment paper, leaving a slight overhang on the sides. This overhang acts as a handle to help you lift the bars out easily once they are cooled and set.
Step 2: Create the Graham Cracker Base
In a medium bowl, stir together the graham cracker crumbs, two tablespoons of sugar, and the melted butter until the mixture looks like wet sand. Press the mixture firmly into the bottom of your prepared pan. Use the bottom of a flat measuring cup to pack it down evenly, then bake the crust for 8 minutes. Remove it from the oven and let it cool slightly while you prepare the filling.
Step 3: Mix the Cheesecake Filling
In a large mixing bowl, beat the softened cream cheese and half cup of sugar together until the mixture is smooth and fluffy. Add the eggs one at a time, beating on low speed just until combined. Stir in the alcohol-free vanilla extract and the sour cream. Be careful not to overmix at this stage, as too much air in the batter can cause the cheesecake to crack during baking.
Step 4: Bake the Cheesecake Layer
Pour the cream cheese mixture over the pre-baked crust and spread it out into an even layer using a spatula. Place the pan back in the oven and bake for 25 to 30 minutes, or until the edges are set but the center still has a very slight jiggle. Remove from the oven and let the pan cool completely on a wire rack.
Step 5: Add the Cherry Topping and Chill
Once the cheesecake has reached room temperature, spread the cherry pie filling evenly over the top. Cover the pan with plastic wrap and refrigerate for at least 4 hours, though overnight is best for the cleanest slices. Once chilled, lift the bars out using the parchment paper handles and cut them into 16 squares.
Tips for Success
The most important tip for these Cherry Cheesecake Bars is patience. While it is tempting to cut into them early, the cheesecake needs time to fully set in the fridge to achieve that classic creamy texture. When you are ready to slice, use a sharp knife and dip it in hot water, wiping it clean between every single cut. This technique ensures that the red cherry topping doesn’t smudge into the white cheesecake layer, keeping your Christmas dessert looking sharp and professional. Also, make sure your eggs and cream cheese are at room temperature before you start, as cold ingredients will lead to a lumpy batter that is hard to smooth out.
Variations of Cherry Cheesecake Bars
If you want to add a bit more Christmas magic to this recipe, try adding half a teaspoon of almond extract (alcohol-free) to the cheesecake batter for a festive, nutty aroma. You can also create a chocolate version by using chocolate cookie crumbs for the crust instead of graham crackers. For a beautiful presentation, melt some white chocolate chips and drizzle them in a zigzag pattern over the cherry topping before serving. If you prefer a bit of crunch, sprinkle some toasted sliced almonds or crushed shortbread cookies over the top just before the bars go into the refrigerator to set.
Serving Suggestions: What to Pair with Cherry Cheesecake Bars
These bars are quite rich, so they pair beautifully with a hot cup of black coffee or a spicy herbal tea. For a festive Christmas gathering, serve them alongside a glass of sparkling apple cider or a warm mug of cocoa. If you are serving these as a plated dessert, a small dollop of whipped cream on the side and a light dusting of powdered sugar can make them look like they are covered in a fresh layer of winter snow. They also look wonderful when served on a platter mixed with other holiday treats like gingerbread men or peppermint bark.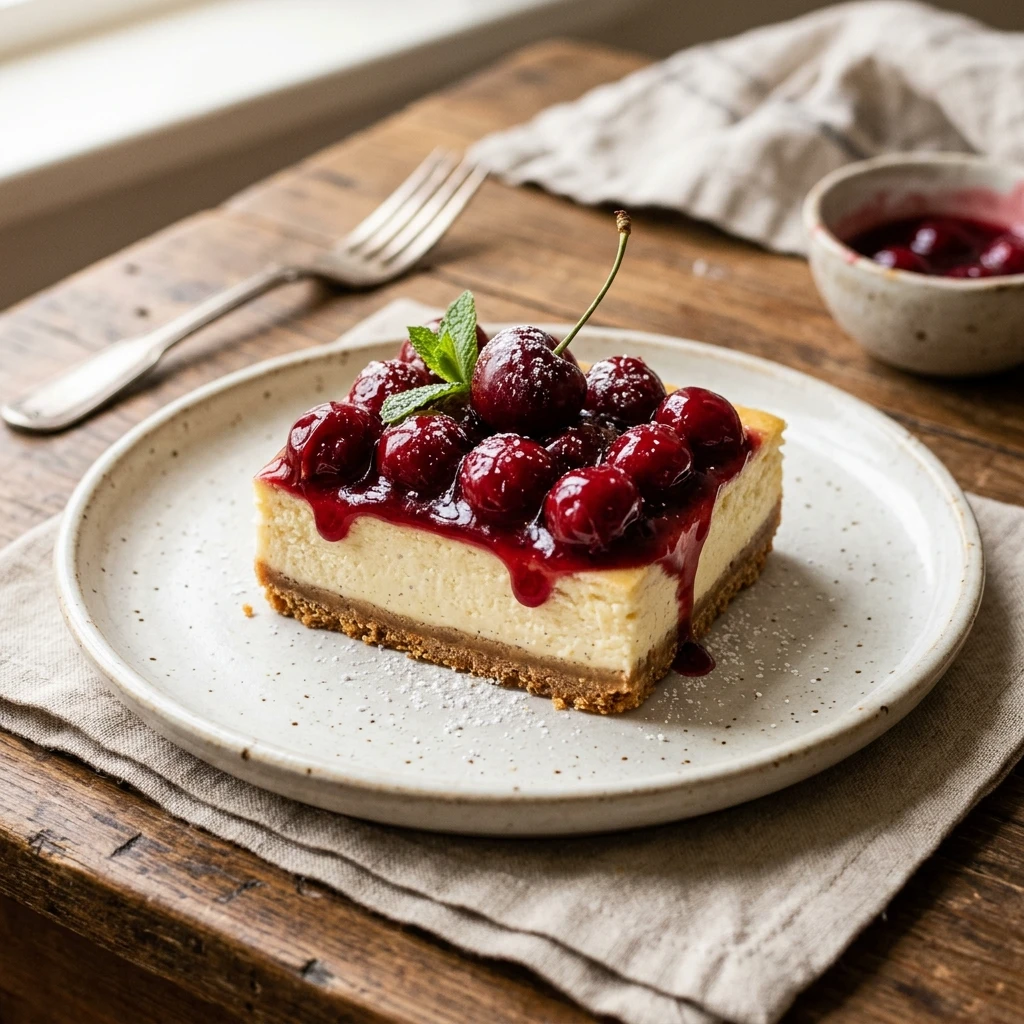
Storage & Reheating Instructions
Keep your Cherry Cheesecake Bars in an airtight container in the refrigerator for up to 5 days. Because of the dairy content, they should never be left out at room temperature for more than two hours. If you want to prep ahead for the Christmas rush, these bars freeze surprisingly well. Wrap individual bars tightly in plastic wrap and then place them in a freezer-safe bag for up to 3 months. When you are ready to enjoy them, thaw the bars in the refrigerator overnight. These are best served cold, so there is no need to reheat them.
Memories Made Around the Table
I remember the first time I made these for our family Christmas Eve party. My grandmother used to spend hours making complicated fruitcakes, but I wanted something that the kids and the adults would both reach for. When I brought these bright red bars out, the table went silent for a moment before everyone started asking for the recipe. Now, every time I smell the sweet scent of cherries and warm butter, I am transported back to that cozy living room filled with the sound of carols and the glow of the tree. It is amazing how a simple dessert can become a part of your family tradition so quickly.
FAQs
Can I use fresh cherries for the topping instead of canned filling?
Yes, you can certainly use fresh cherries, but you will need to cook them down first with a bit of sugar and cornstarch to create a thick, jam-like consistency. Raw cherries will release too much juice and make the cheesecake soggy, so a cooked compote is necessary to mimic the texture of pie filling.
How do I prevent the cheesecake layer from cracking?
Cracks usually happen from overbeating the eggs or overbaking the bars. Mix your eggs in on low speed just until they disappear into the batter. Also, remember to take the bars out of the oven while the center is still slightly wobbly, as they will continue to firm up as they cool down on the counter.
Can I make these bars gluten-free?
Absolutely. Simply replace the graham cracker crumbs with your favorite gluten-free graham cracker alternative or a mixture of almond flour and a little extra sugar. The rest of the ingredients, like cream cheese and fruit filling, are generally naturally gluten-free, but always check your labels to be sure.
Why did my crust turn out soggy?
A soggy crust usually happens if the butter wasn’t fully incorporated or if the crust wasn’t pressed down firmly enough. Pre-baking the crust for those 8 minutes is a crucial step because it helps create a barrier that prevents the creamy filling from soaking into the crumbs while the whole thing bakes.
Can I use a different size pan for this recipe?
If you use a 9×9 inch pan, the bars will be slightly thinner and may require 5 minutes less baking time. If you want to double the recipe, you can use a 9×13 inch pan and keep the baking time roughly the same, but keep a close eye on the center jiggle to ensure they don’t overcook.
Final Thoughts
Cherry Cheesecake Bars are a wonderful addition to any Christmas celebration, offering a perfect balance of creamy, crunchy, and tart flavors. They are easy to make, beautiful to look at, and even better to eat. Whether you are an experienced baker or a beginner looking for a reliable holiday dessert, this recipe is sure to become a favorite in your household. May your holiday season be filled with sweetness and many happy memories around the table.
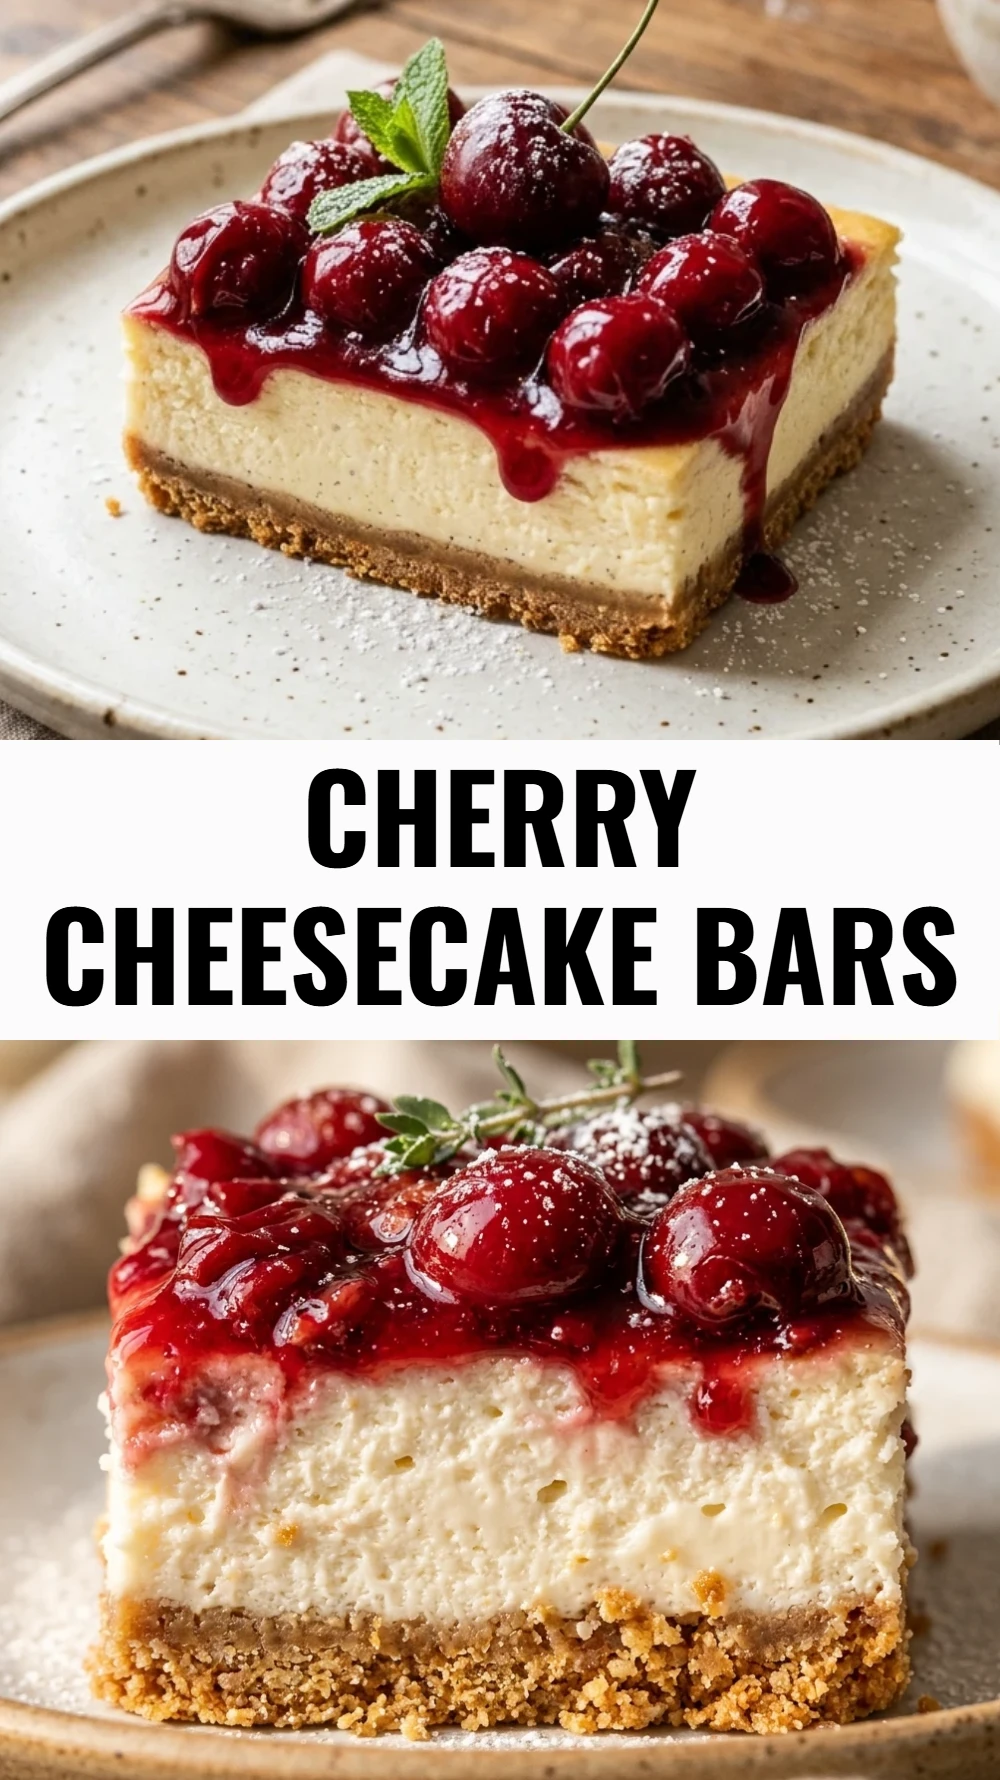
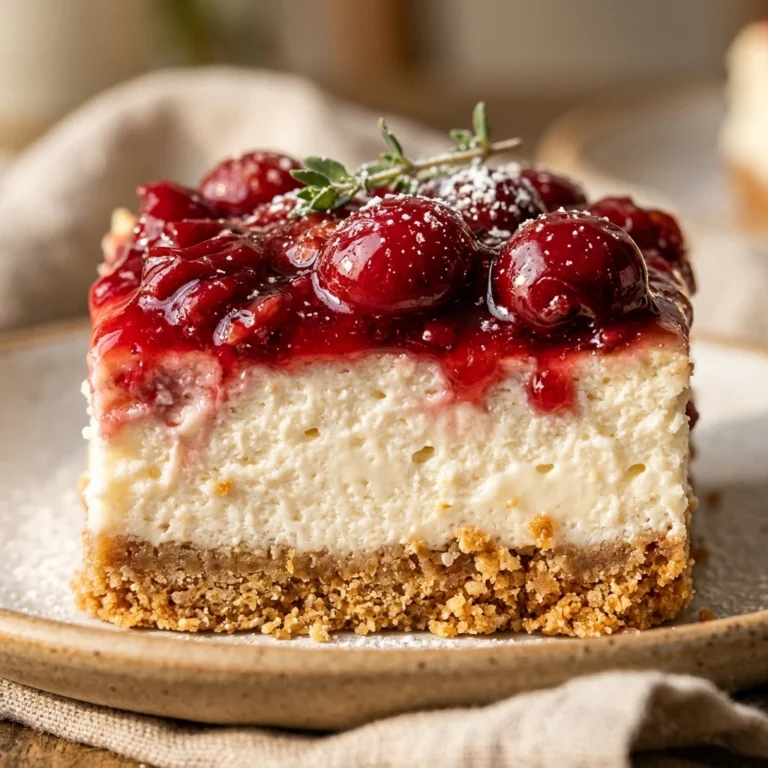
Cherry Cheesecake Bars
- Total Time: 55 minutes
Ingredients
- 1.5 cups graham cracker crumbs
- 1/3 cup unsalted butter, melted
- 2 tablespoons granulated sugar (for the crust)
- 16 ounces cream cheese, softened to room temperature
- 1/2 cup granulated sugar (for the filling)
- 2 large eggs, room temperature
- 1 teaspoon alcohol-free vanilla extract
- 1/4 cup sour cream
- 21 ounces cherry pie filling
Instructions
- Preheat your oven to 325 degrees Fahrenheit. Grease an 8×8 inch square baking pan with butter or line it with parchment paper, leaving a slight overhang on the sides. This overhang acts as a handle to help you lift the bars out easily once they are cooled and set.
- In a medium bowl, stir together the graham cracker crumbs, two tablespoons of sugar, and the melted butter until the mixture looks like wet sand. Press the mixture firmly into the bottom of your prepared pan. Use the bottom of a flat measuring cup to pack it down evenly, then bake the crust for 8 minutes. Remove it from the oven and let it cool slightly while you prepare the filling.
- In a large mixing bowl, beat the softened cream cheese and half cup of sugar together until the mixture is smooth and fluffy. Add the eggs one at a time, beating on low speed just until combined. Stir in the alcohol-free vanilla extract and the sour cream. Be careful not to overmix at this stage, as too much air in the batter can cause the cheesecake to crack during baking.
- Pour the cream cheese mixture over the pre-baked crust and spread it out into an even layer using a spatula. Place the pan back in the oven and bake for 25 to 30 minutes, or until the edges are set but the center still has a very slight jiggle. Remove from the oven and let the pan cool completely on a wire rack.
- Once the cheesecake has reached room temperature, spread the cherry pie filling evenly over the top. Cover the pan with plastic wrap and refrigerate for at least 4 hours, though overnight is best for the cleanest slices. Once chilled, lift the bars out using the parchment paper handles and cut them into 16 squares.
- Cook Time: 55 minutes
- Diet: Vegetarian